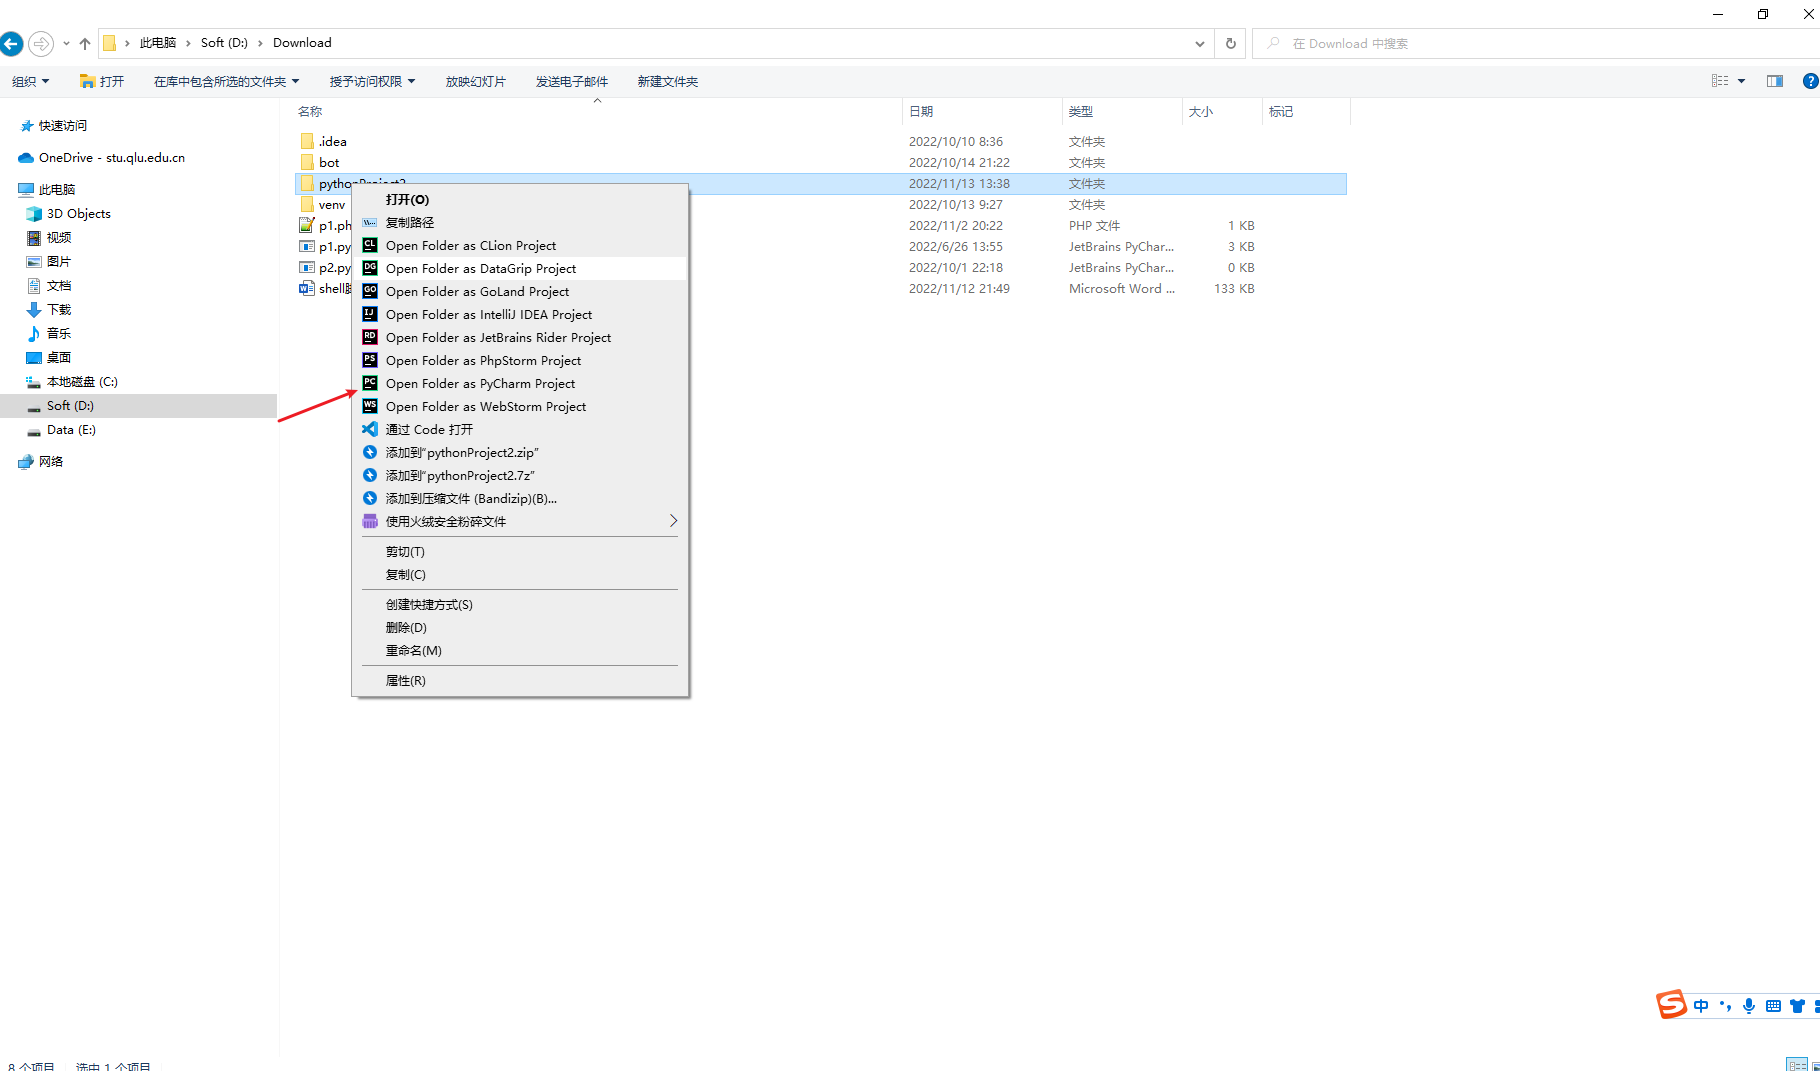
pychram 打开项目 本地尝试

image-20221113140229158

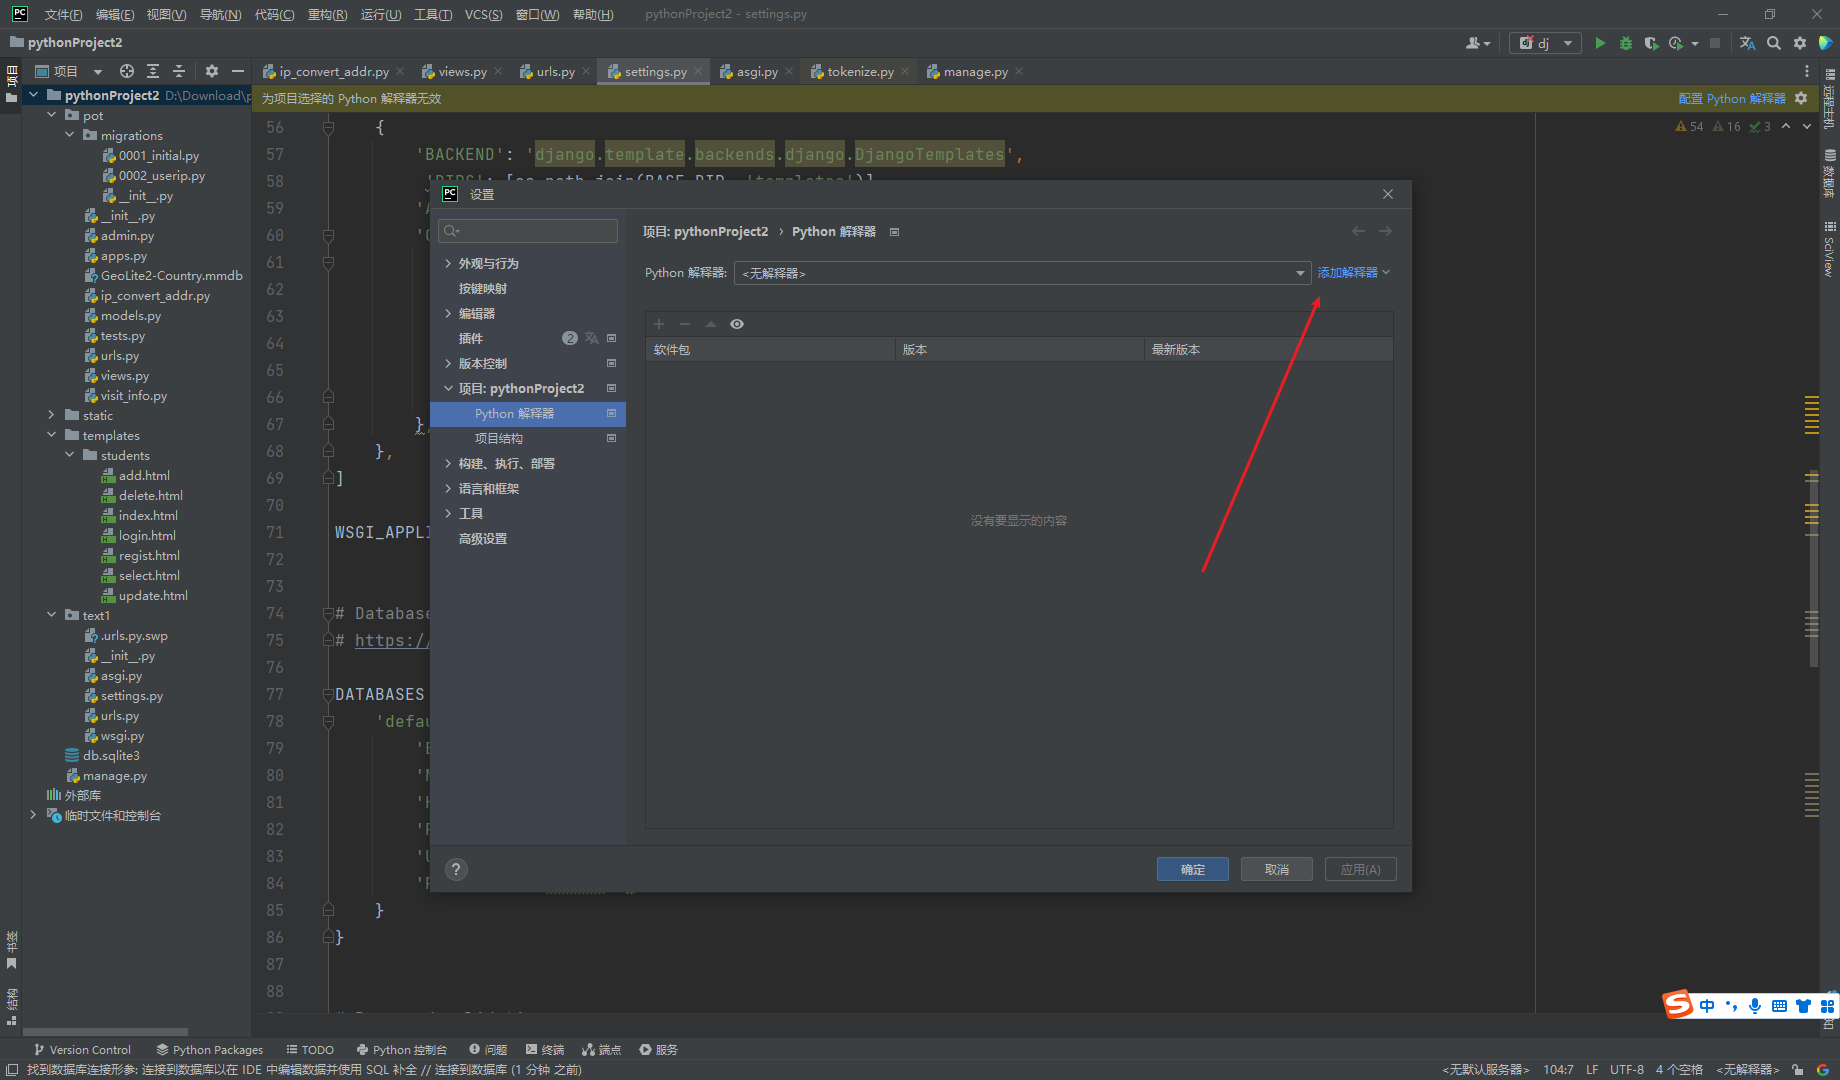
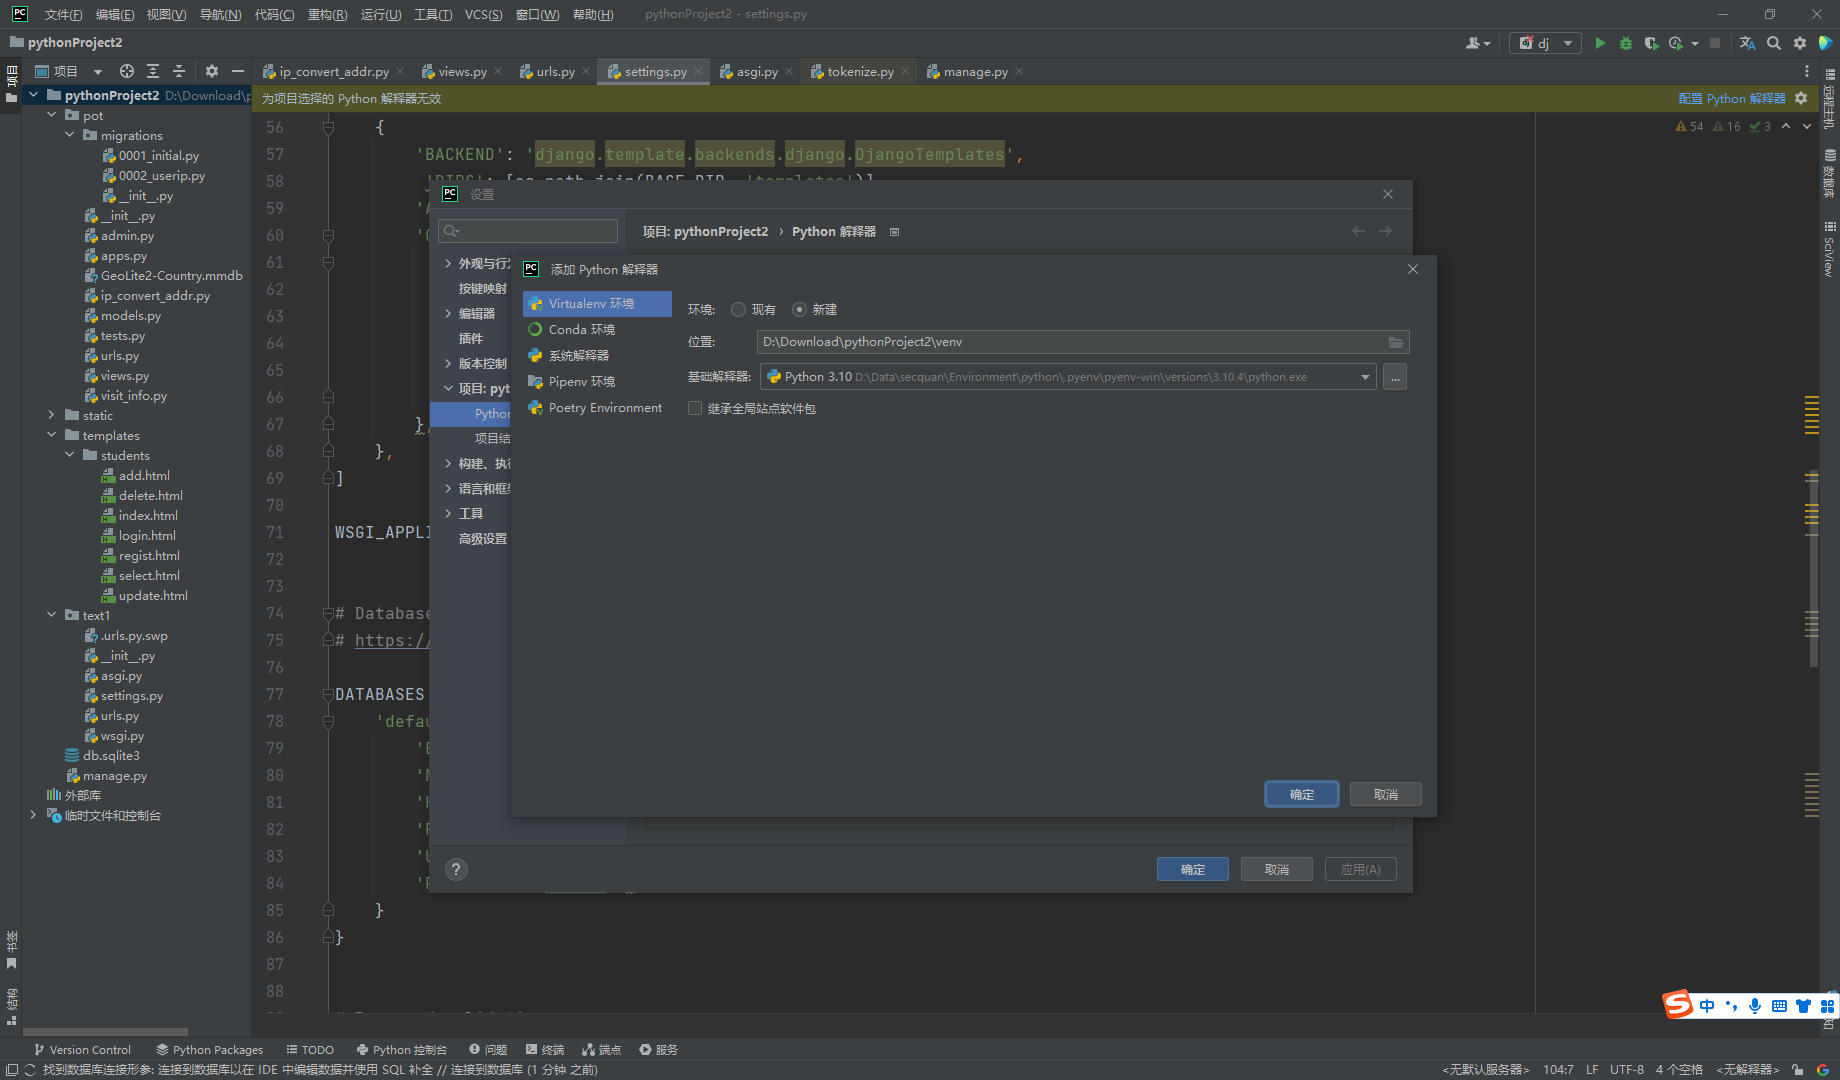
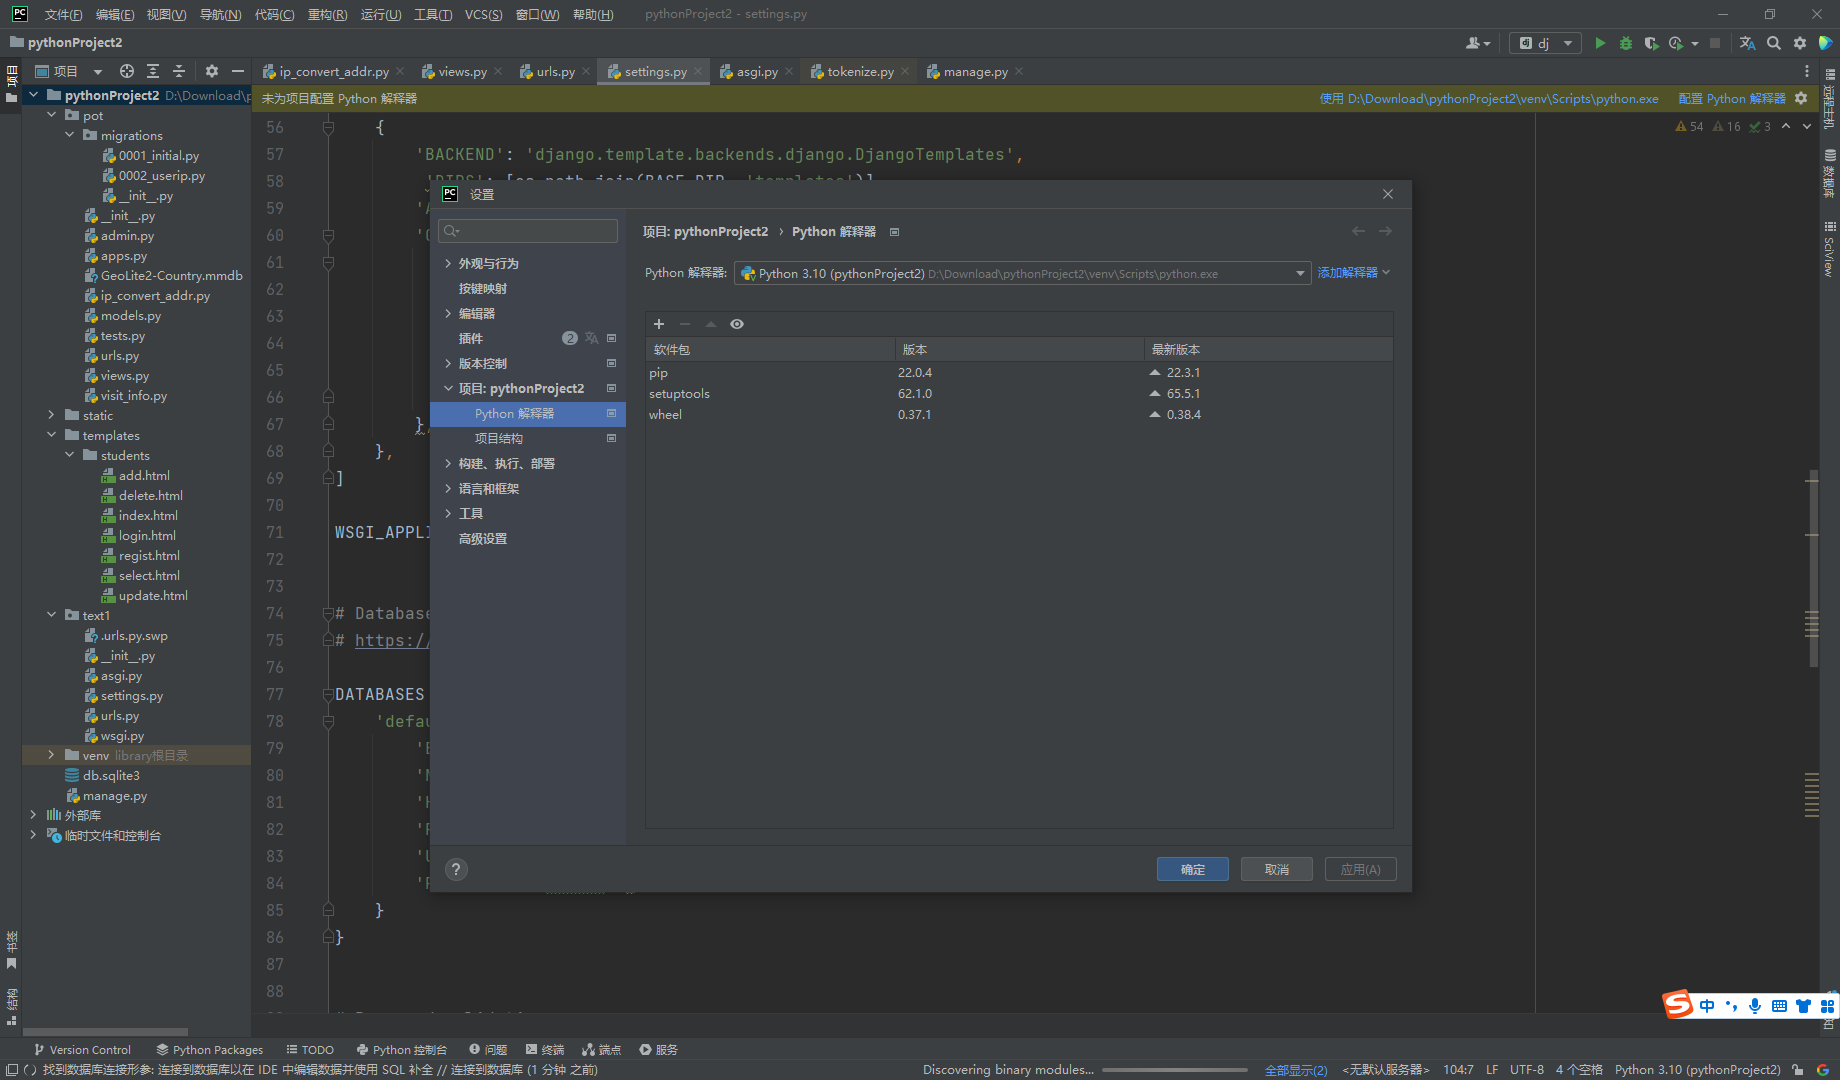
添加python 解释器

image-20221113140447903

image-20221113140507716

image-20221113140523606

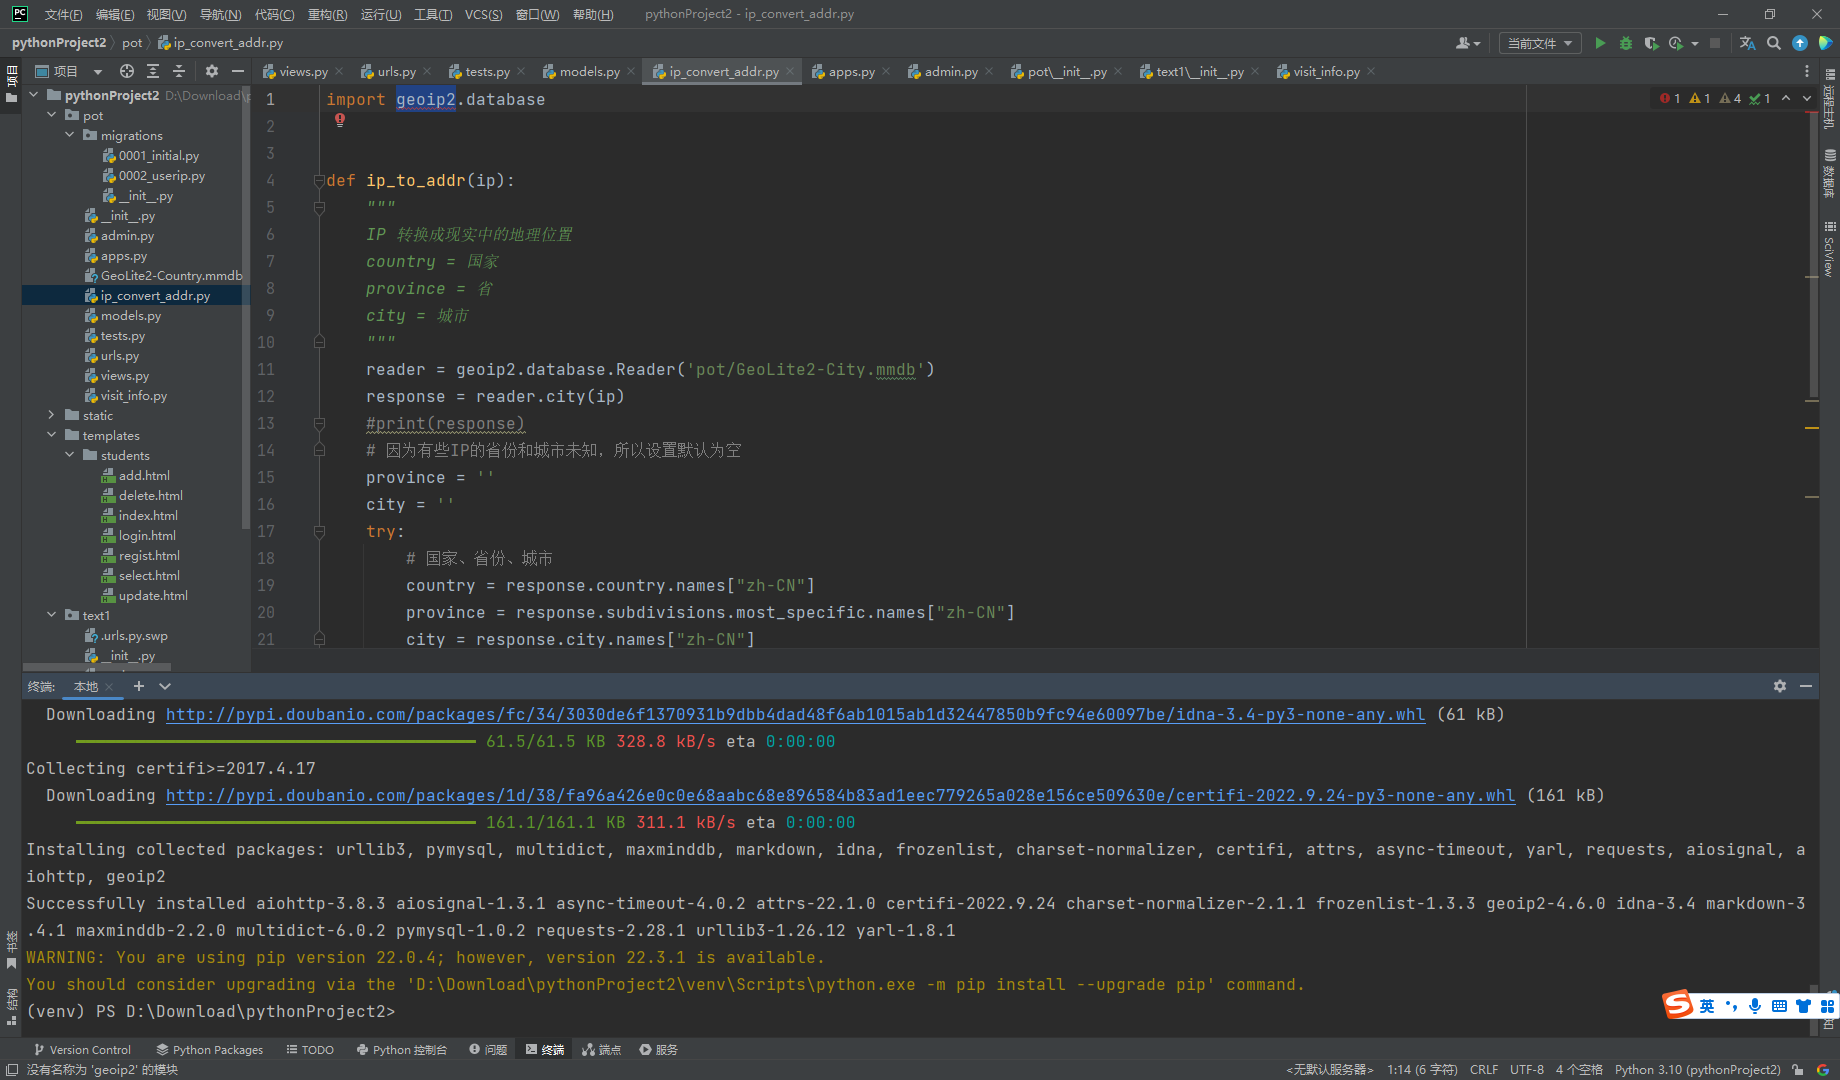
先安装几个包

pip install  Django pymysql markdown geoip2

image-20221113141030091

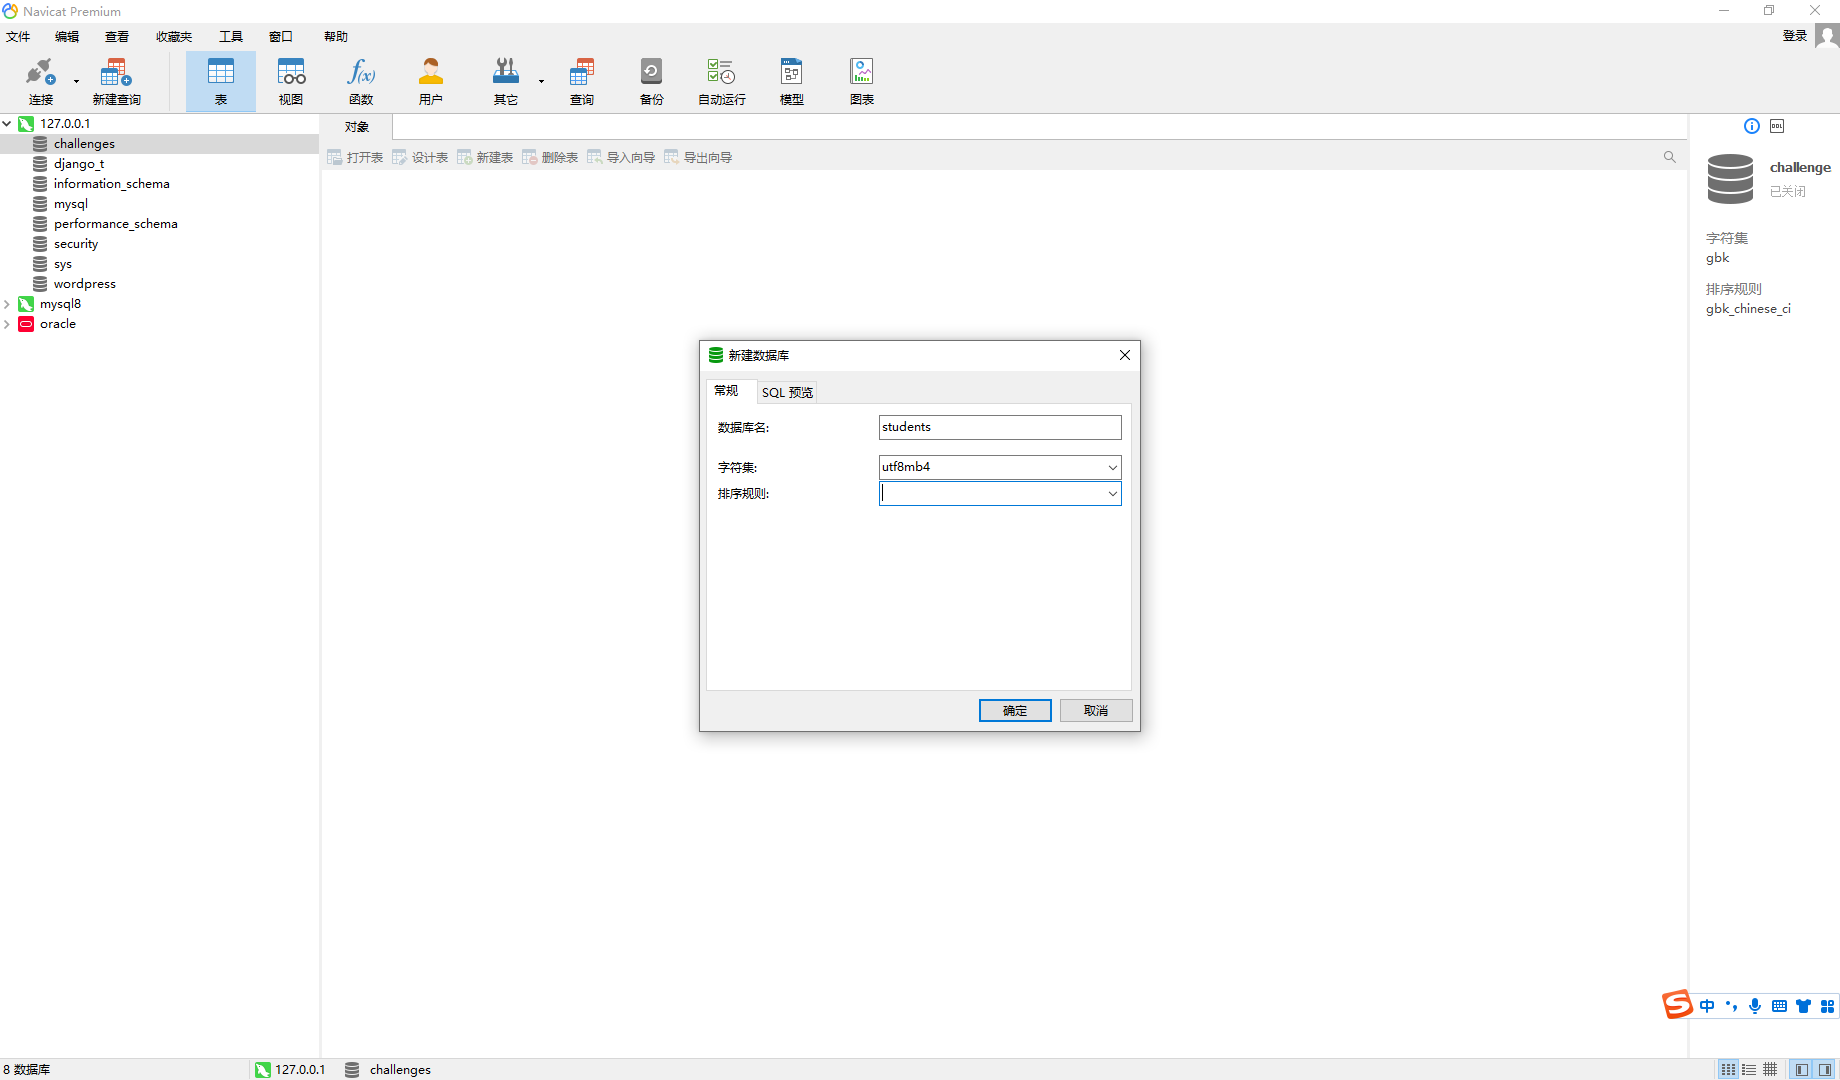
新建数据库 students

image-20221113141303046

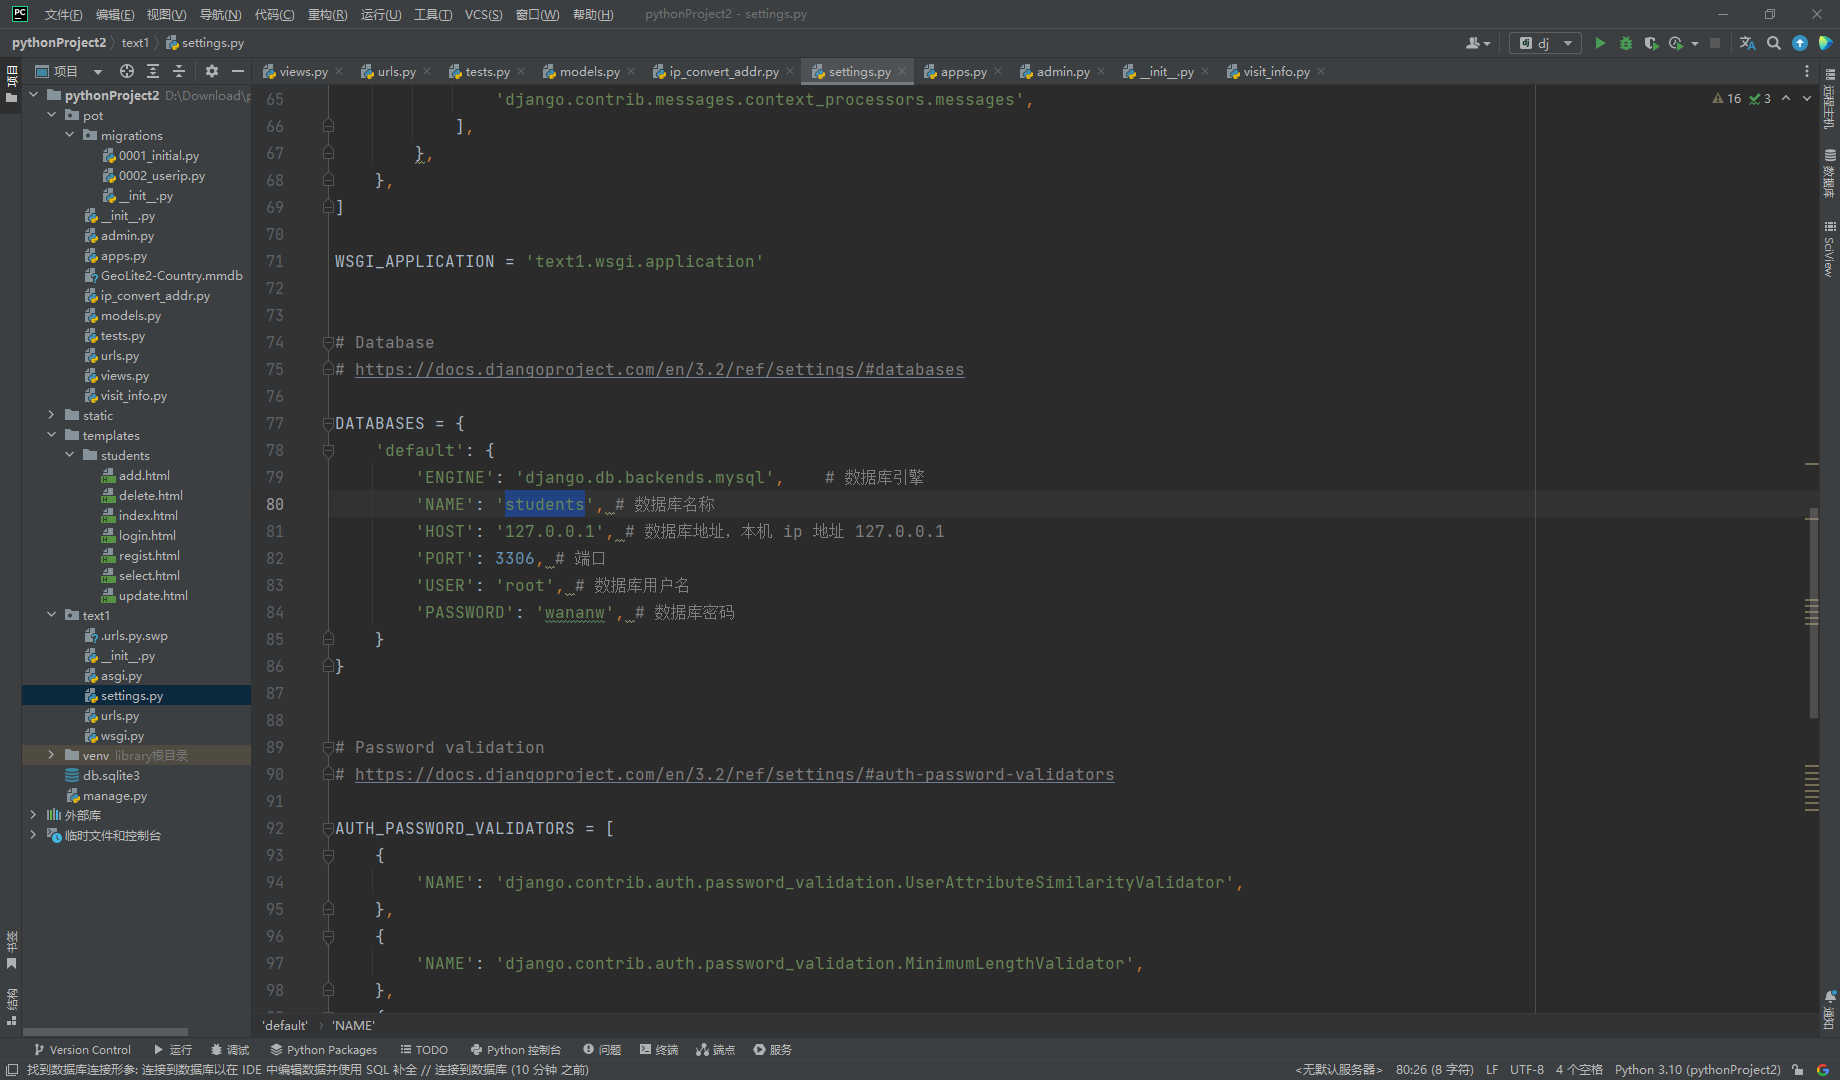
settings.py中添加好连接信息

image-20221113141410929

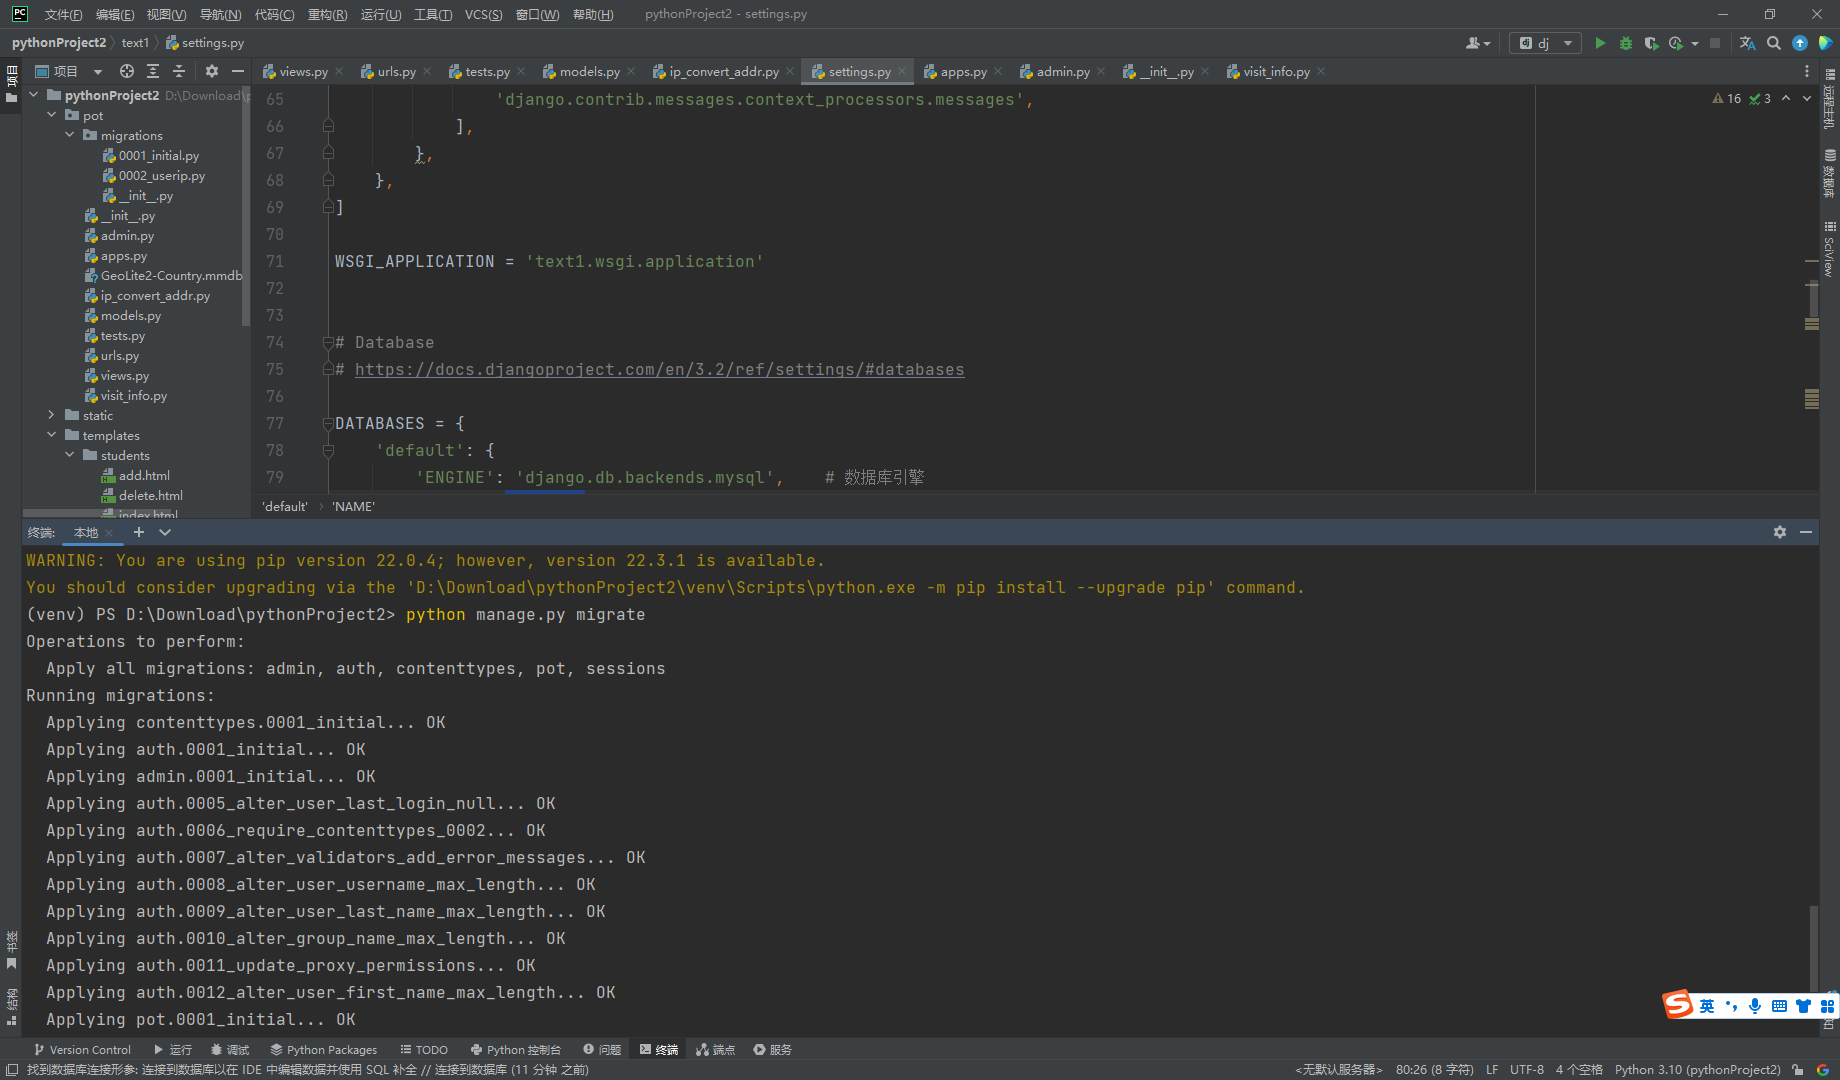
迁移一下数据

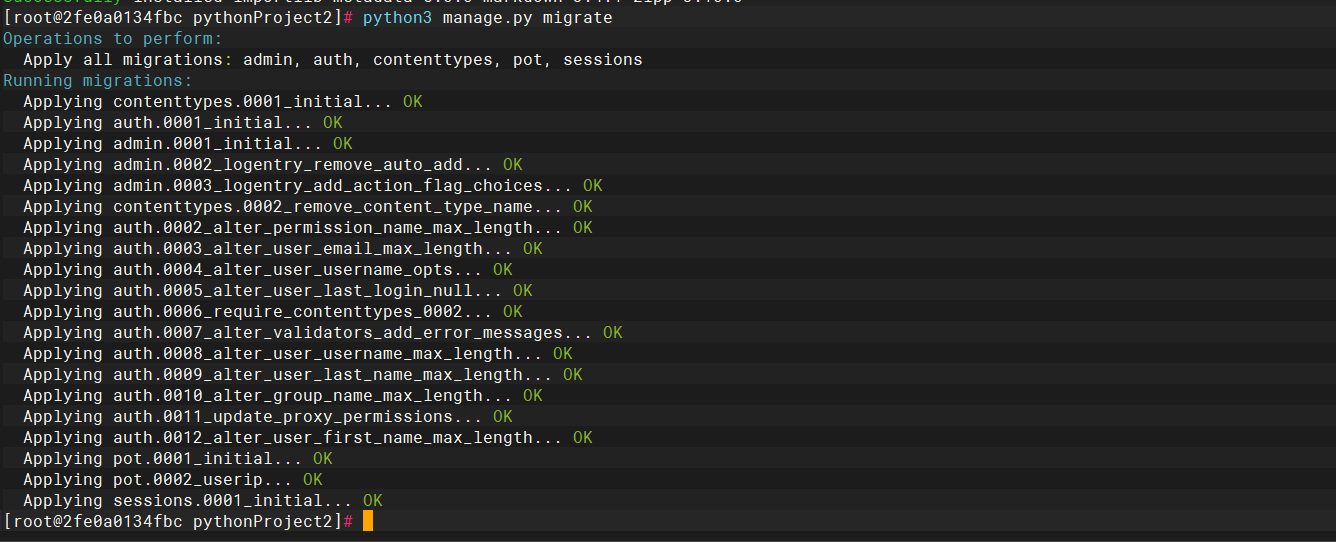
python manage.py migrate

image-20221113141450502

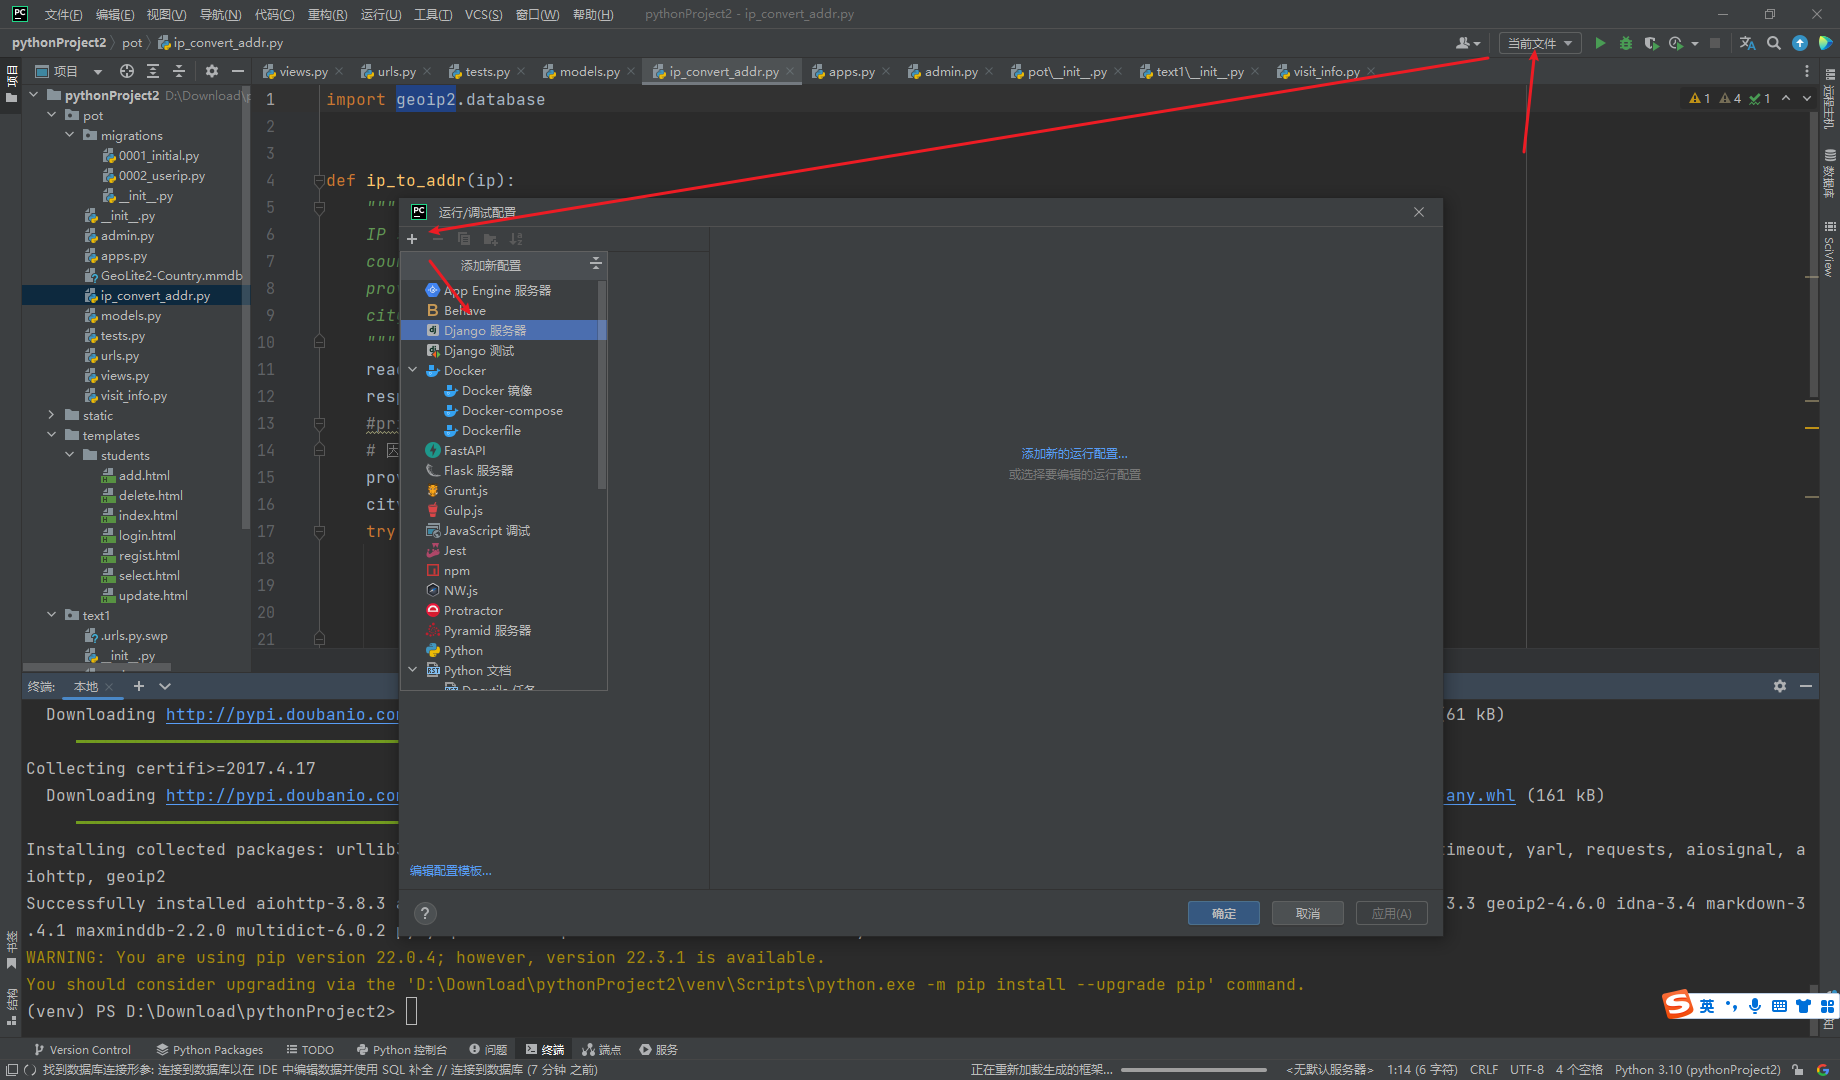
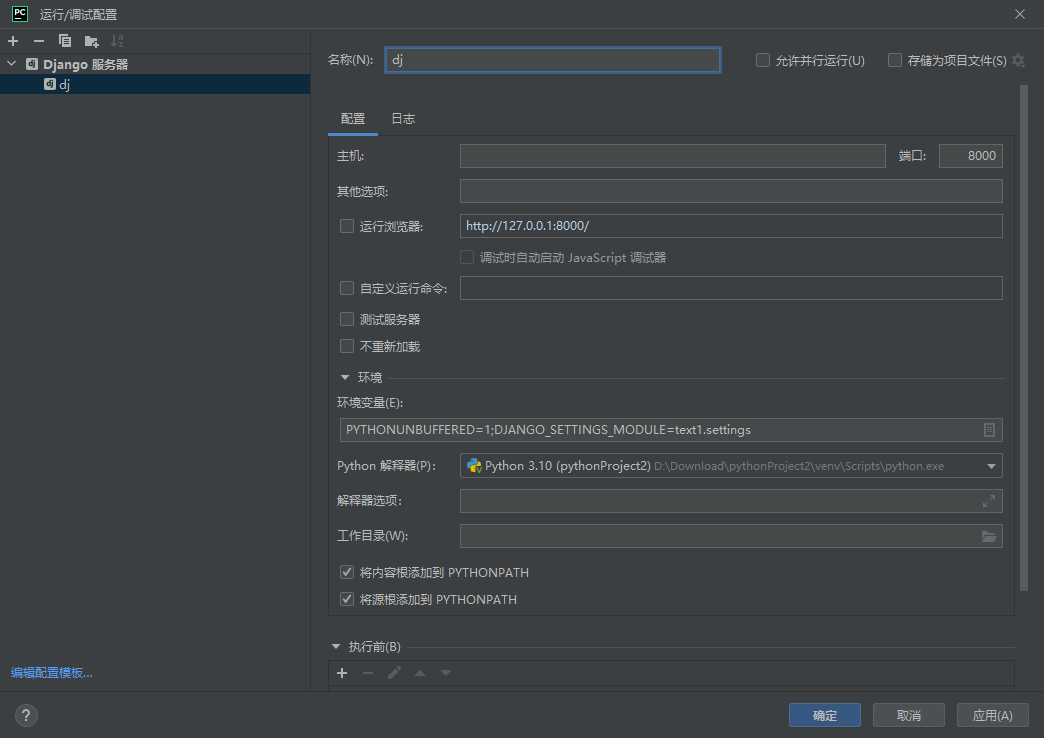
添加django服务器

image-20221113141052025

image-20221113141128823

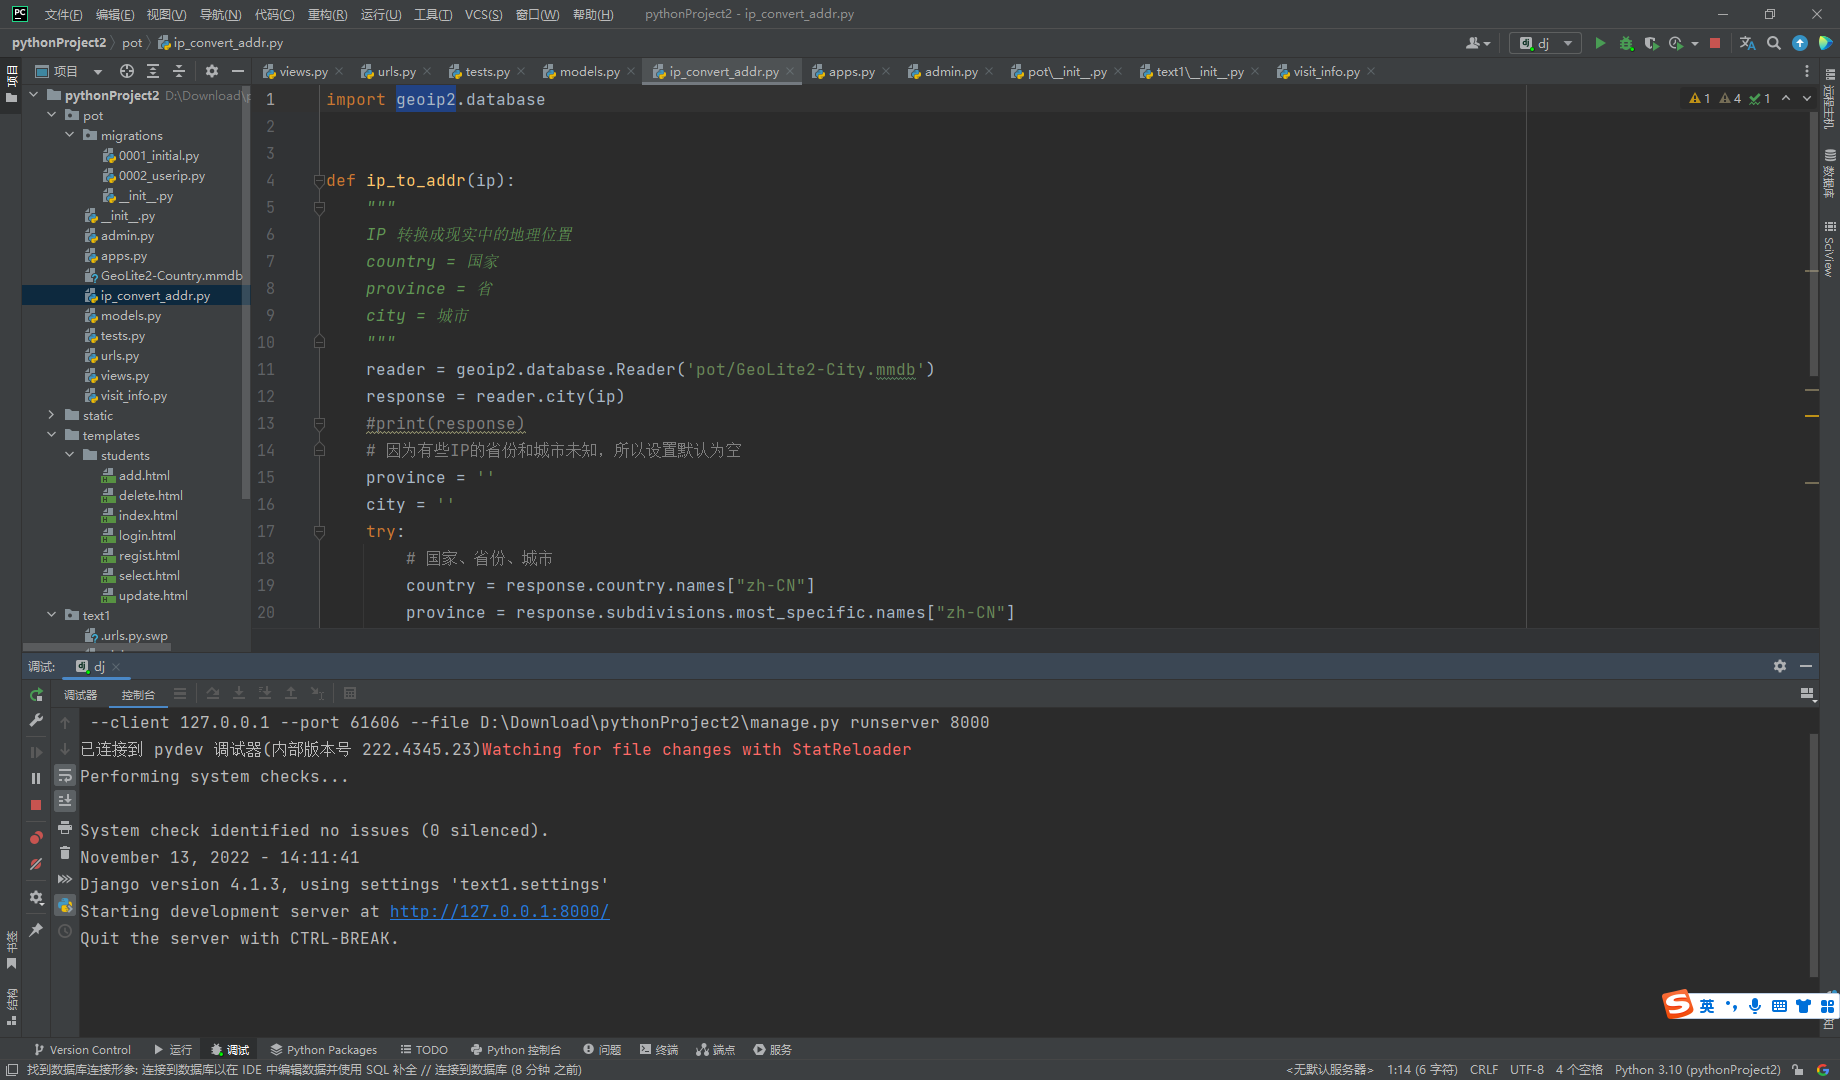
尝试启动

image-20221113141149528

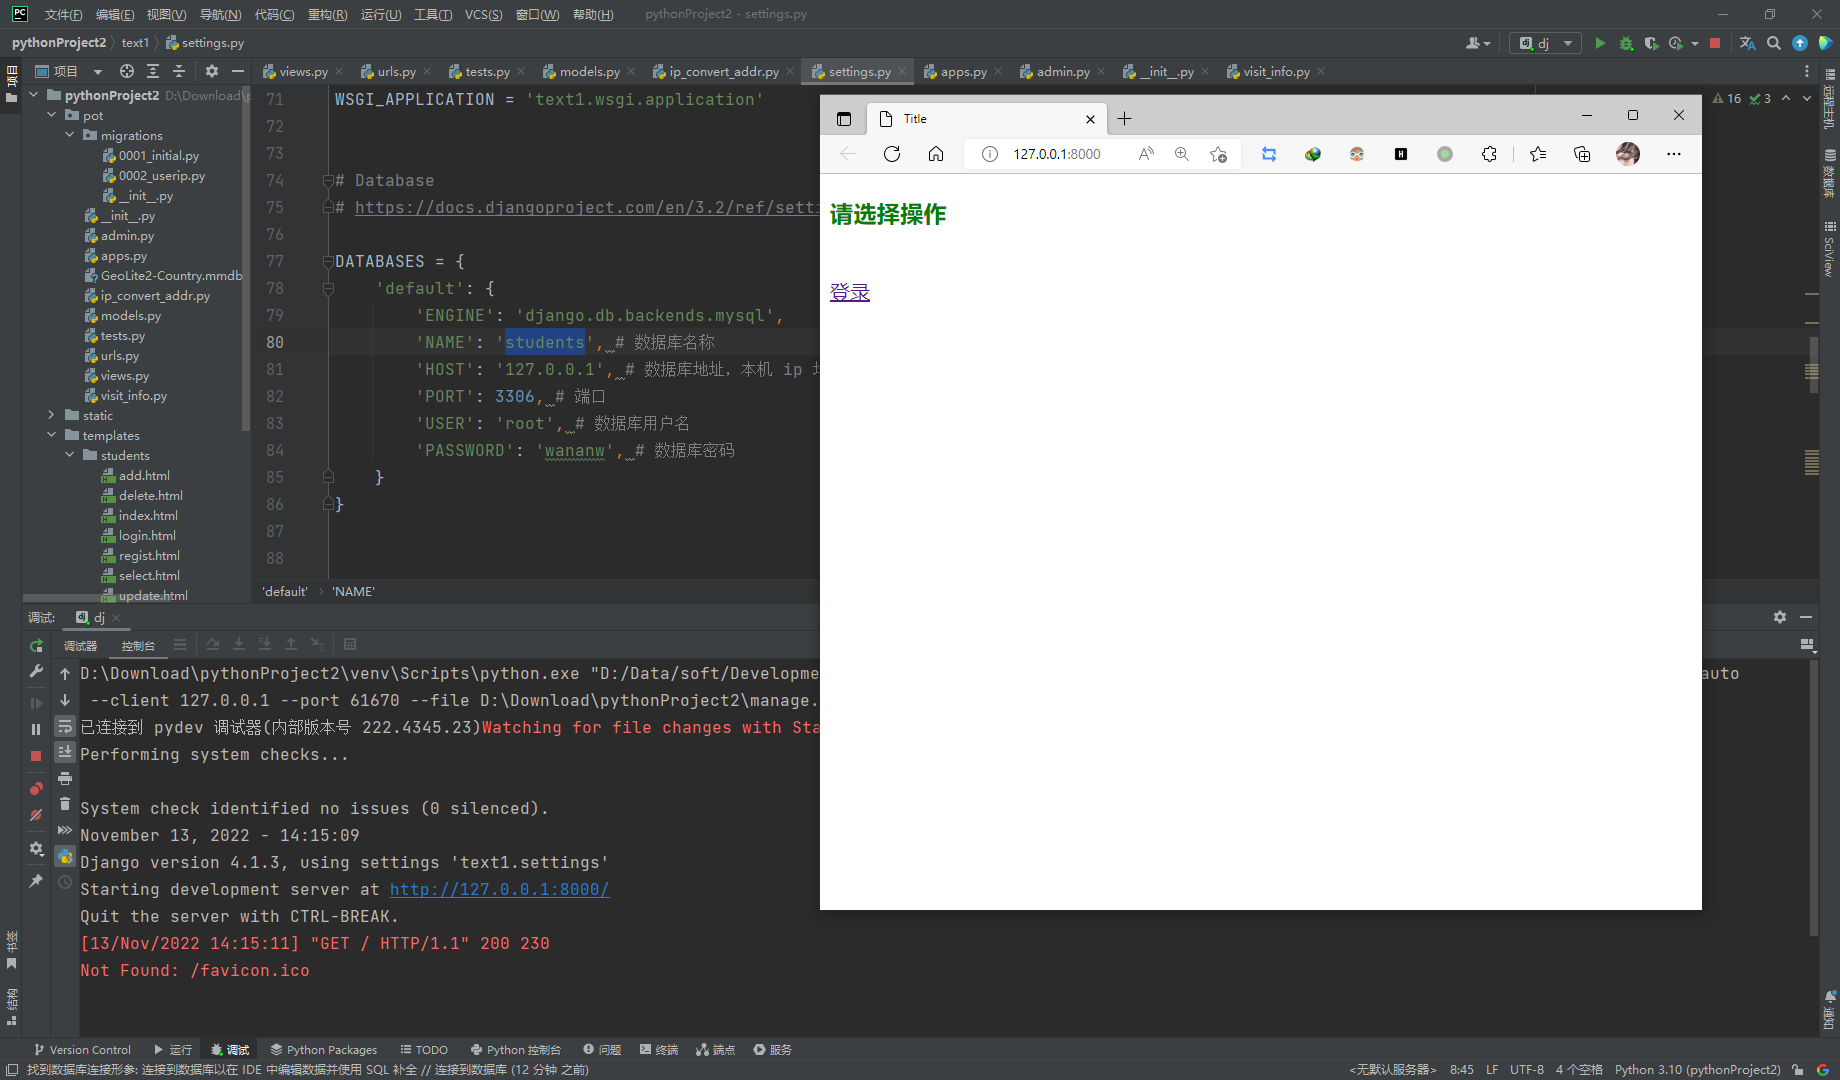
成功访问

image-20221113141516446

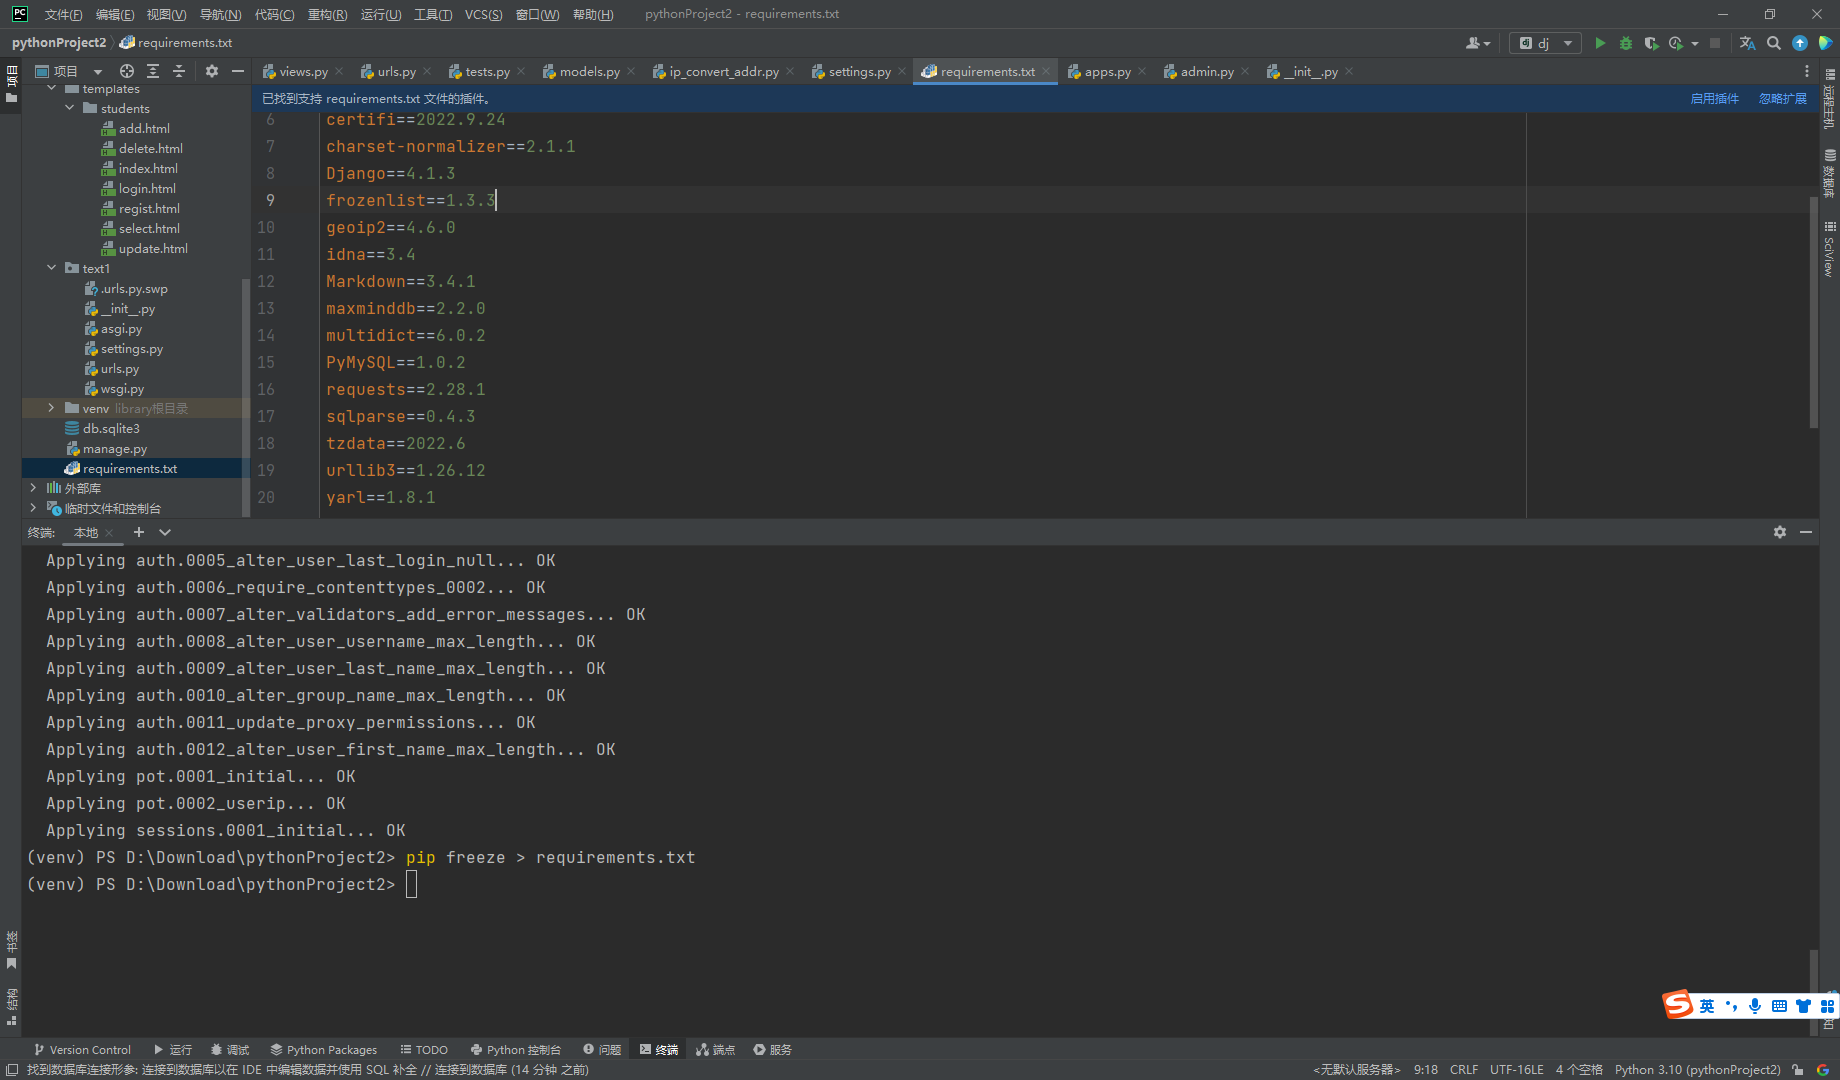
导出 requirements.txt

pip freeze > requirements.txt

image-20221113141707898

docker

uname -a

image-20221119085632790

剩下的操作全部都是在龙芯操作平台下完成的

yum search docker

image-20221113141905720

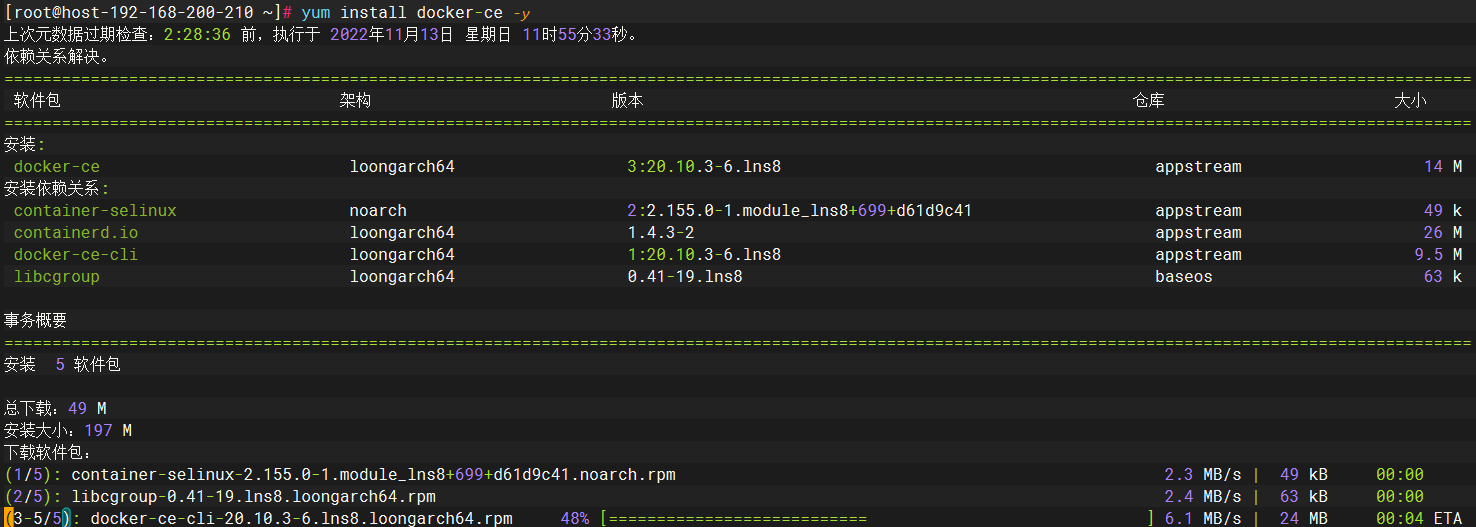
yum install docker-ce -y

image-20221113142302571

更改docker源

mkdir -p /etc/docker
tee /etc/docker/daemon.json <<-'EOF'
{
"registry-mirrors": ["https://cr.loongnix.cn"]
}
EOF
cat /etc/docker/daemon.json
systemctl daemon-reload
systemctl restart docker

image-20221113142533985

docker -v

image-20221113142610289

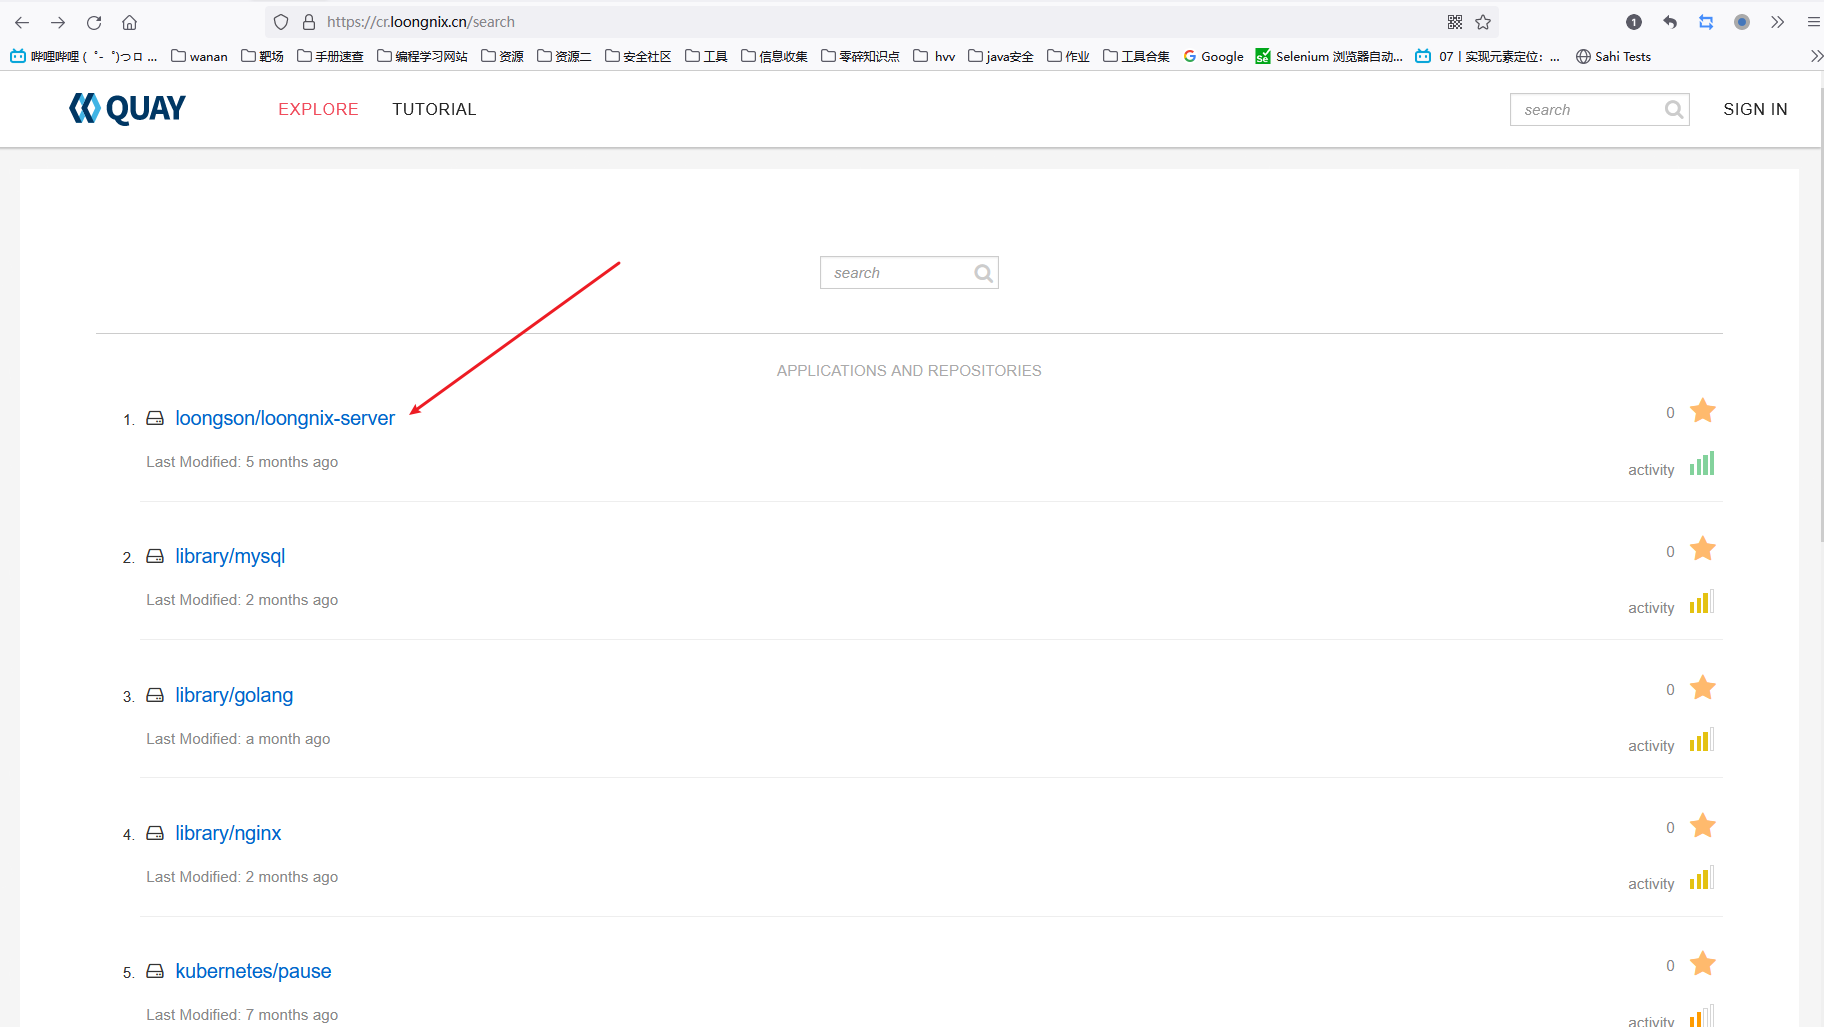
寻找镜像

image-20221113153956052

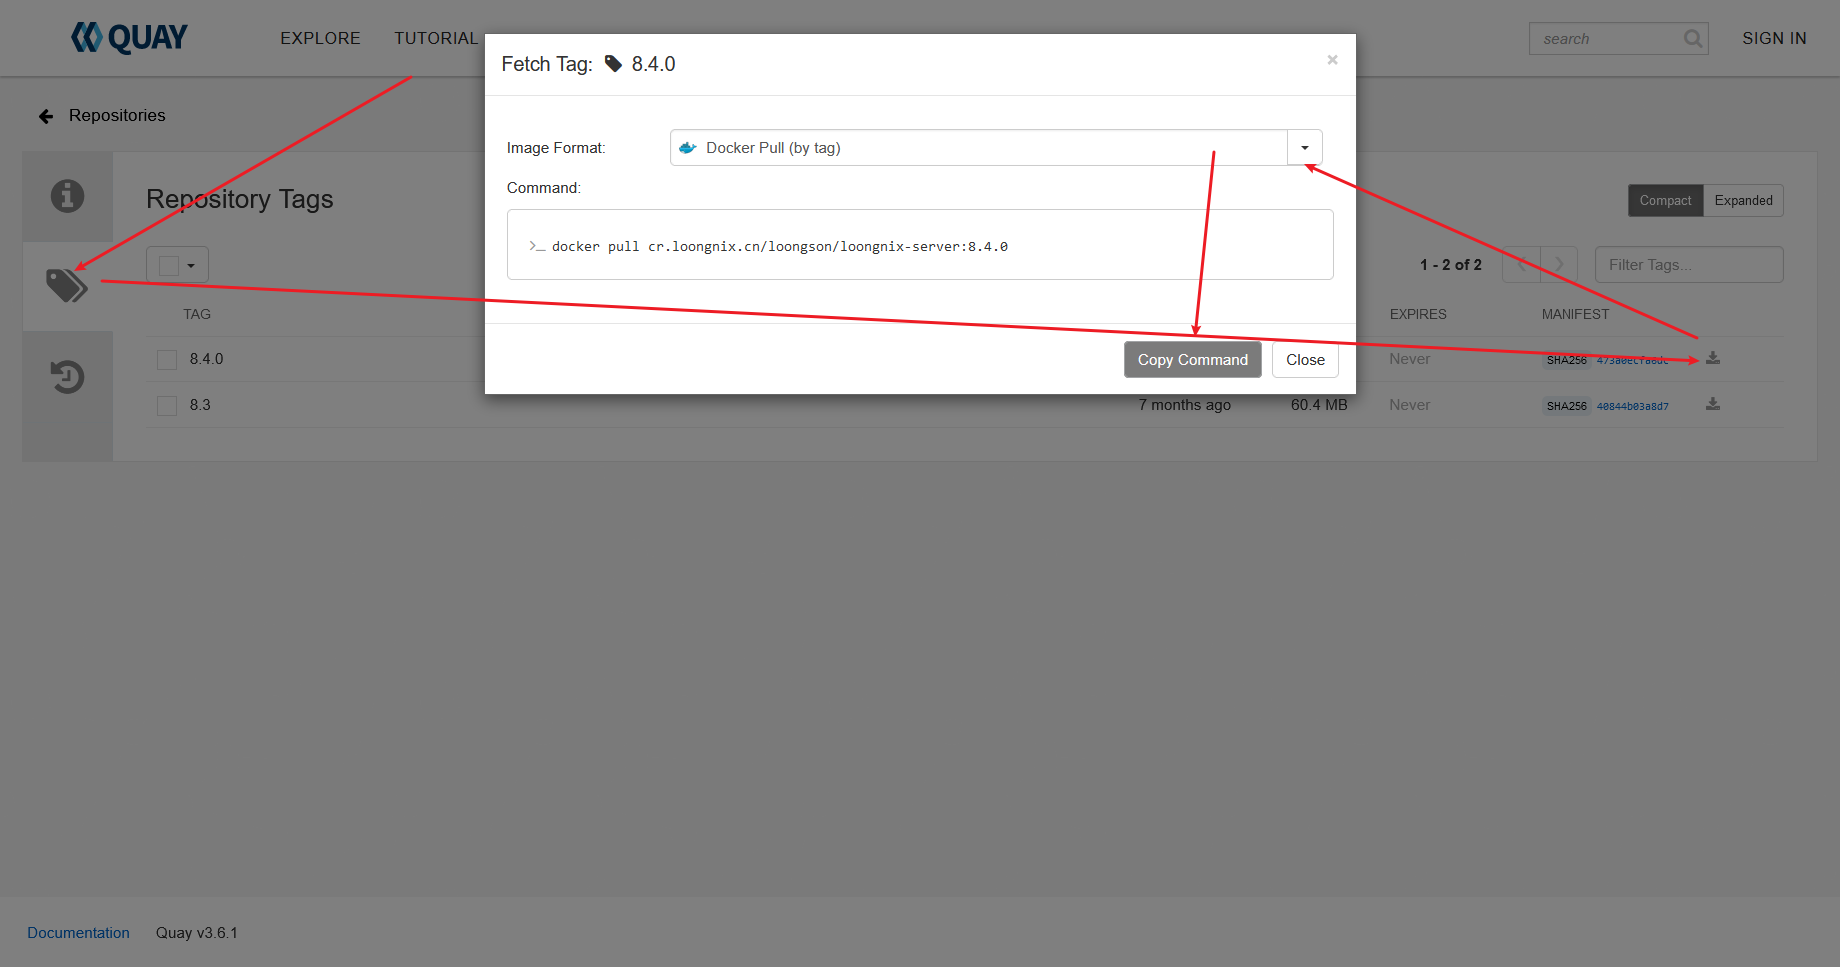
image-20221113154012303

docker pull cr.loongnix.cn/loongson/loongnix-server:8.4.0

image-20221113153453214

docker images

image-20221113153924343

docker run -d -p 80:80 -p 3306:3306 --privileged=true cr.loongnix.cn/loongson/loongnix-server:8.4.0 /usr/sbin/init
docker ps
docker exec -it  eb41e243e894   bash

image-20221114141416169

uname -a

image-20221119085954049

容器的架构也是基于主机的架构的

mysql8.0.21

以下的操作都是在容器的内部进行的

其中所使用的yum源全部基于 Loongnix 的仓库

ls /etc/yum.repos.d/

image-20221119093029802

yum update -y && yum -y upgrade 
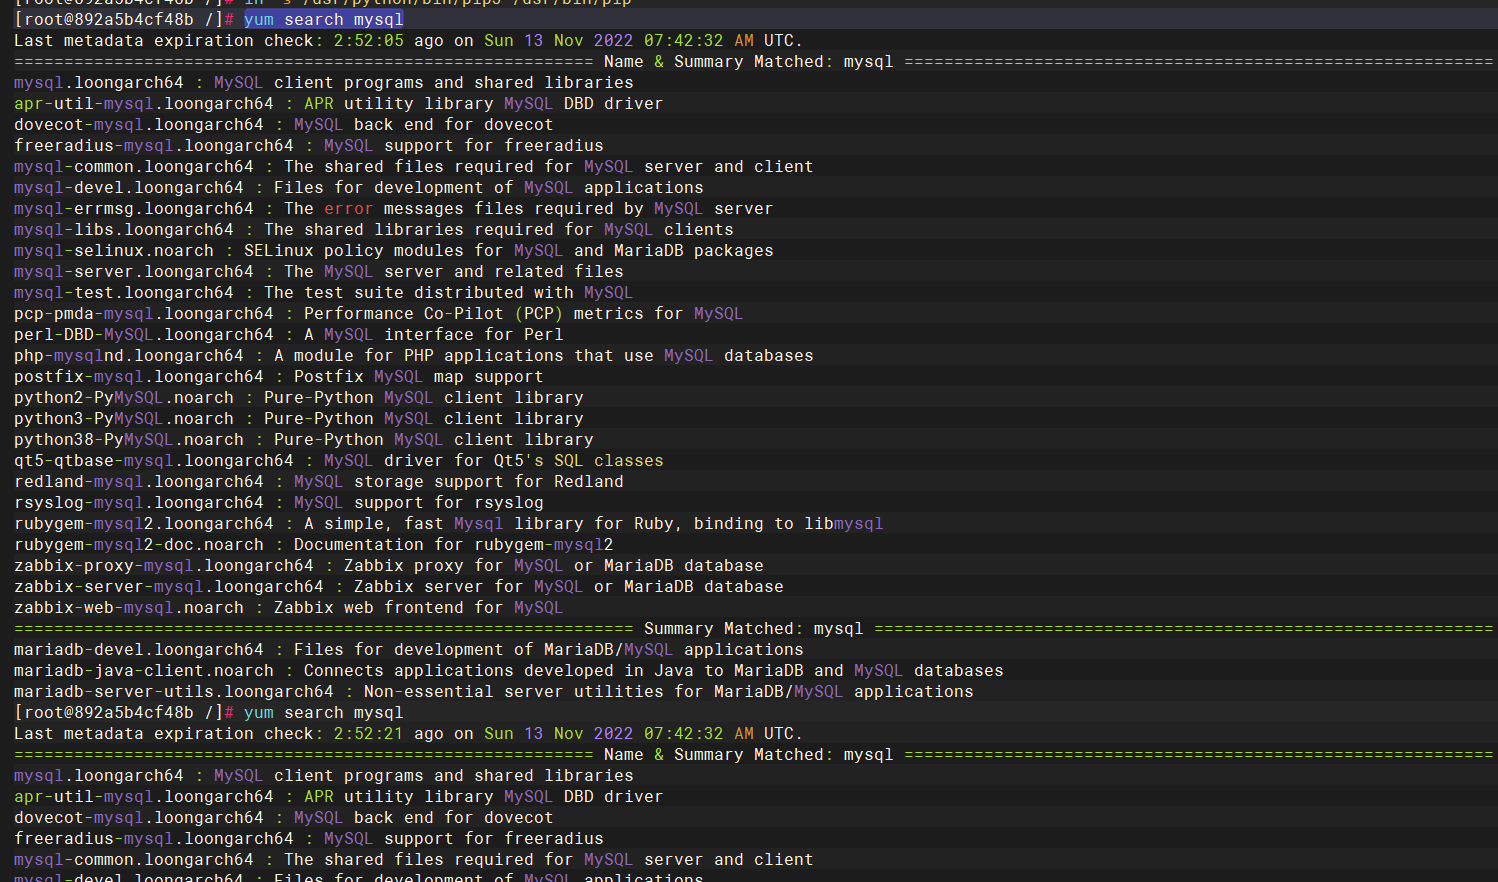
yum search mysql

image-20221113183412623

yum install -y mysql-server.loongarch64 mysql.loongarch64 mysql-devel.loongarch64 vim 

image-20221114120301312

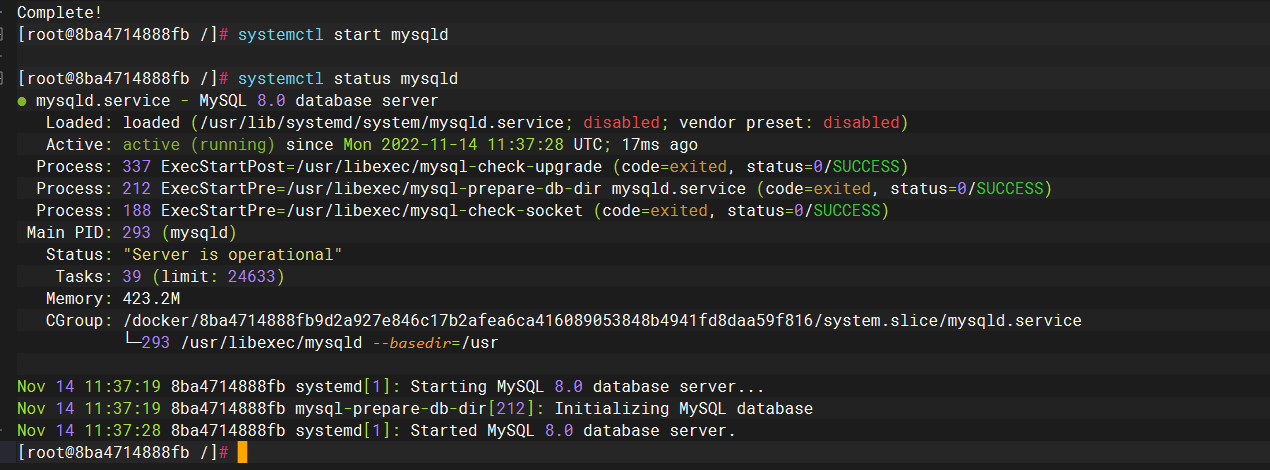
systemctl start mysqld
systemctl status mysqld

image-20221114193742525

mysql -V

image-20221114155740230

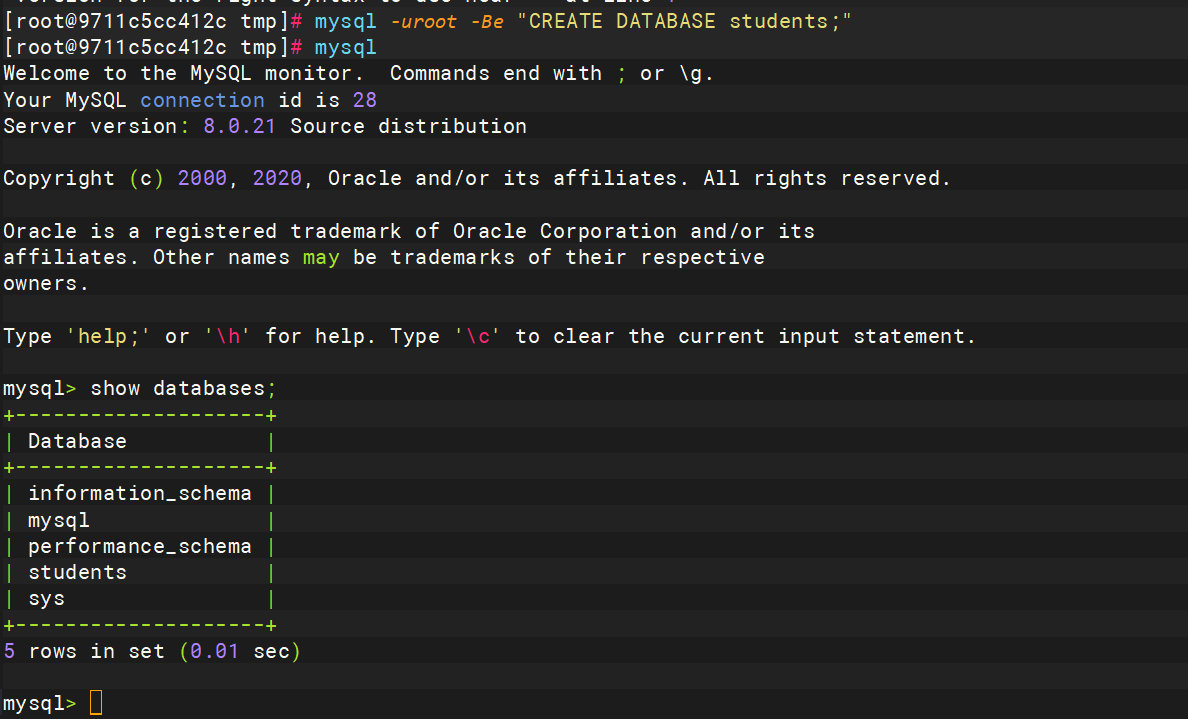
创建students表

mysql -uroot -Be "CREATE DATABASE students;" 

image-20221114121037237

更改root密码

mysql -uroot -Be "ALTER USER 'root'@'localhost' IDENTIFIED WITH mysql_native_password BY '1qaz@WSX';" 

image-20221114120655904

添加管理人员信息表

mysql -uroot -Be "INSERT INTO students.student (stu_id, username, password) VALUES (1, 'lwh', '123456');" 

image-20221115111735967

python3.8

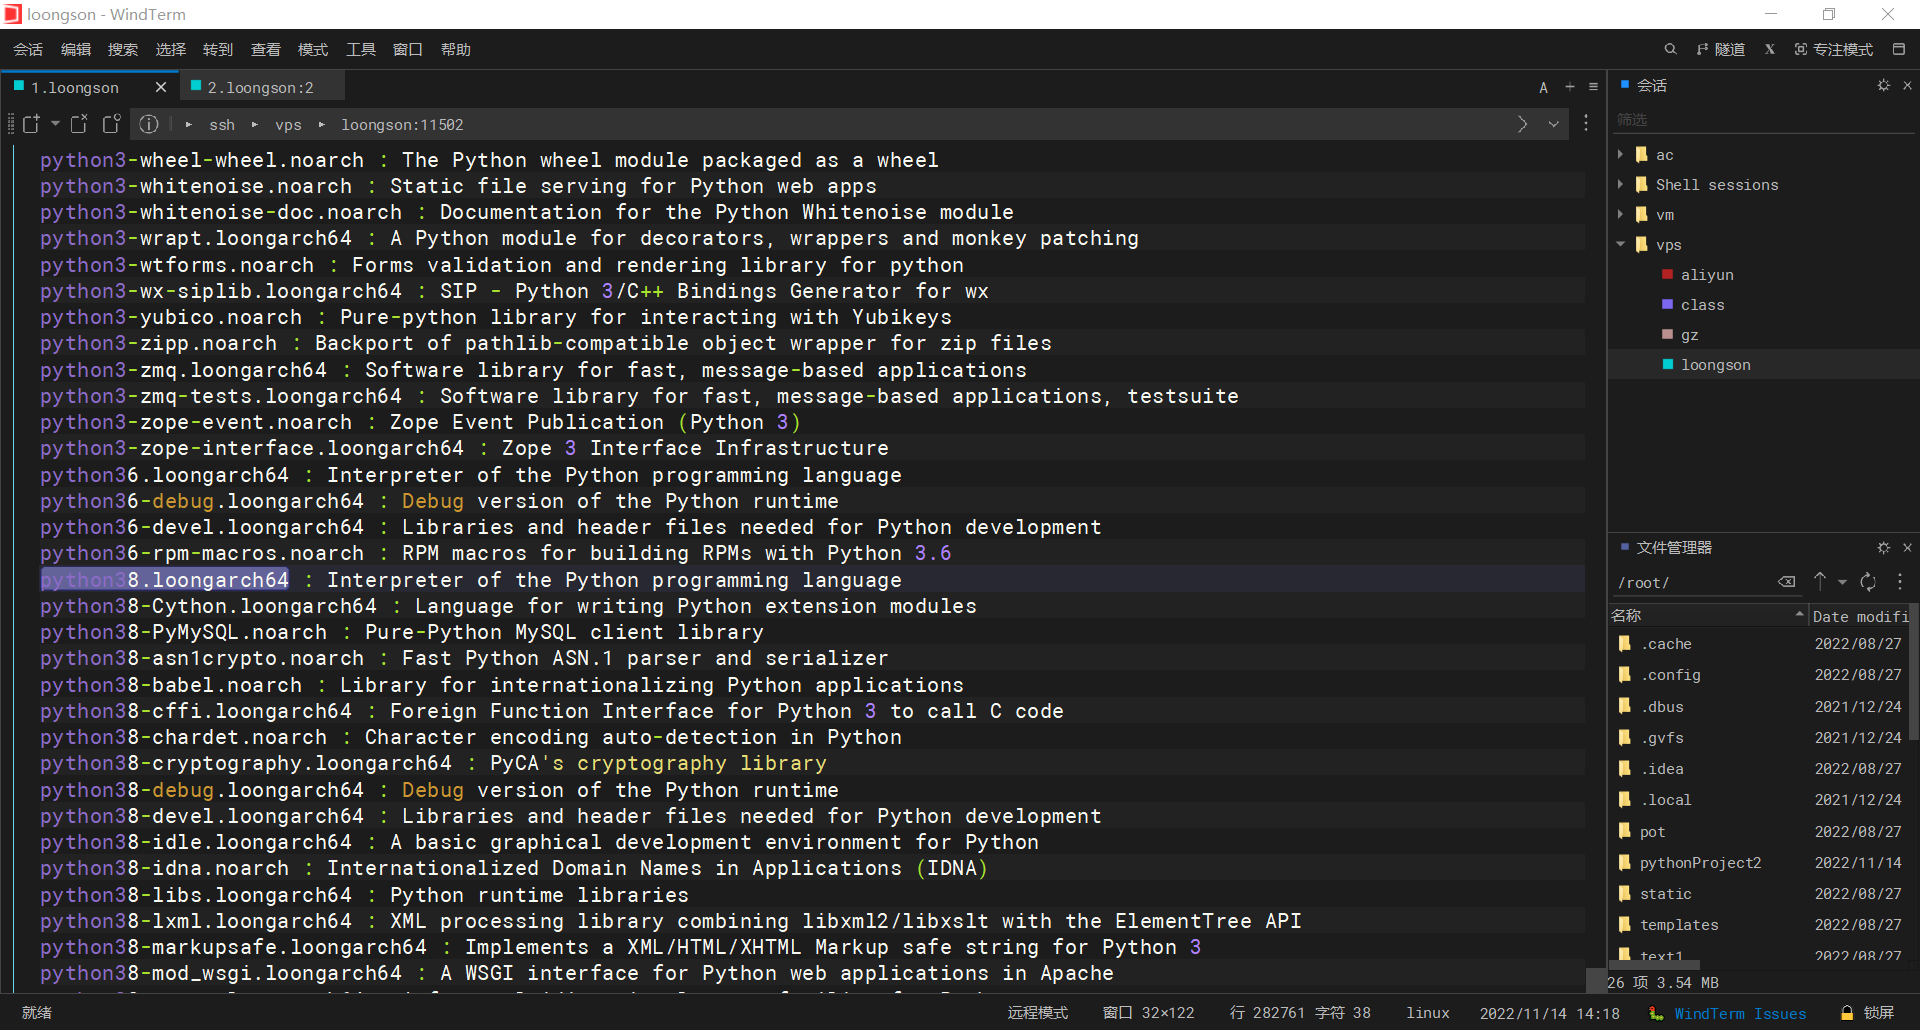
yum search python3

image-20221114141805767

yum install -y python38.loongarch64 python38-devel.loongarch64 gcc.loongarch64  make zlib.loongarch64  zlib-devel  bzip2-devel openssl-devel ncurses-devel sqlite-devel  readline-devel tk-devel gdbm-devel  libpcap-devel xz-devel zlib zlib-devel openssl openssl-devel   libffi-devel vim

image-20221114193809494

loogson部署

上传项目

image-20221114121636639

docker cp ~/pythonProject2.tar.gz eb41e243e894:/tmp

image-20221114121735575

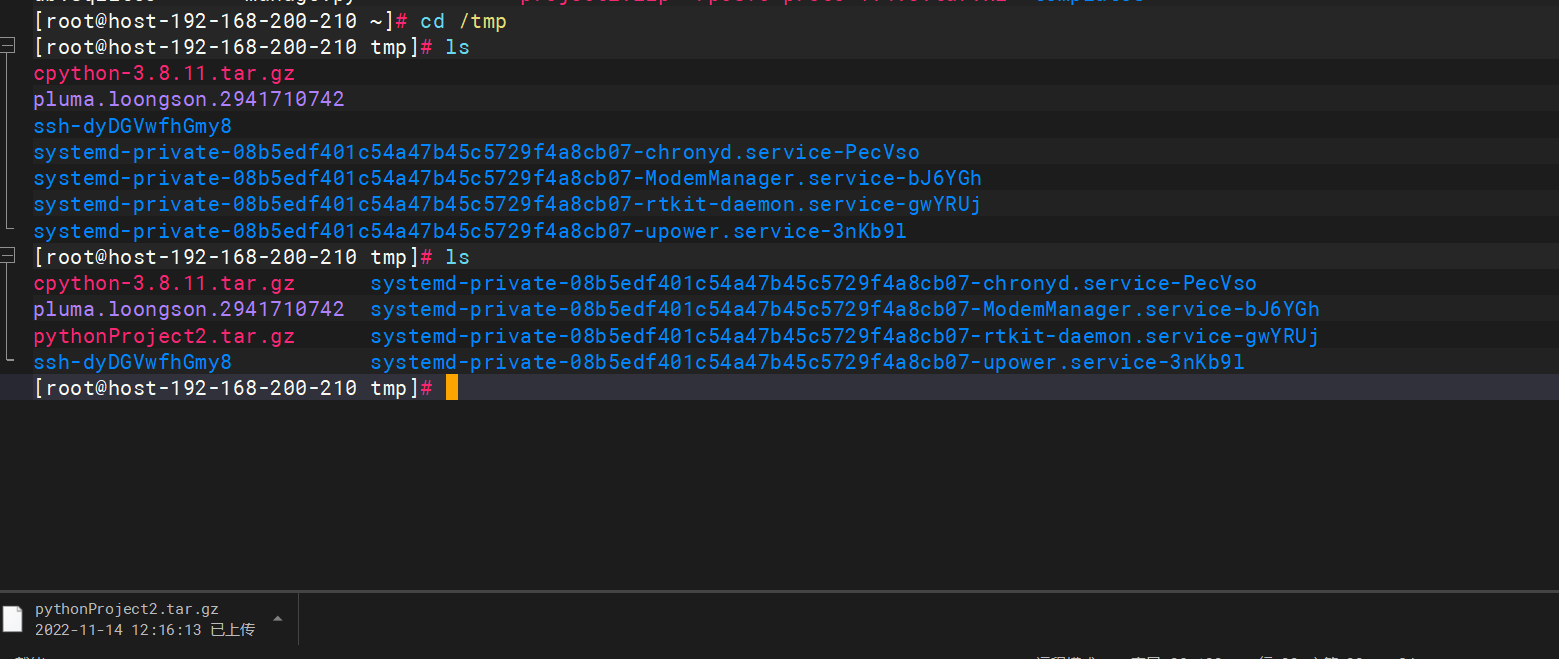
cd /tmp
tar -zxvf pythonProject2.tar.gz

image-20221114121809282

mkdir /www
mv pythonProject2 /www/
ls /www/pythonProject2/

image-20221114122346305

cd /www/pythonProject2/
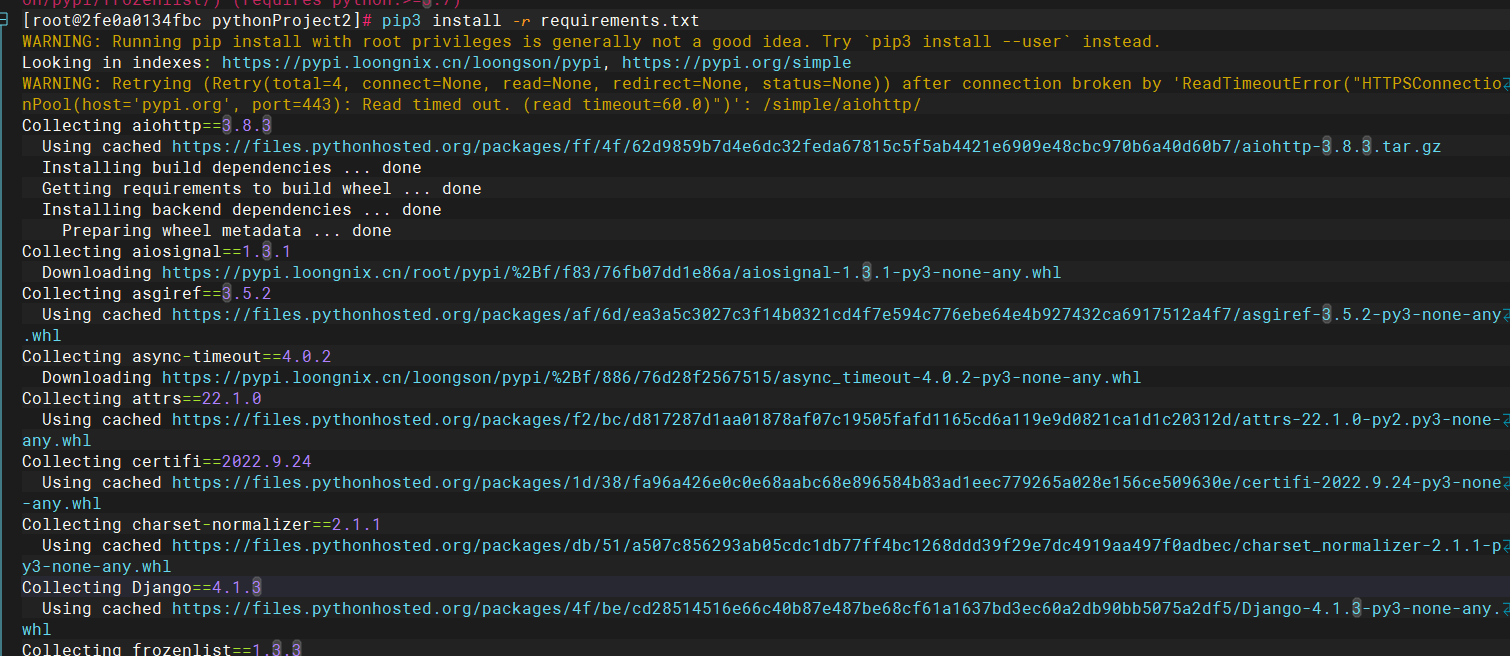
pip3 install -r requirements.txt -i https://pypi.loongnix.cn/loongson/pypi

image-20221114152829872

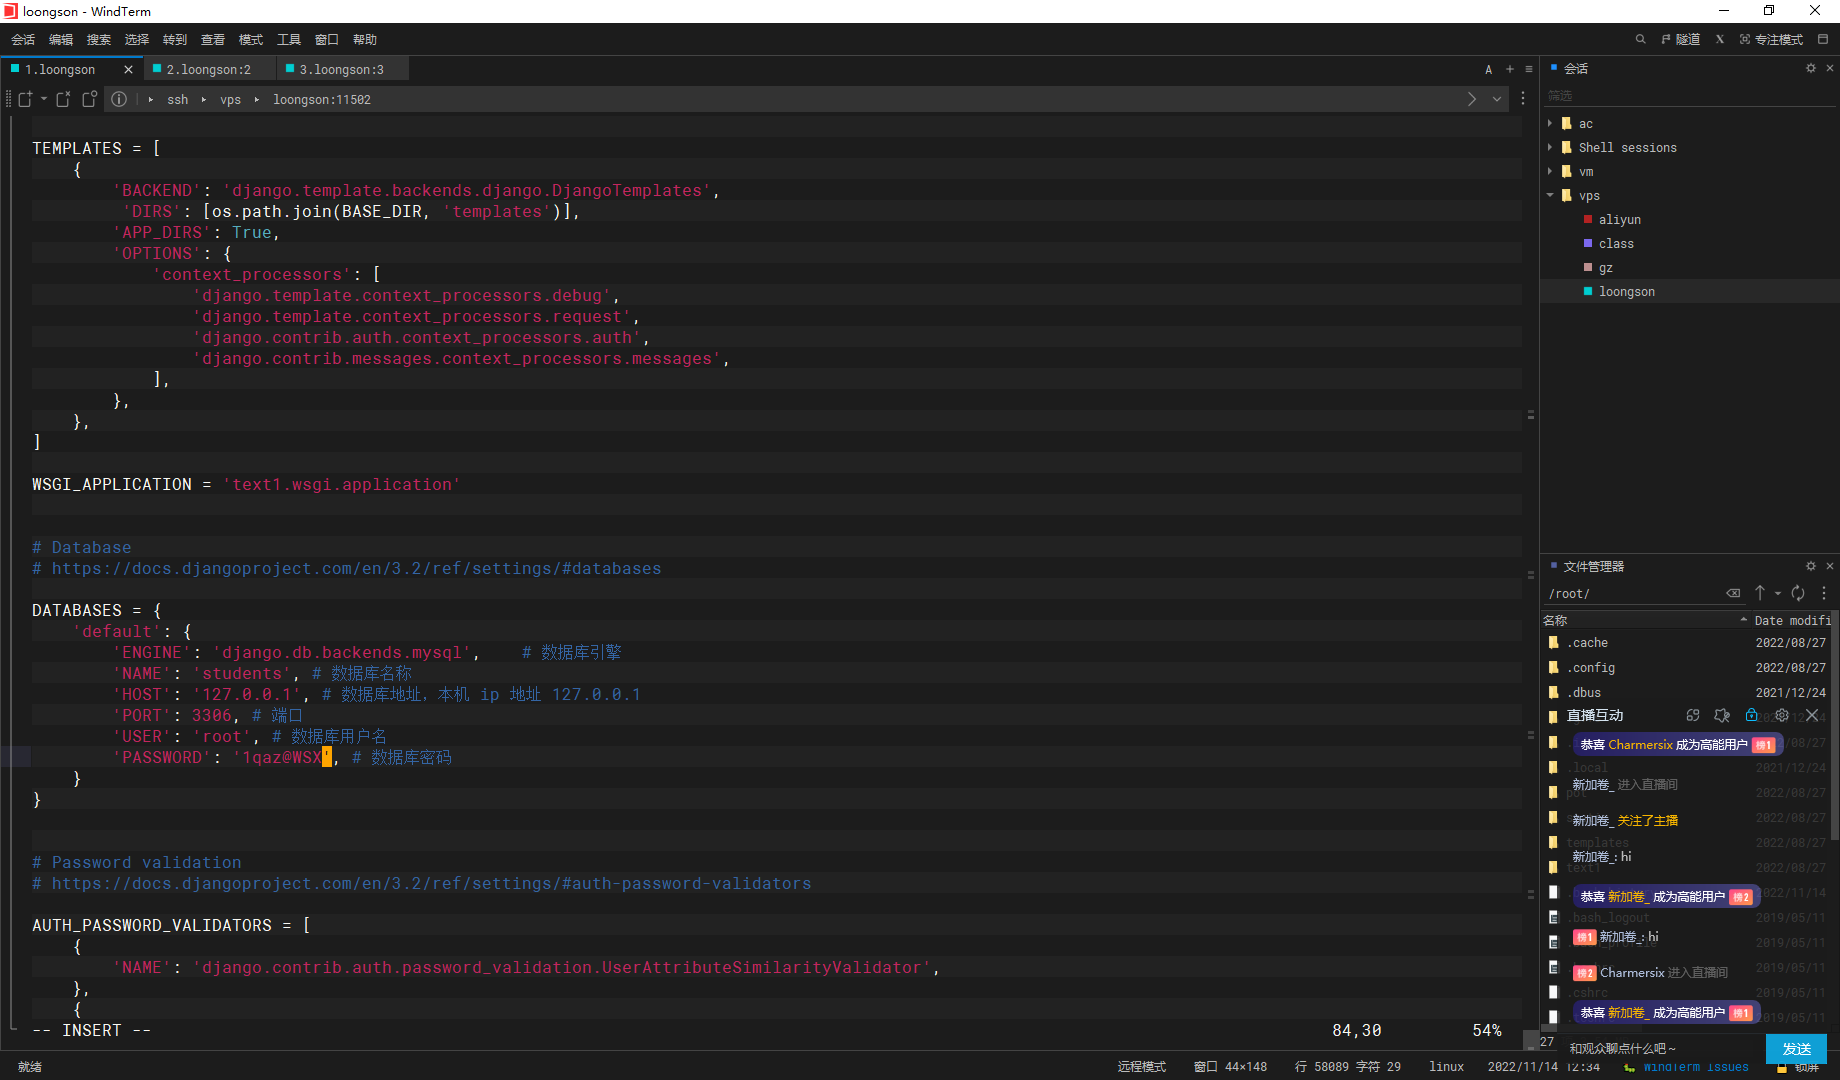
修改setting中数据库连接密码

vim text1/settings.py 

image-20221114123409168

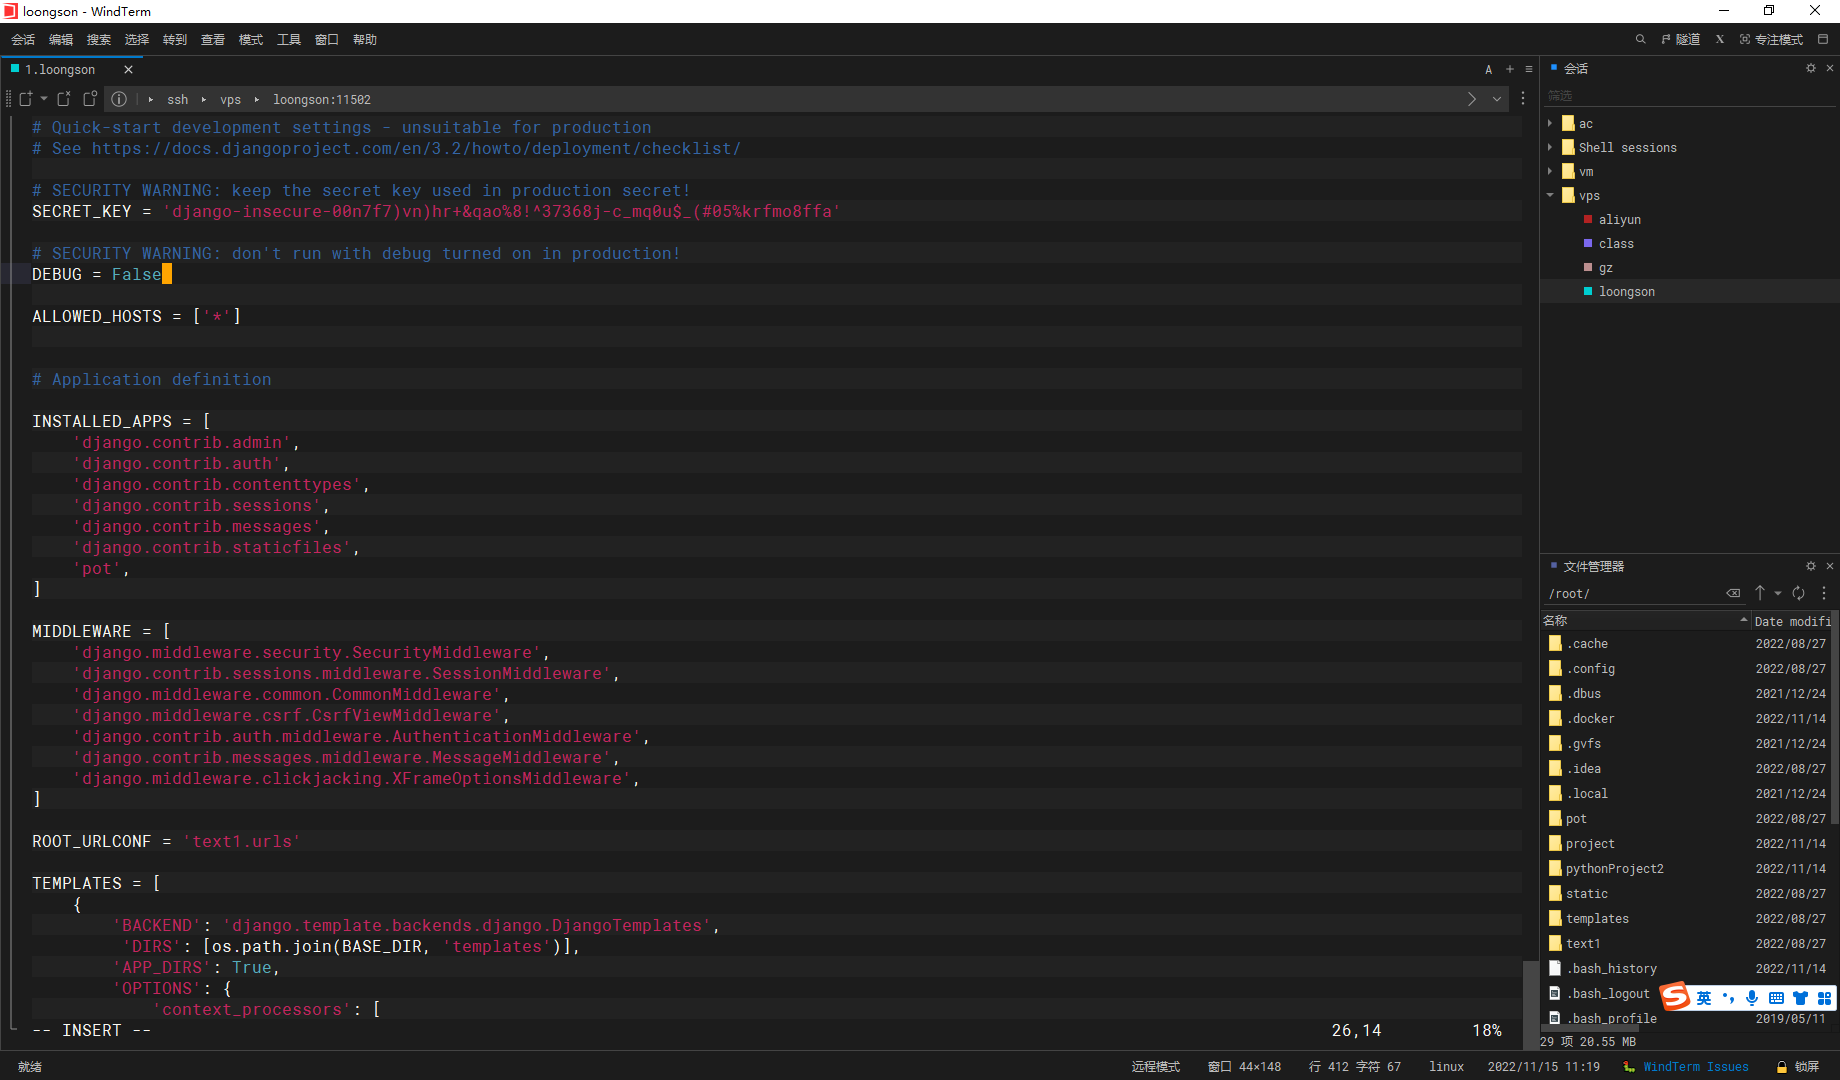
关闭debug

image-20221115111921543

迁移一下数据库

python3 manage.py migrate

image-20221114155119571

创建admin

python3 manage.py createsuperuser

image-20221115182107397

尝试启动

python3 manage.py runserver

image-20221114155136785

uwsgi

安装uwsgi驱动

pip3 install uwsgi -i  https://pypi.loongnix.cn/loongson/pypi

image-20221114155434574

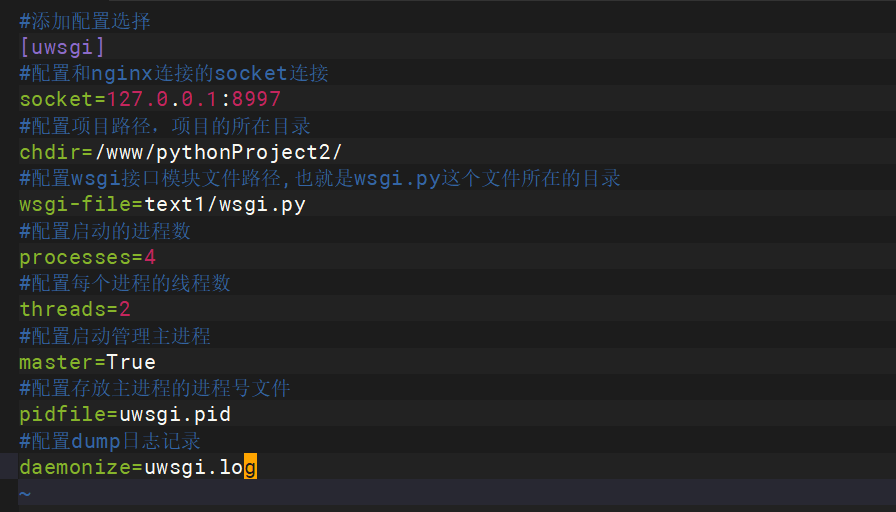
添加 uwsgi.ini 配置文件

cd /www/pythonProject2/
vim uwsgi.ini

image-20221114131759651

#添加配置选择
[uwsgi]
#配置和nginx连接的socket连接
socket=127.0.0.1:8997
#配置项目路径,项目的所在目录
chdir=/www/pythonProject2/
#配置wsgi接口模块文件路径,也就是wsgi.py这个文件所在的目录
wsgi-file=text1/wsgi.py
#配置启动的进程数
processes=4
#配置每个进程的线程数
threads=2
#配置启动管理主进程
master=True
#配置存放主进程的进程号文件
pidfile=uwsgi.pid
#配置dump日志记录
daemonize=uwsgi.log
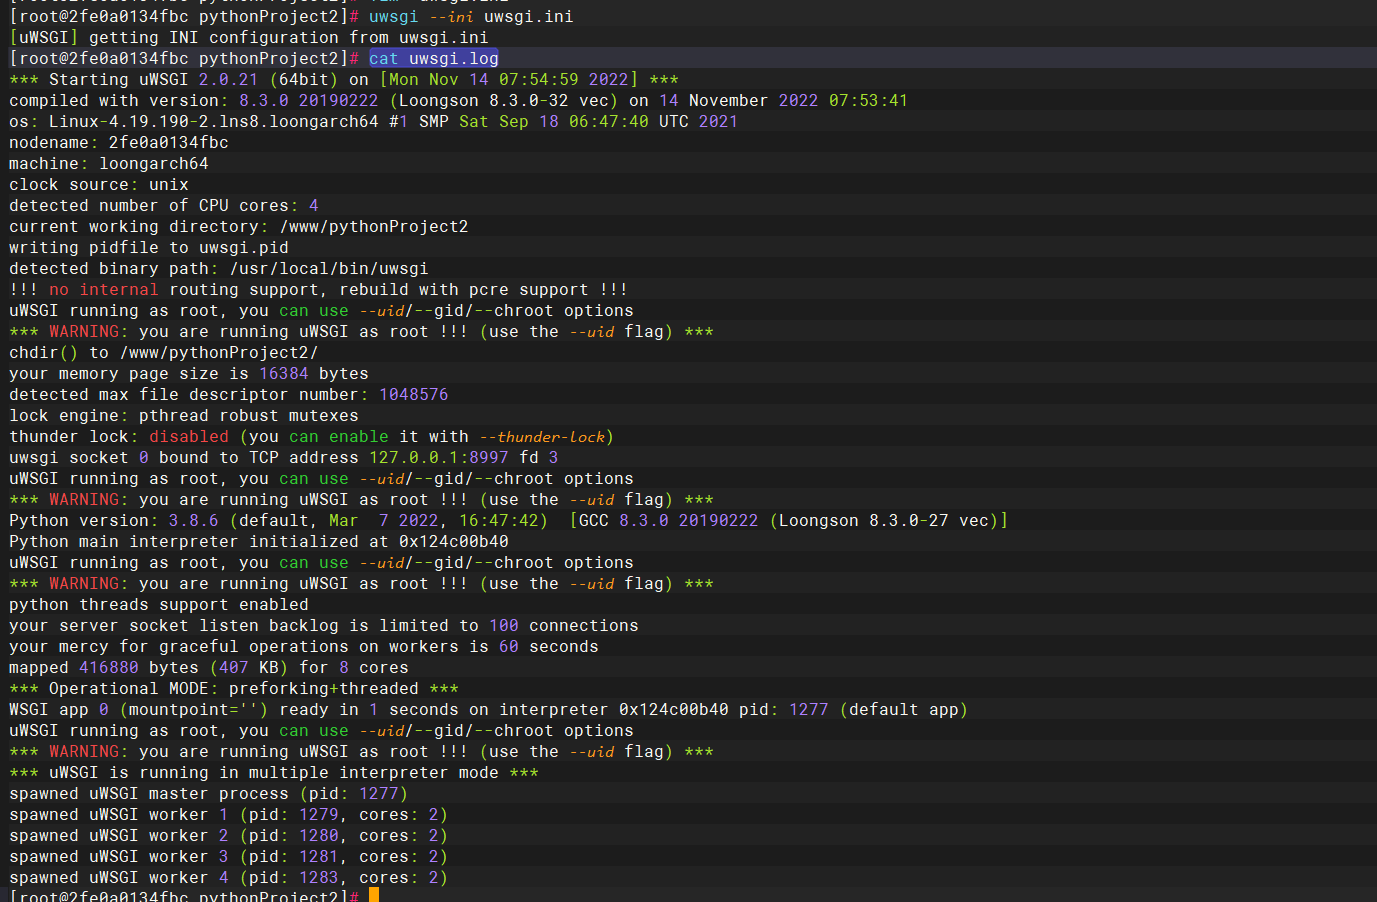
uwsgi --ini /www/pythonProject2/uwsgi.ini

image-20221114131837702

cat uwsgi.log

image-20221114155533303

nginx

安装nginx

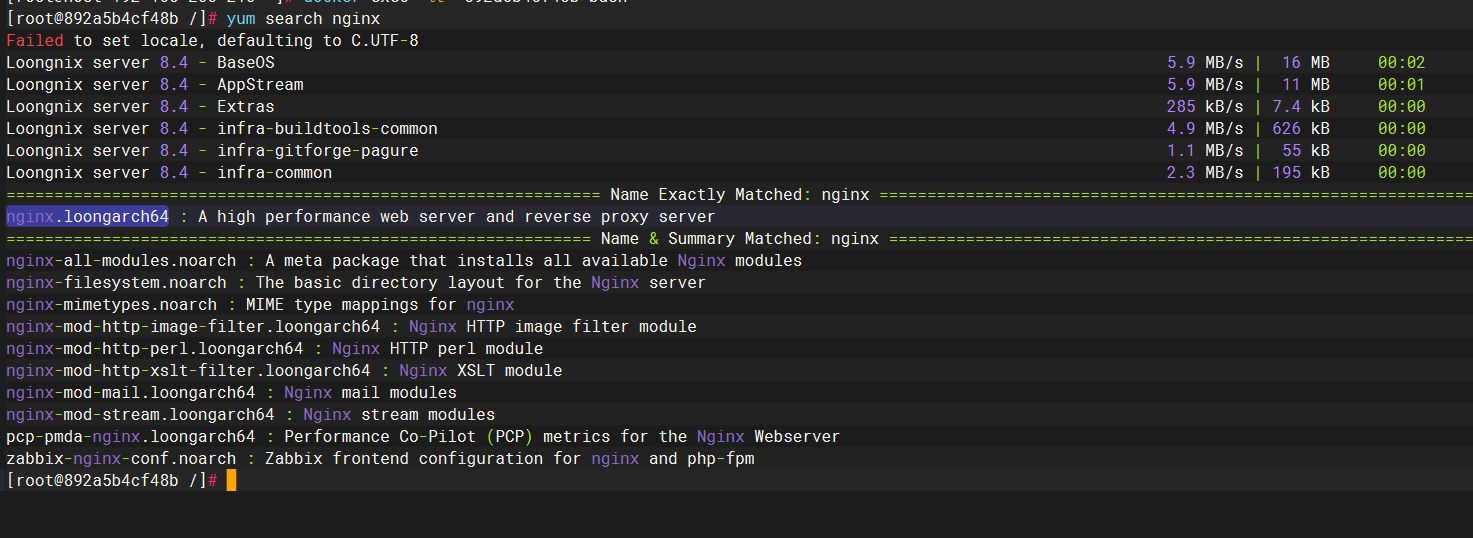
yum search nginx

image-20221113154136343

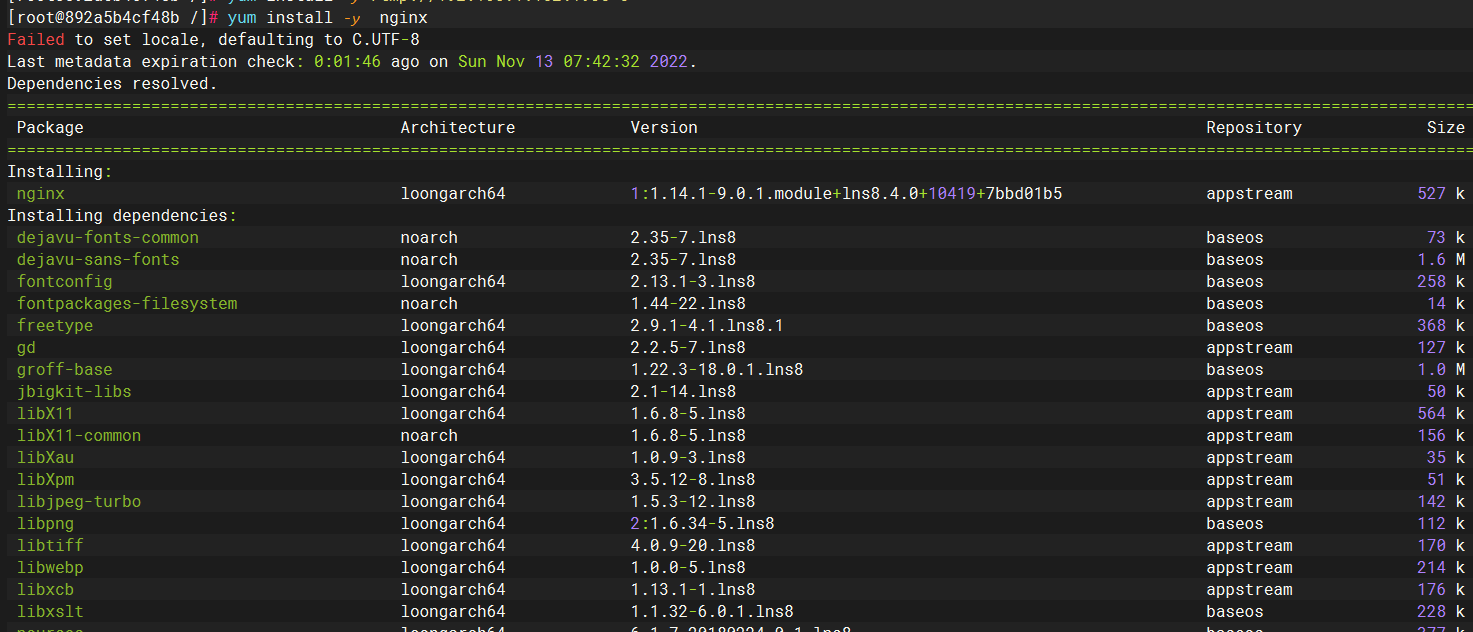
yum install -y  nginx

image-20221113154444876

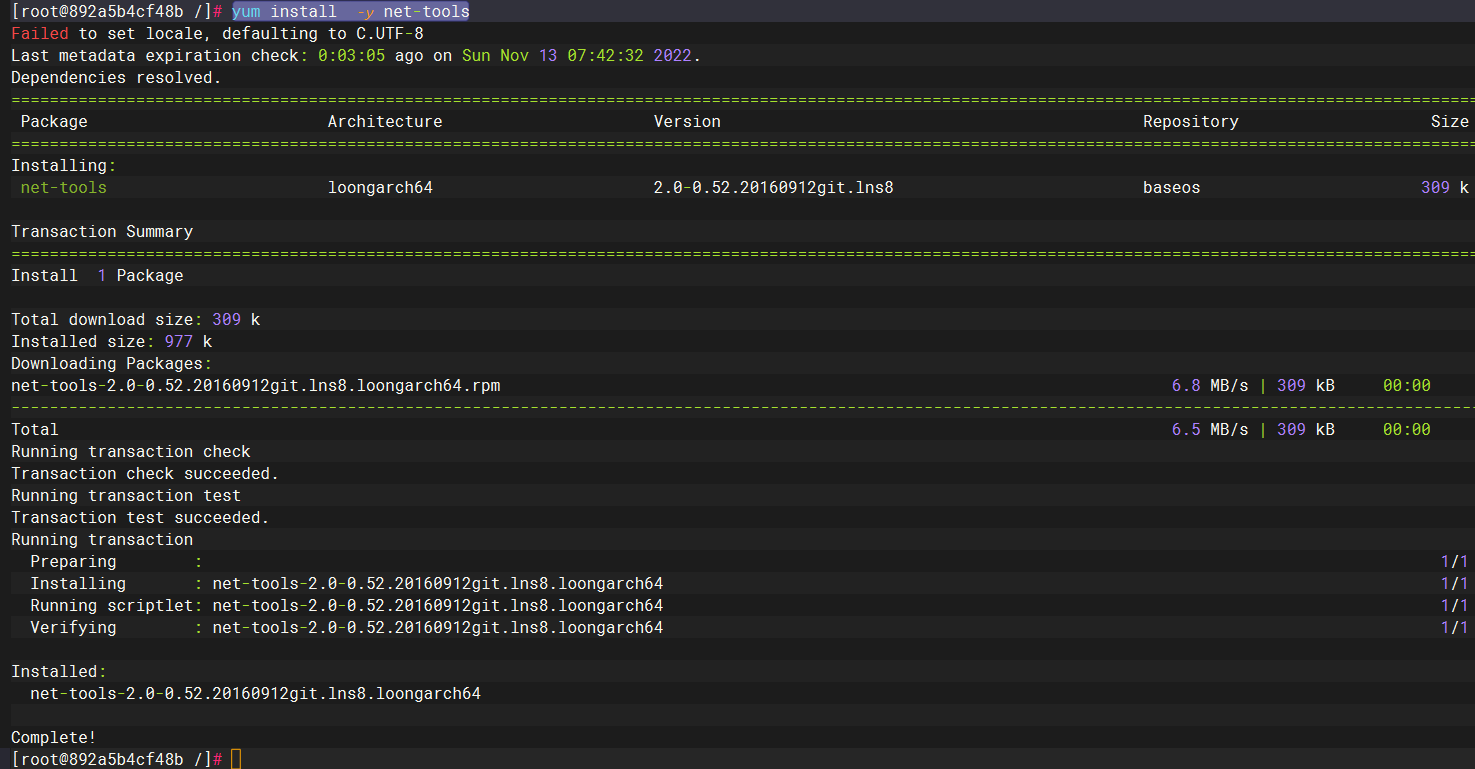
yum install  -y net-tools

image-20221113154456743

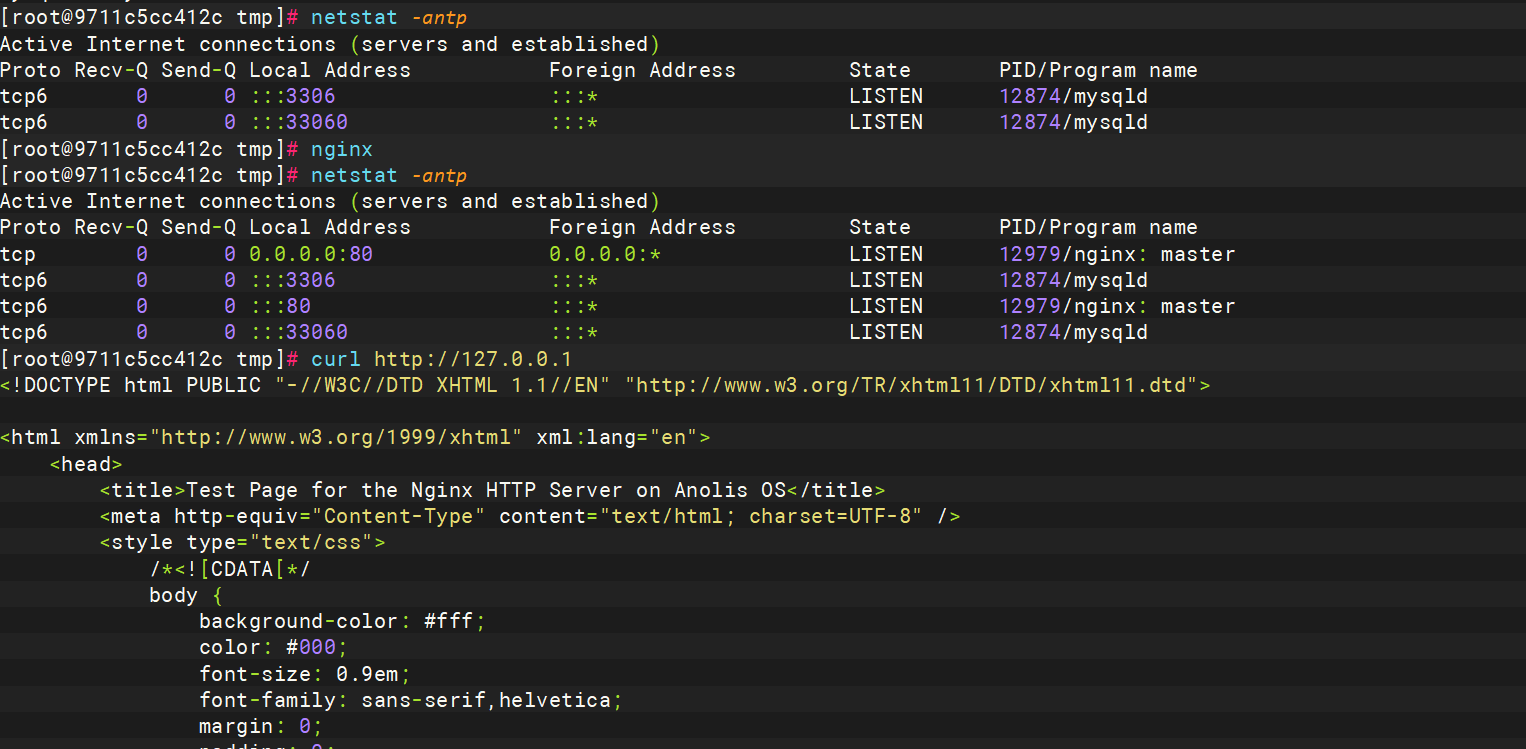
nginx
netstat -antp
curl http://127.0.0.1

image-20221114121212224

查看nginx 的配置文件位置

nginx -t

image-20221114131927891

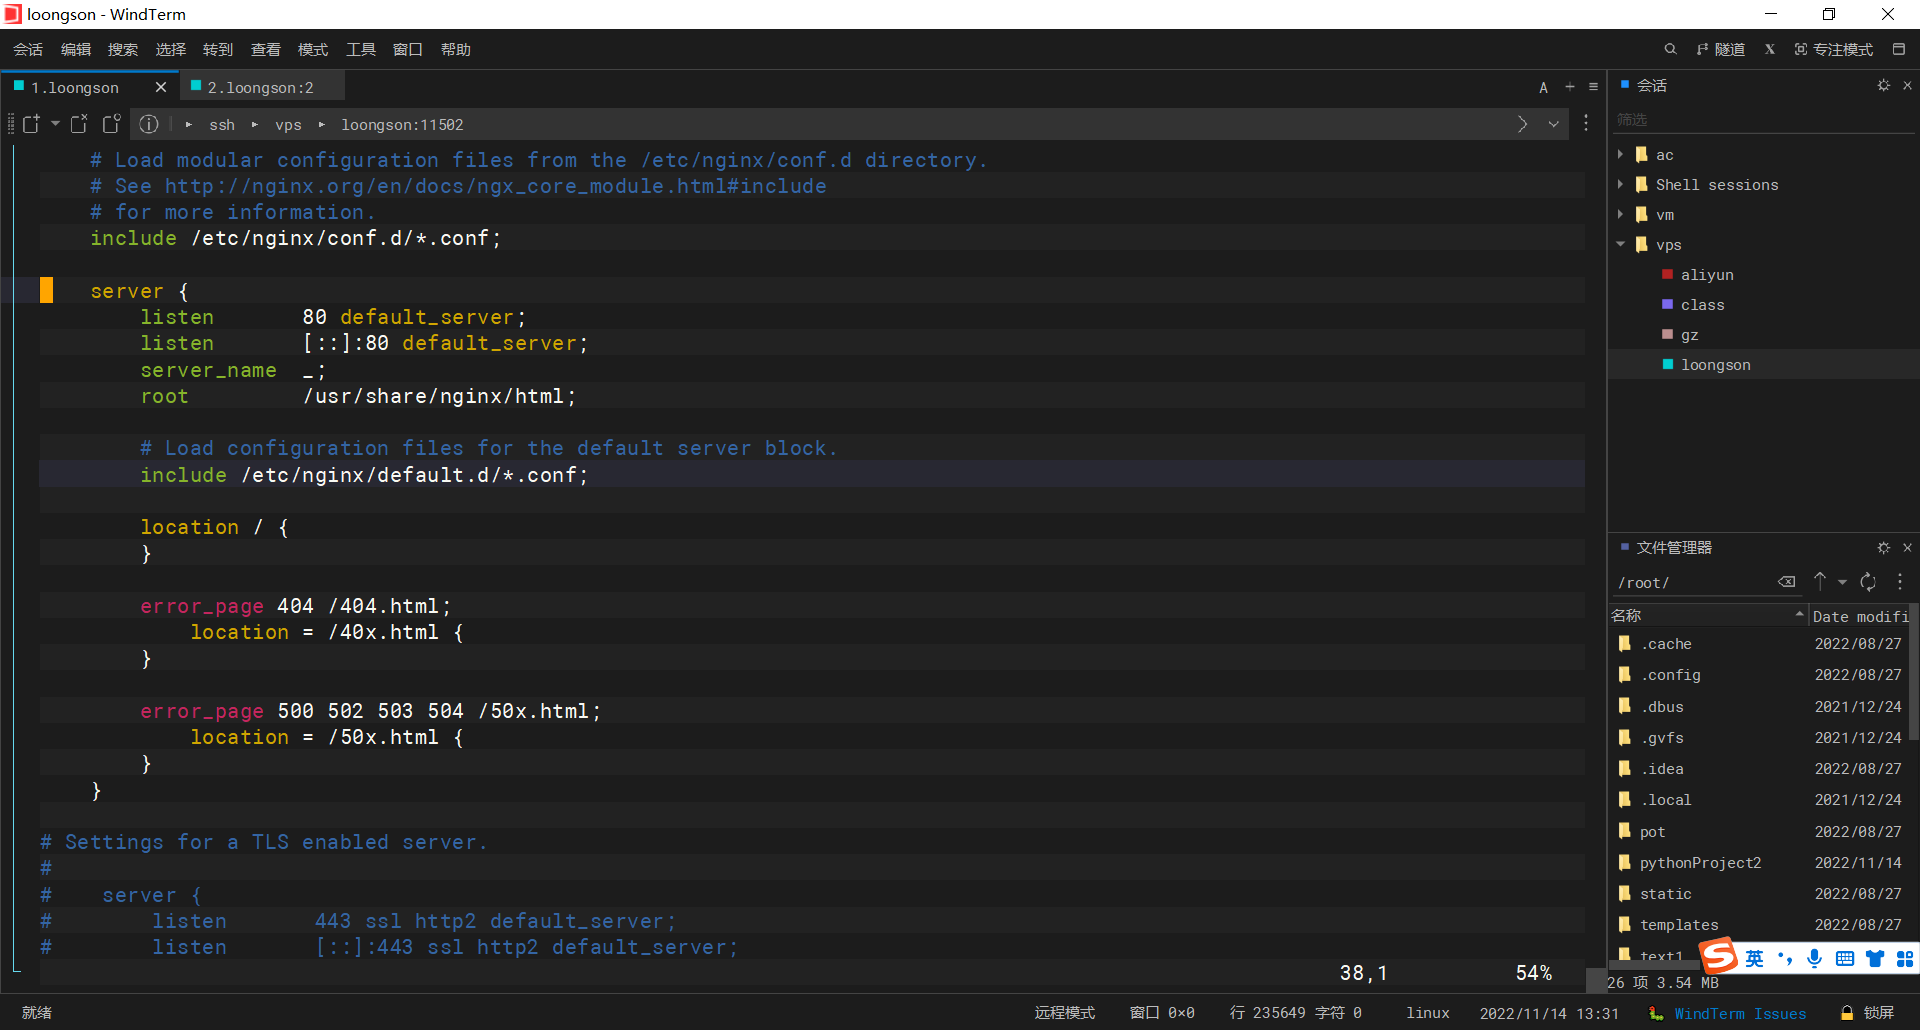
修改配置文件

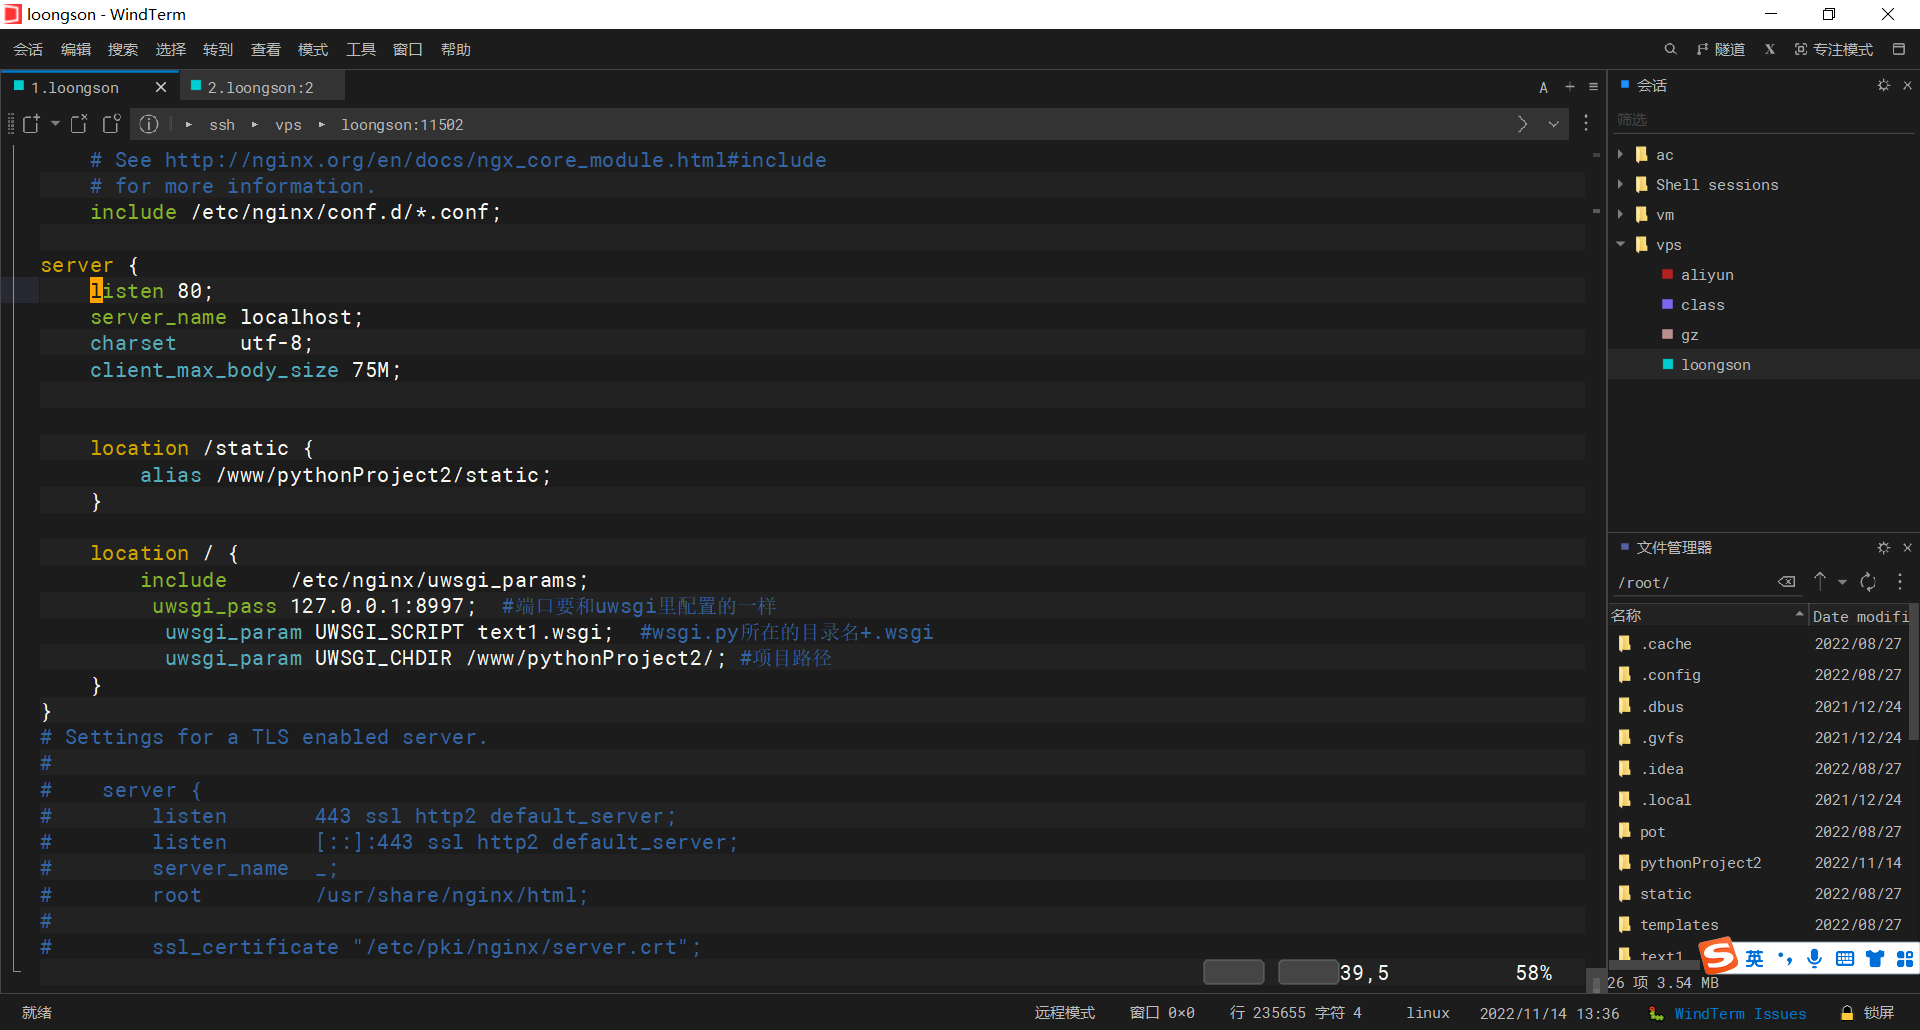
vim /etc/nginx/nginx.conf

原先

image-20221114133158869

改后

image-20221114133620971

    server {
listen 80;
server_name localhost;
charset utf-8;
client_max_body_size 75M;


location /static {
alias /www/pythonProject2/static;
}

location / {
include /etc/nginx/uwsgi_params;
uwsgi_pass 127.0.0.1:8997; #端口要和uwsgi里配置的一样
uwsgi_param UWSGI_SCRIPT text1.wsgi; #wsgi.py所在的目录名+.wsgi
uwsgi_param UWSGI_CHDIR /www/pythonProject2/; #项目路径
}
}
nginx -s reload

image-20221114155700256

制作成镜像

docker stop eb41e243e894

image-20221114215338807

docker commit -a "loogson" eb41e243e894  loogson:v1
docker images

image-20221114215459235

docker run -d -p 80:80 -p 3306:3306 --privileged=true  loogson:v1 /usr/sbin/init
docker exec -it 8a6ae8bd9ee9 bash

image-20221115174230177

vim /usr/sbin/start_uwsgi.sh
#!/bin/sh 
/usr/local/bin/uwsgi --ini /www/pythonProject2/uwsgi.ini

image-20221115185732349

chmod +x /usr/sbin/start_uwsgi.sh
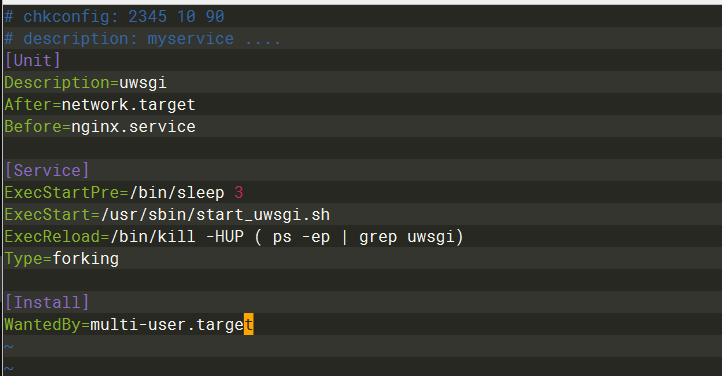
vim /usr/lib/systemd/system/uwsgi.service
# chkconfig: 2345 10 90 
# description: myservice ....
[Unit]
Description=uwsgi
After=network.target
Before=nginx.service

[Service]
ExecStartPre=/bin/sleep 3
ExecStart=/usr/sbin/start_uwsgi.sh
ExecReload=/bin/kill -HUP (netstat -antp | grep uwsgi)
Type=forking

[Install]
WantedBy=multi-user.target

image-20221115185758024

systemctl start uwsgi

image-20221114224744048

docker stop b7a0638bb2db
docker commit -a "loogson" b7a0638bb2db loogson:v2

image-20221114225811368

cat Dockerfile 

image-20221114225324739

FROM loogson:v2
COPY run.sh /tmp/run.sh
RUN chmod +x /tmp/run.sh \
&& sh /tmp/run.sh
ENTRYPOINT ["/usr/sbin/init"]


cat run.sh 

image-20221114225351126

#!/bin/bash
sleep 1
systemctl enable mysqld
systemctl enable nginx
systemctl enable uwsgi
docker   build  --no-cache -t loogson .

image-20221115180220245

docker run -d -p 80:80 -p 3306:3306 --privileged=true  loogson /usr/sbin/init

image-20221114225944684

推送到镜像仓库

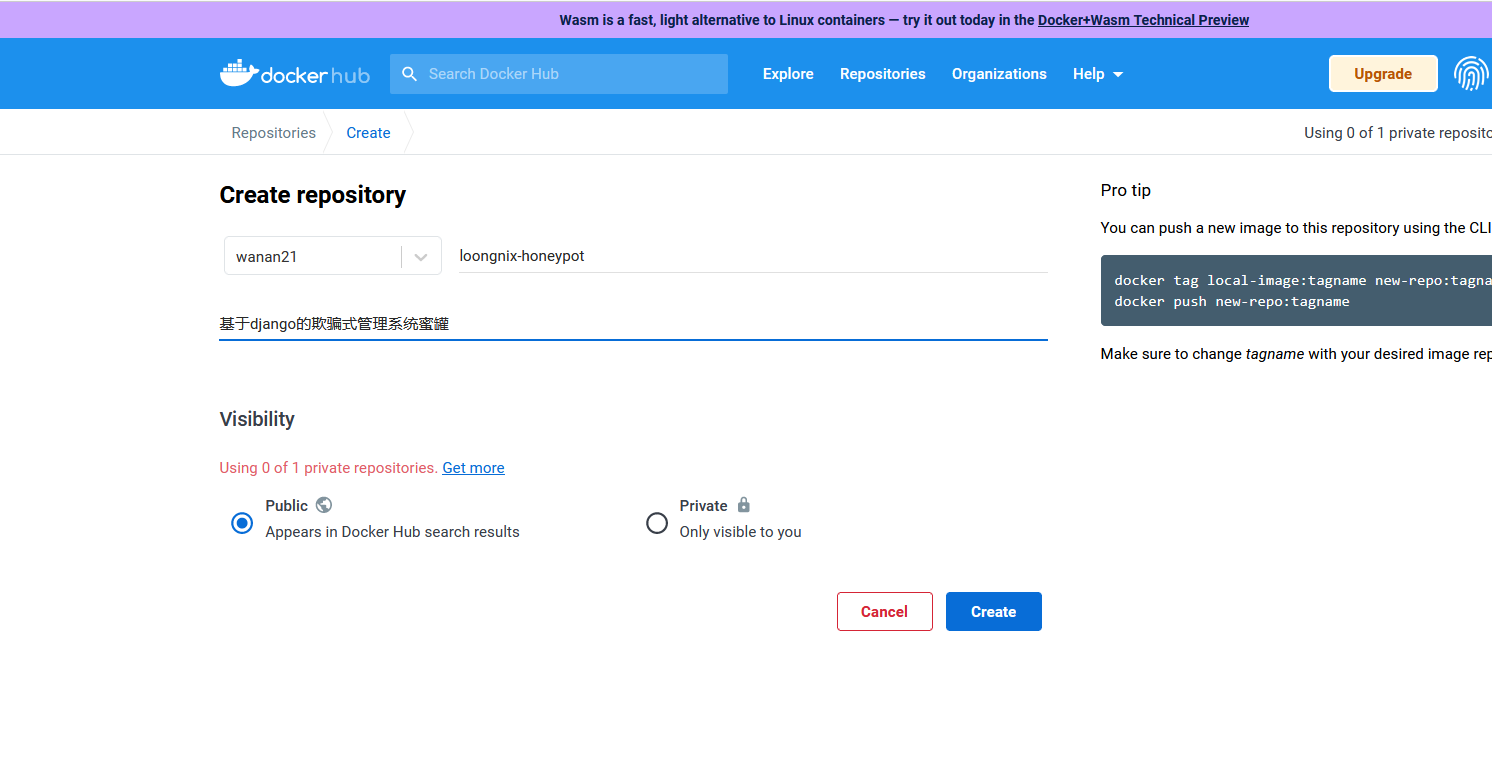
创建仓库

image-20221114232336081

登录账号

docker login

image-20221114230602569

推送镜像

docker tag loogson:latest wanan21/loongnix-honeypot:latest
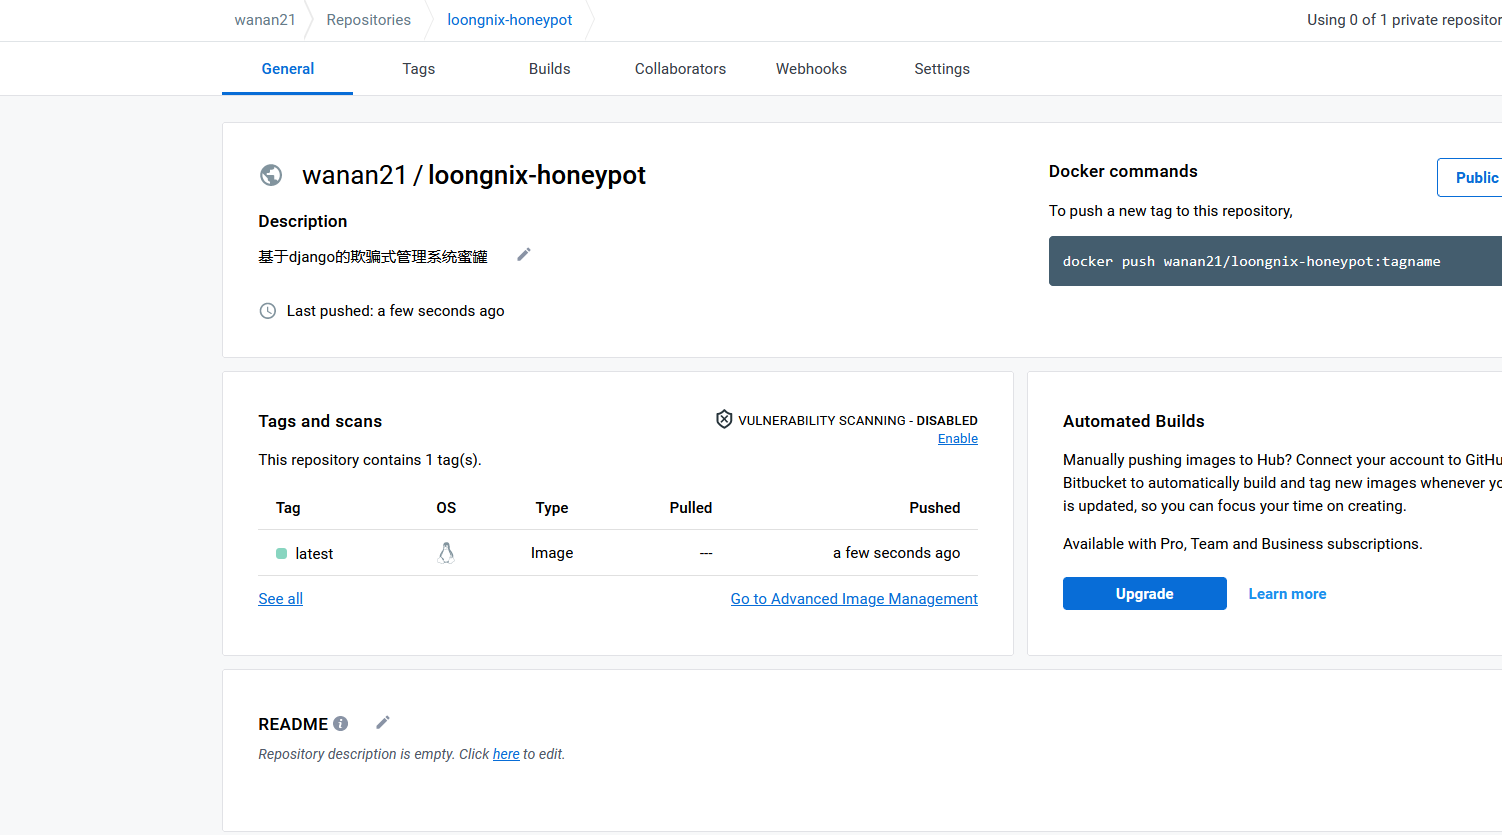
docker push wanan21/loongnix-honeypot:latest

image-20221115105150319

image-20221115105200409

进行拉取尝试

docker pull wanan21/loongnix-honeypot:latest

image-20221115105615868

运行

docker run -d -p 80:80 -p 3306:3306 --privileged=true  wanan21/loongnix-honeypot:latest /usr/sbin/init

image-20221115105659678